
In this guide we’ll look using Quick Reports to create Matrix Report.
See Also: How to Create a Quick Report, Matrix Reports are covered in the Reporting Advanced Training, to access Training information see here.
Access: The minimum permissions required to access Quick Reports can be found in the Reporting module from within Config > Setup > Roles & Permissions.

You will also need to review your Report Design Permissions and ensure that you have access to any Domains you would like to create a Report in. For more information see the section on Domains in How to Create a Quick Report.
In this example we’ll be creating a Matrix Report to view Parental Consents.
Navigate to Reports > Quick Reports > Quick Report
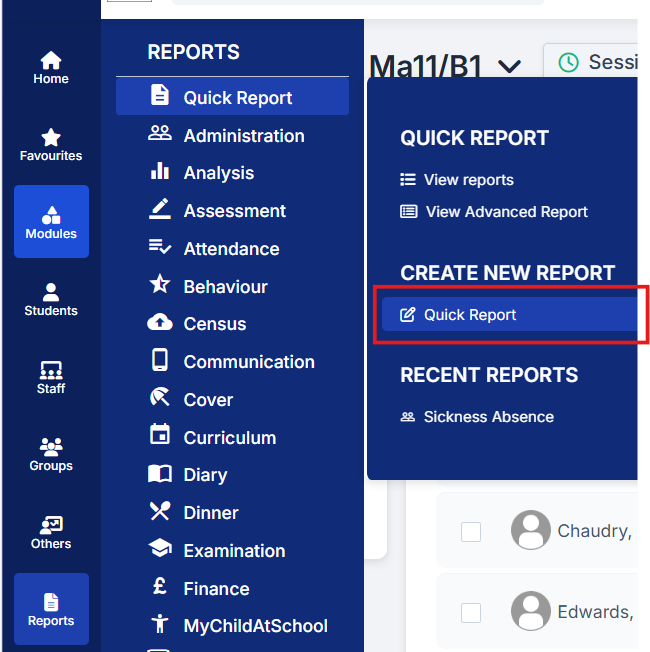
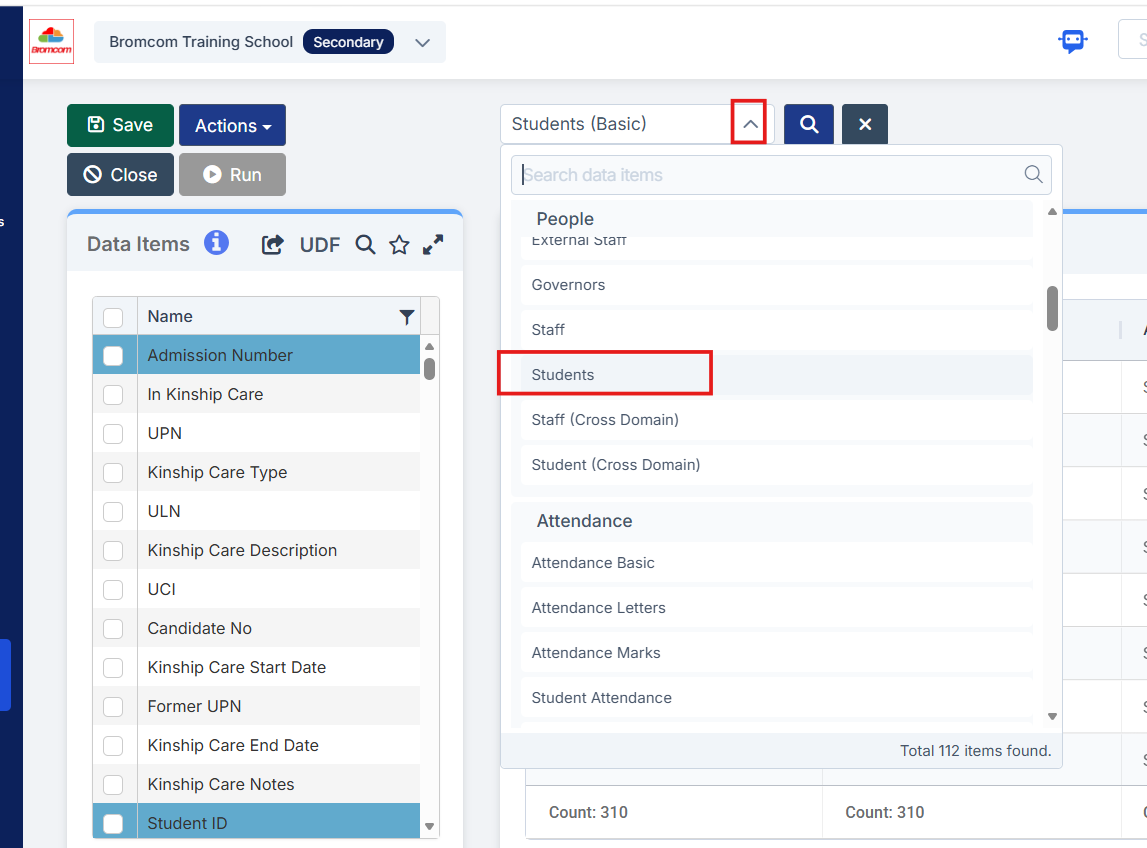
From the dropdown at the top select the required Domain.
IMPORTANT: Any Domain that is not Basic or Cross Domain will have the ability to create a Matrix Report.
In this example we’ll be using the Students domain. For more information see the section on Domains in How to Create a Quick Report.
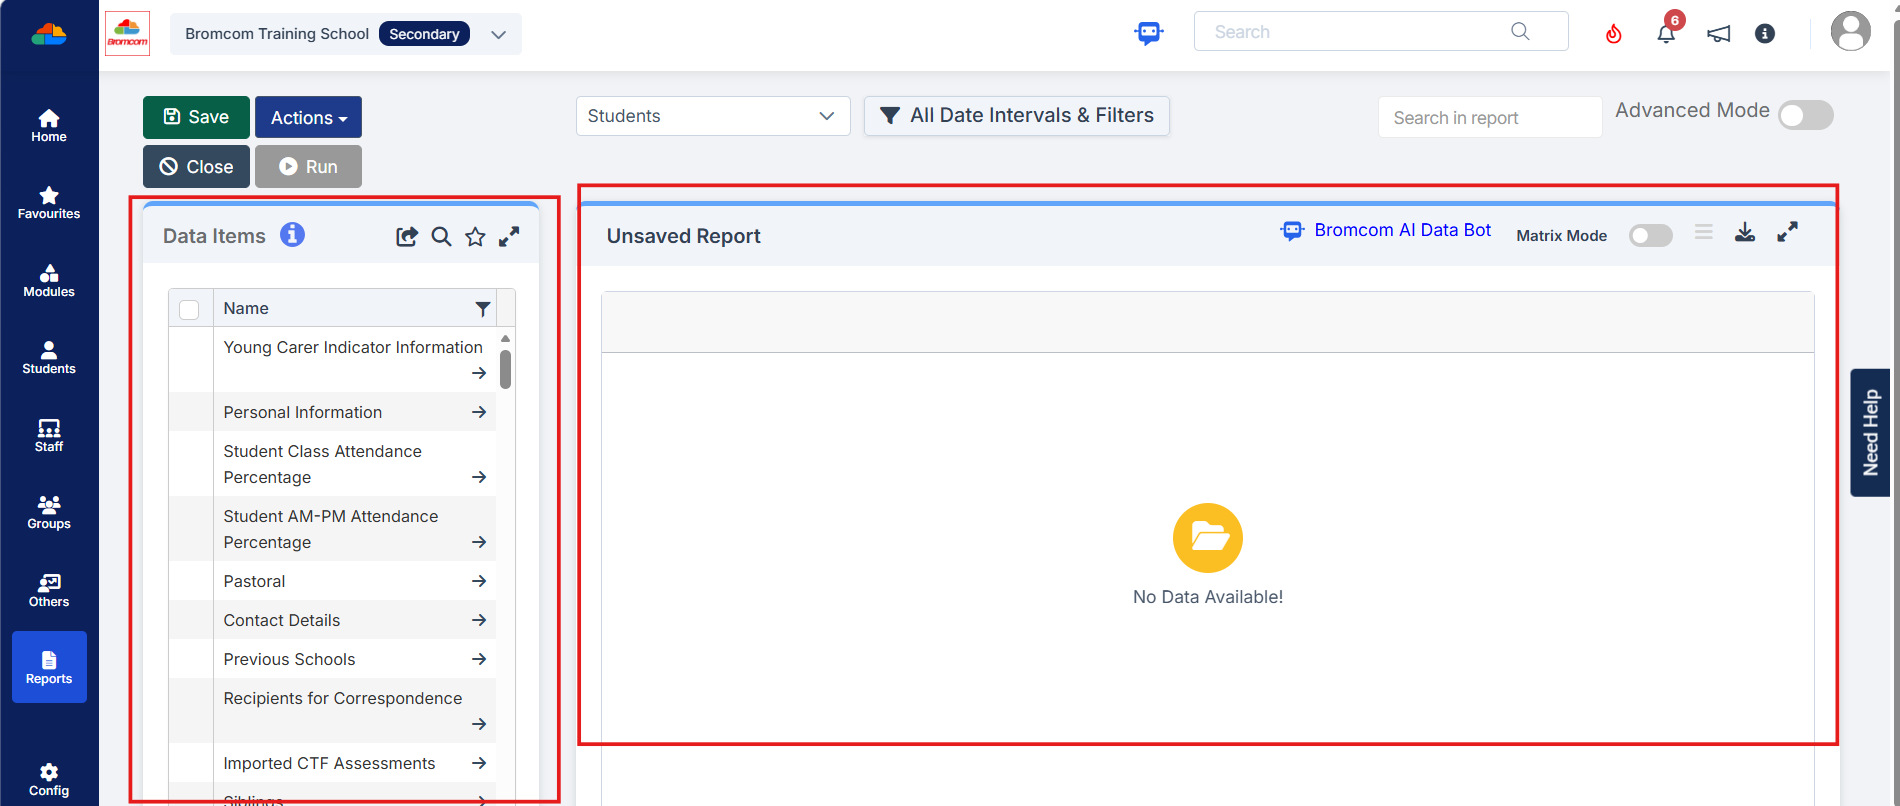
When the Domain is changed from Students (Basic) the screen will clear and the Data Items list on the left will change
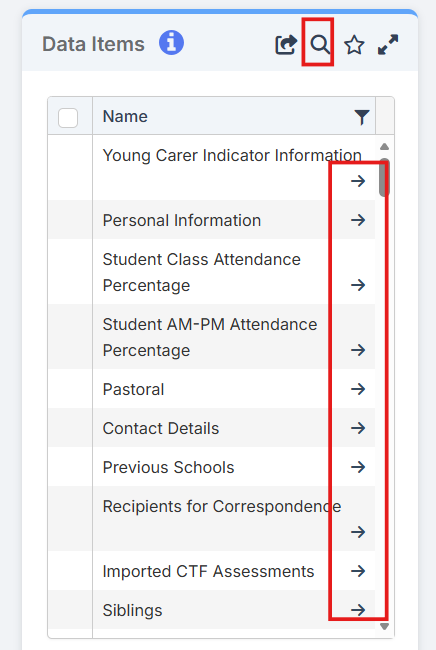
The next step is to add the required Data Items to the report using the arrows in the left hand list to open up the required section, the user also has the option to use the spy glass icon to search.
Selecting the category from the list on the left, ticking any Data Items then click Add.
In this example we have added Student First Name and Last Name, from the Personal Information category, and Parental Consent Type Description and Granted Date from the Student Parental Consent category.

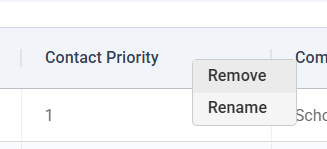
If a column is added in error simply right click on the column header and click Remove, there is an option Rename as well
Once all the Data Items are in the report, turn on Matrix Mode using the toggle in the top right.

Columns option will now be visible down the right hand side, click on it to expand.

In the pop-out on the left drag the different data items into the Rows, Values and Columns sections to dictate where in the report you would like the Data to display.

The Report Preview panel will then update.
In this example we have put the Parental Consent Type Description in the Columns, the Granted Date in the Details and the Student Details in the Rows which results in a list of Students down the left with the date any of the Parental Consents were Granted against the relevant Parental Consent in the Columns, any Parental Consents that have not been Granted will have no date listed against them.
To view the ‘Granted‘ parental consents, please add a Filter for ‘Latest Consent Status‘, with Operations* set to Granted.


To add a count to either the Rows or the Columns use the toggles in the top right hand corner.

If the report shows Students with the same First or Last name that are grouped together. To separate them, click on the 3 lines icon on the Column header for the Column with the groupings, and select Expand All Row Groups.

Then add any filters as required. For more information on how to do this please see How to Create a Quick Report.
Once complete, click Save in the top left hand corner.

Give the Report a title and select which Folder to Save the Report to and click Save.

Then click Run.

Further filter the report using the Column Headers or use the options across the top of the screen to Export or Schedule the Report.
