
In this guide, we will show you how to use the Student List page to create lists of Students that can be exported into Excel, for purposes such as;
- A List of FSM Students
- A list of Pupil Premium within the whole school
- A list of Students with SEND
- A whole Year Group list
Note: This function does not replace the full reporting functionality which is covered under the Reporting section. It is simply an alternative option that you can use.
Access: The minimum permission required to follow the steps in this guide are found in the Framework Module of Config>Setup>Roles & Permissions.

From the Student List page, you can use the Filters at the top.
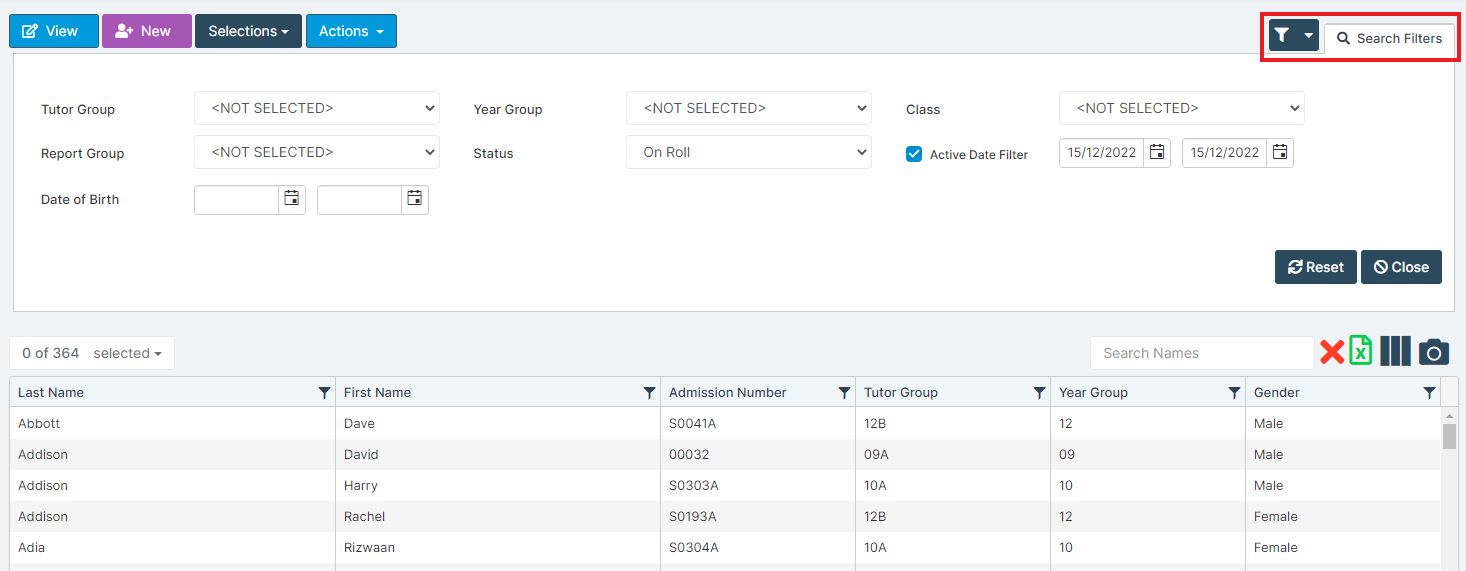
When selecting a Filter the list is updated automatically, additional Filter items can also be added by clicking on the Filter icon.

This will open a dropdown list where additional Attributes can be selected and Saved.

Once the list is filtered to the required students, you can choose what information you need, remember each column has its own Filter at the top as well.

Both Search Filters an Column Filters can be cleared by clicking the red X icon.

To add additional information columns to the list, click on the Add/Remove Additional Columns icon.

Select the columns to be displayed from the dropdown list. When completed click the Save button.
Once the list has been filtered to the Students required, and any additional columns added, the list can be exported to Excel for formatting and printing if required by clicking on the Export List to Excel button.
