
Access: The minimum permissions required to carry out this task are located in the Assessment Module of Config>Setup>Roles & Permissions.

This guide will show you how to Import Assessment data using a CSV File.
This will be helpful if you have a large amount of data from CAT’s Testing, FFT or GCSE Exam Results for new Year 12 Students who took exams at another school that you wish to Import into Bromcom.
Pre-requisites: You must first have setup Grade Sets and Assessment Types that are suitable for the Data you wish to Import.
If you have a smaller dataset you wish to import into a marksheet, please see How To Import Assessment Data Using a Marksheet.
Before you get started
Before you attempt the process below, here is a very useful tip.
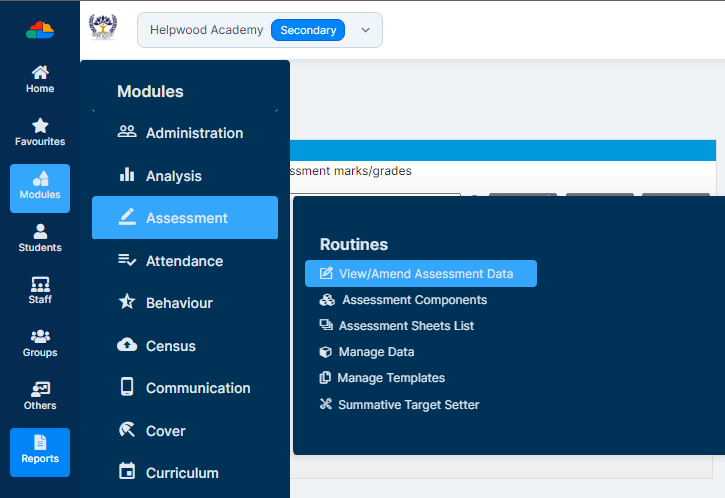
To ensure your data is in the correct format and imports smoothly, you should export a spreadsheet from Bromcom to begin with. You can do this via Modules>Assessment>View/Amend Assessment Data.
Once the page loads, use the Find button to add students, and the Add button to add your Assessment Associations.
These should reflect/match the data you are going to import.

Once both are added, press View.
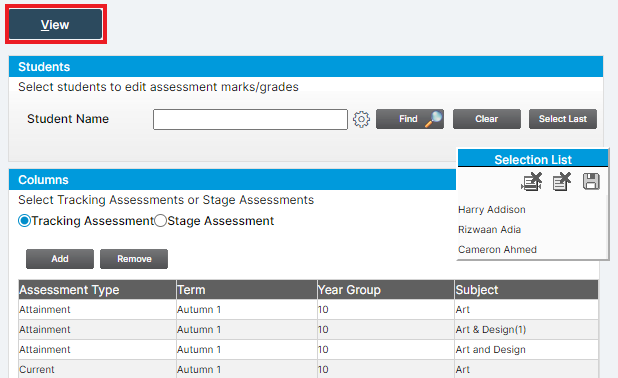
This will open the spreadsheet, which contains the students and any existing data they have against the selected Assessment Associations.
Press the excel button to export the file from the MIS to your pc.

Once it is exported, you can add your data to this sheet and save it before following the steps in the next section to then import this data.
Important: If you have lots of data for students in the sheet and need it to auto map during import, this is also possible. You need to make sure the Column Headings in the sheet are in this format – $<AssessmentType> $<Term> $<YearGroup> $<Subject>
Two example columns would be $<Attainment> $<Autumn> $<10> $<Art>, followed by $<Progress> $<Autumn> $<10> $<French>. These would allow you to import data across multiple subjects for students and have it auto map.
Importing Assessment Data
Below is an example of what the CSV may look like, notice it’s one row per student
There are 4 columns of data to import in this example and each Column Heading has 4 pieces of information i.e. Assessment Type, Term, Year Group and Subject
I have already created the Assessment Types ‘ATL’ and ‘Current’ in my system plus the Term ‘Autumn 1’ before I Import the Assessment Data

Before you move to the next step in this guide if you replace the – and add the $ sign between each of the 4 pieces of information in the column headings then the system will automatically map the 4 components otherwise you will need to manually map them.
For example ATL$Autumn1$11$Maths

From the left Menu, go to Modules>Assessment>Manage Data.

Once the page loads, click on Actions>Import Assessment Data.

Select the file you wish to import, tick/select the relevant options and click Next.

Next, select whether you want the data you are importing to either;
- Fill in the Blanks
- Update/replace data that is already there
To match the data to the correct students, tick which Import Columns you wish to use and make sure that they are mapped to the correct Column Headings from the file you are Importing.
For example, UPN should map to UPN, Admission Number should map to Admission Number and so on.

Then Select the Import Columns that you wish to Import data from using the Import Columns dropdown at the bottom.
Single Record per student is selected by default, select this if the sheet being imported has one row per student, if the sheet has multiple rows per student select Multiple records per student, click the Next button.

Tick the boxes on the left to select or tick the box top left to select ALL, then select from the Assessment Type, Term and Year Group dropdowns to flood fill the data, finally select the Subject.
Depending on your selections from the left tick boxes you can select the Subject and flood fill or select each individually from each row. When done click Next.

The Student Mapping will then be displayed, the Mapping Type will display All for those matched and selecting Exception will show those who are not matched.

Click Next and it will bring up the final page where you can see all the Assessment Types listed, the data that is in the system and what is being Imported.
If you are happy that all is correct and as you expected – please click Import.

You will then be asked to Confirm and Proceed.
Finally, you will get a message saying import has been successful.
