
First ensure you have Products, Clubs or Dinner set up (see How to Configure Online Payments)
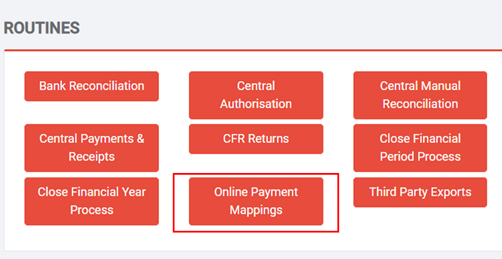
Go to Modules, Finance, Finance Homepage and Select Online Payment Mappings from the Routines section

Your current Products should show (if any are missing you may need to add these – see above). If you need to map other products untick the Show Only Active Products box.

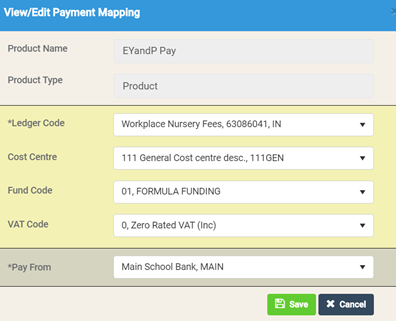
To add a Mapping highlight the Product and select View/Edit.

Fill in the relevant details and select the correct Bank Account and Tax code then select Save
Complete for all other Products, Running Balance Clubs and Dinner

When you receive your BACS Transfer Report you can process your Payments. To do this the first time you will need to go to Modules, Finance, Finance Homepage and select Global Configurations in the Maintenance Section to set your last payment date

Select the Date of your last payment run and Save.

Return to the Online Payment Mapping screen in the Routines section
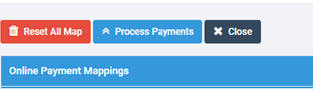
Select Process Payments
This will create a Report

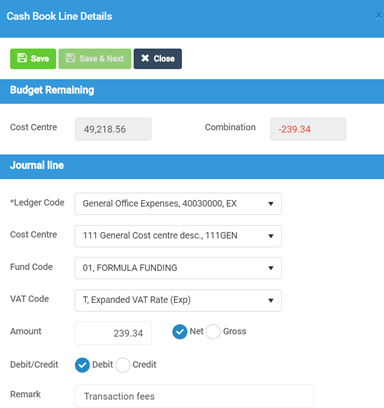
And an unposted Journal

You can then make amendments to the Journal (e.g. to account for transaction fees by adding lines)
When correct post the Journal

Next time you receive a Payment, process payments from the Online Payment Mappings page, this will automatically take the start name as the date of the last time the payment was processed so no need to go in and amended the Global Configuration – as this will have been updated automatically.
