In this guide, we will show you how to define/change Purchase Order Settings within the Finance Module.
Access: The minimum permissions required to define/change Purchase Order Settings are found in the Finance Module of Config>Setup>Roles & Permissions.

Pre-requisites: None
See also:
To begin, go to Module>Finance>Purchase Order Definition.

The Purchase Order Definition consists of five sections:
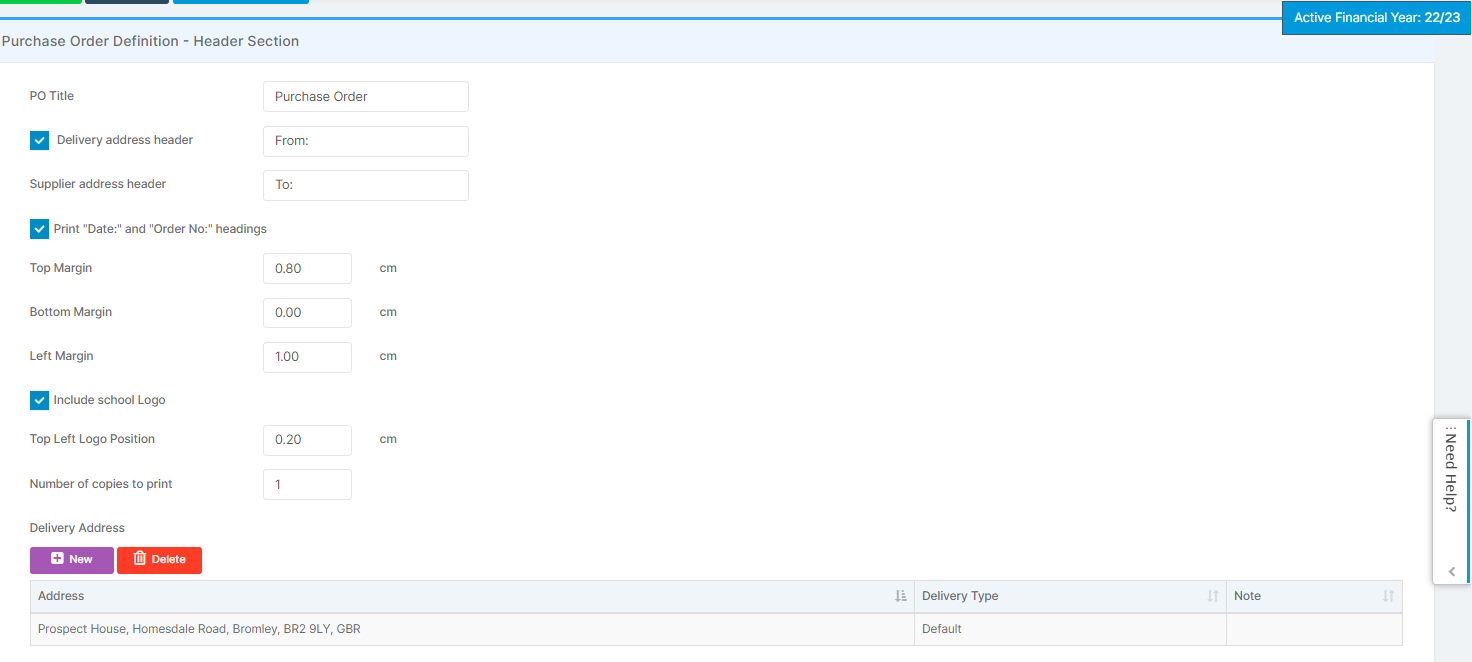
Header Section
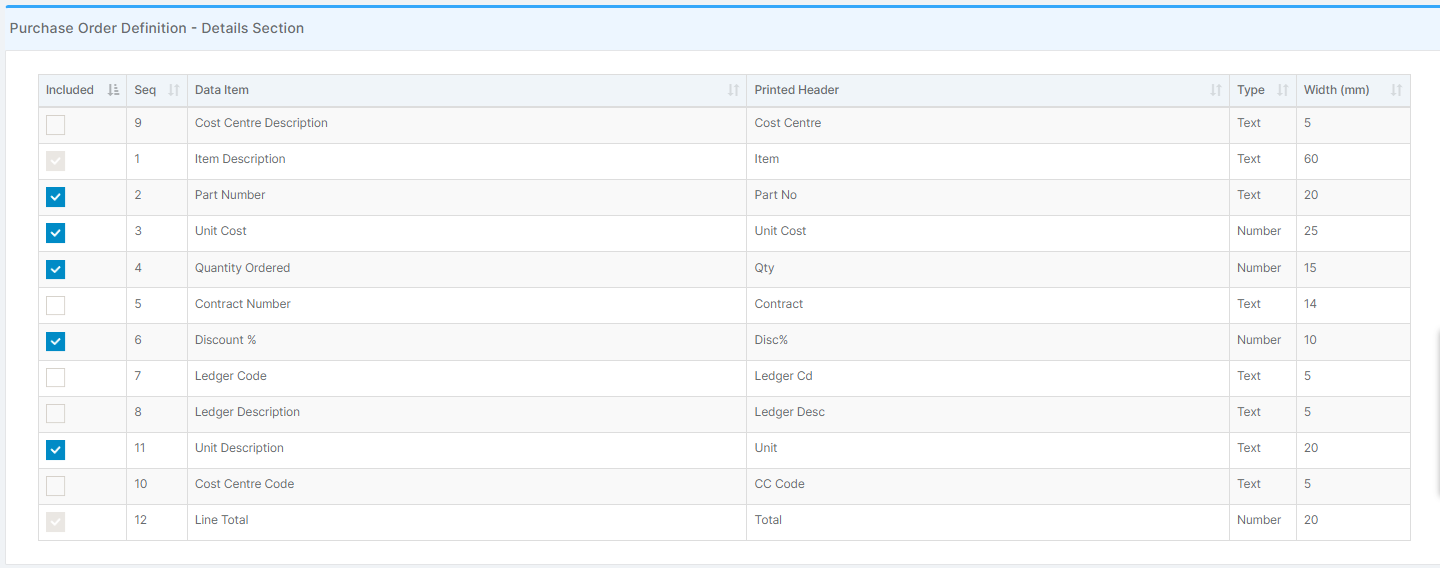
Details Section
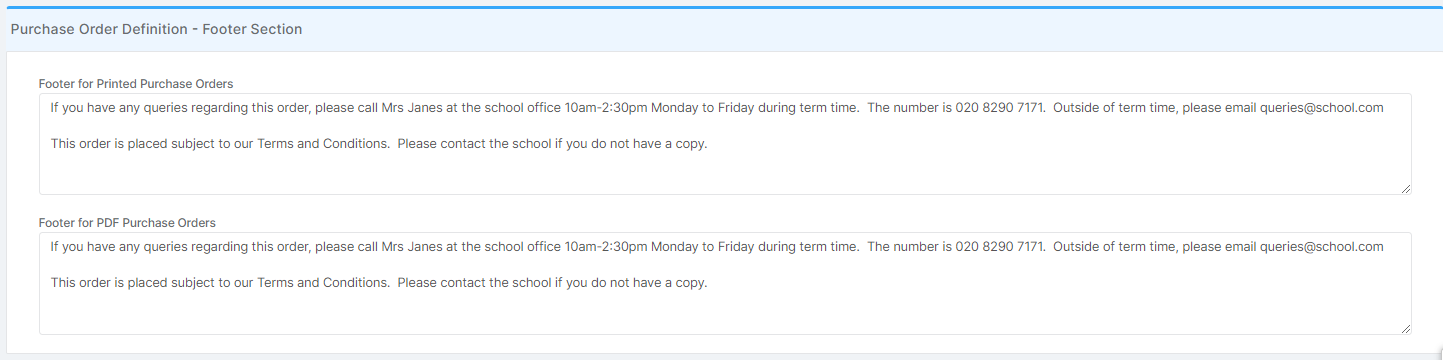
Footer Section
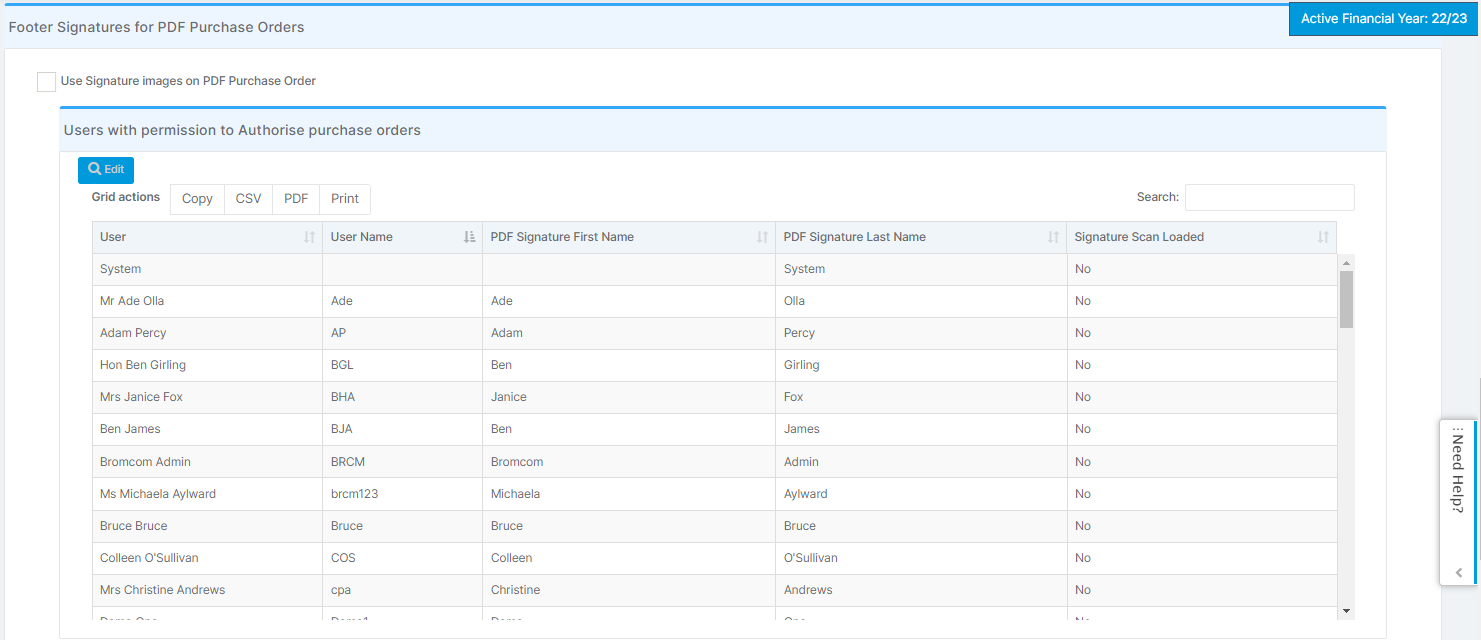
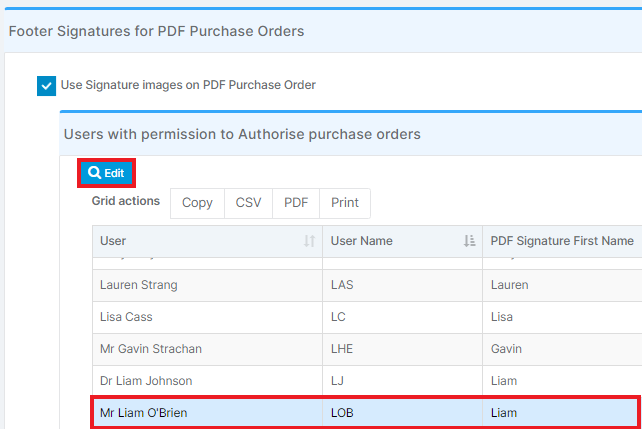
Footer Signatures for PDF Purchase Orders
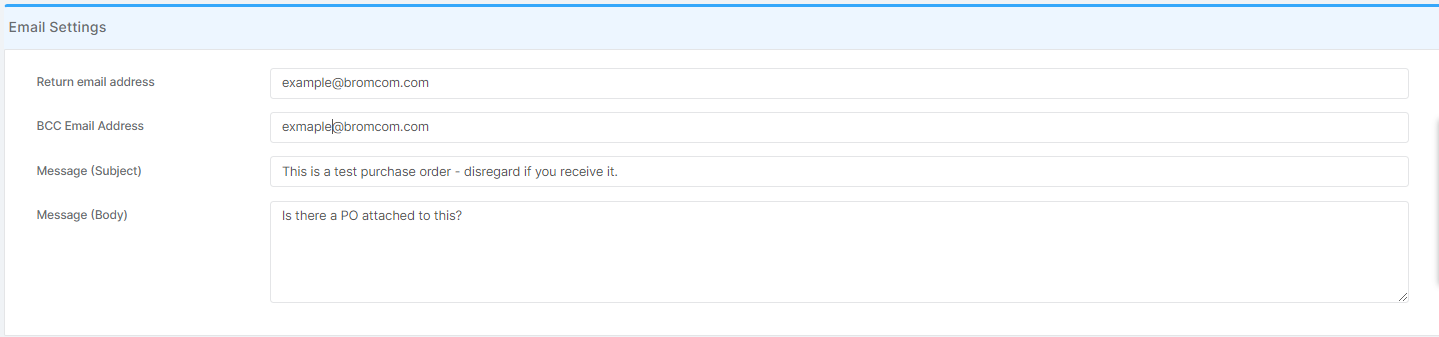
Email Settings
Continuing the guide, please move back up to the Details Section.
To include/exclude or edit a Detail Line, double click the line to edit.
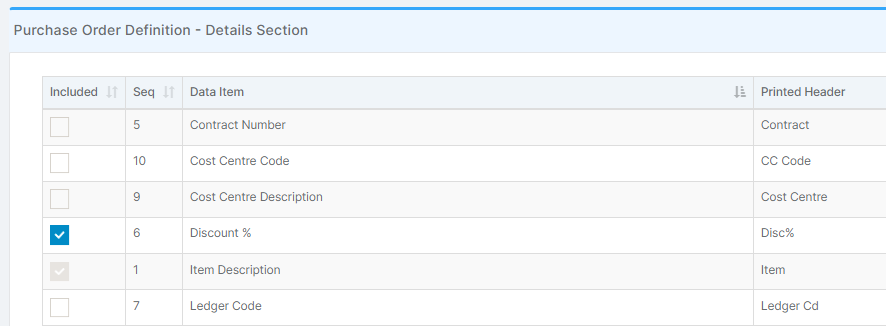
This will open the Purchase Order Details Column where you can amend the Sequence, Printed Header and Column Width.
Enter the desired details and Save.

To add and use a Digital Signature for the Authorising User, tick the Use Signature images on PDF Purchase Order box shown in the Footer section.
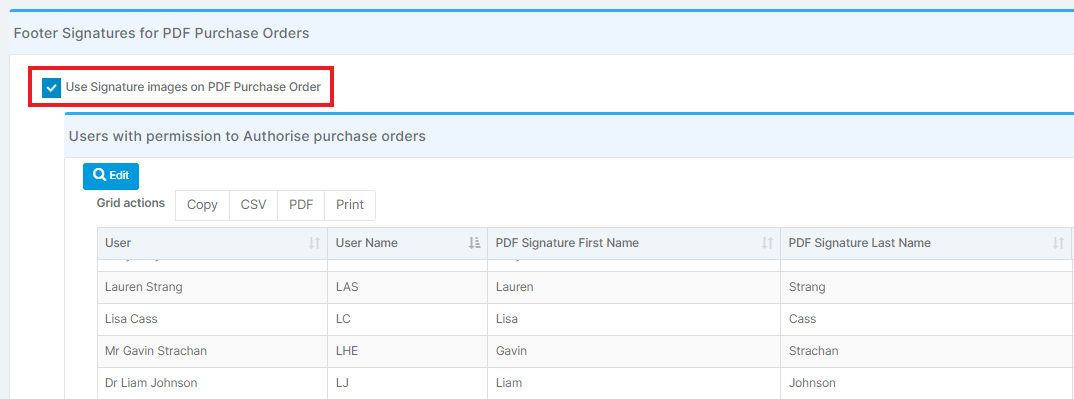
Select the Authorising User you wish to add a signature for and click Edit.
Click Load/Replace to add or replace the signature image.

Click Save.

Once all of the sections have been edited as required, scroll to the top and click Save.

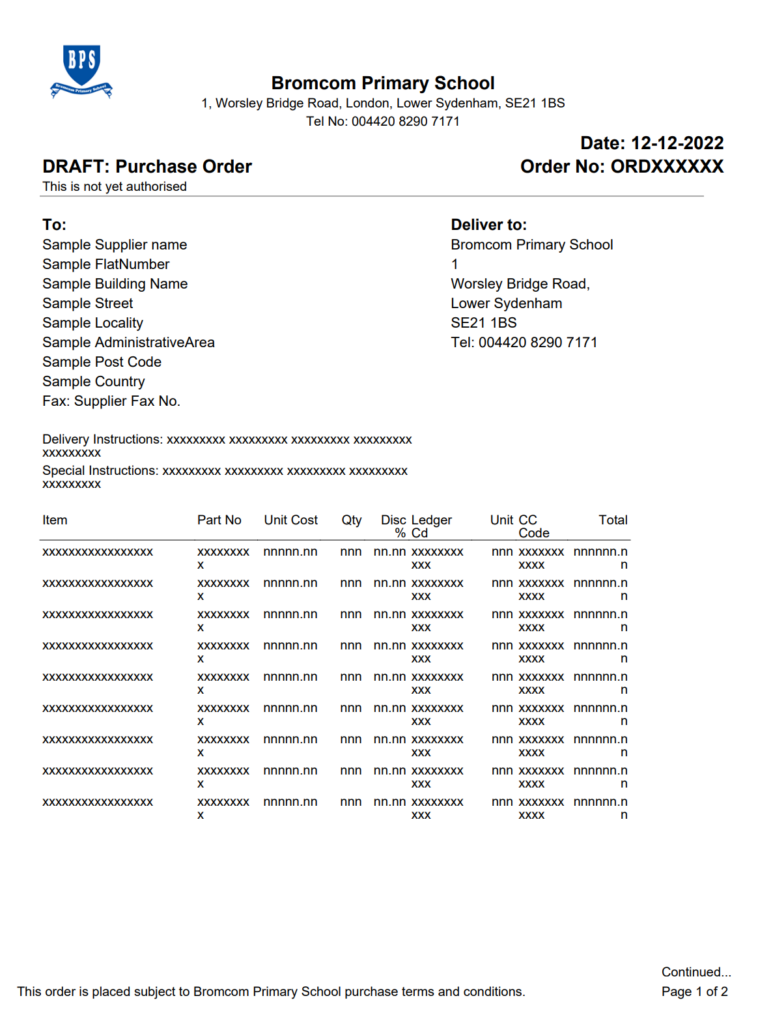
To review the effects of the changes to Purchase Order PDF, click Generate Test Print.

Below is an example Purchase Order PDF.