
In this guide, we show How to Set Up Auto Prepayments and Deferrals for Purchase Invoices in the MAT Finance Module.
This allows Income and Expenditure to be accurately spread across multiple periods in line with DfE Chart of Accounts guidance, removing the need for manual journals and month-end calculations, thus streamlining the process. It is suitable for MATs of all sizes and provides full transparency through enquiries and reports.
Access: The minimum permissions required to Set Up Auto Prepayments and Deferrals for Purchase Invoices are found in the MAT Finance Module section of Config > Setup > Roles and Permissions.
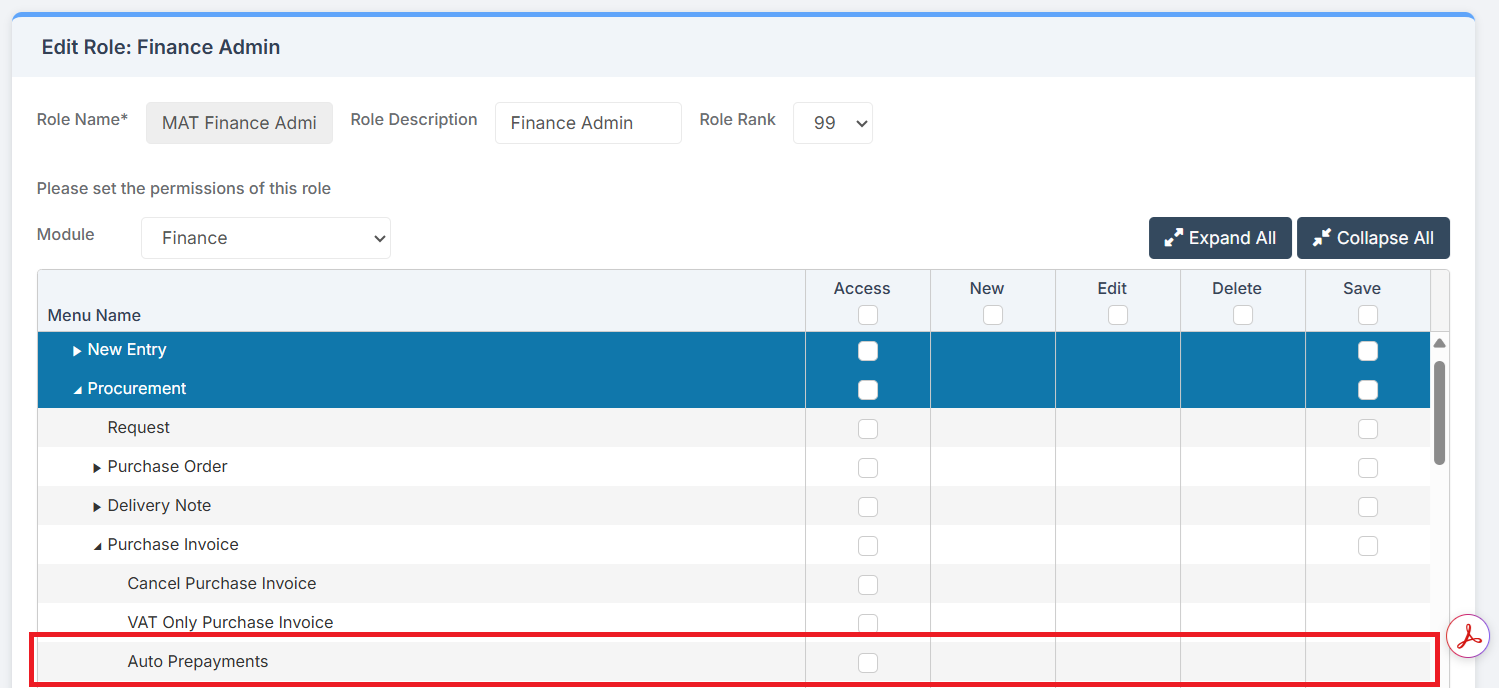
The Auto Prepayments option is New and will have to be enabled from the Finance Module under Procurement > Purchase Invoice.
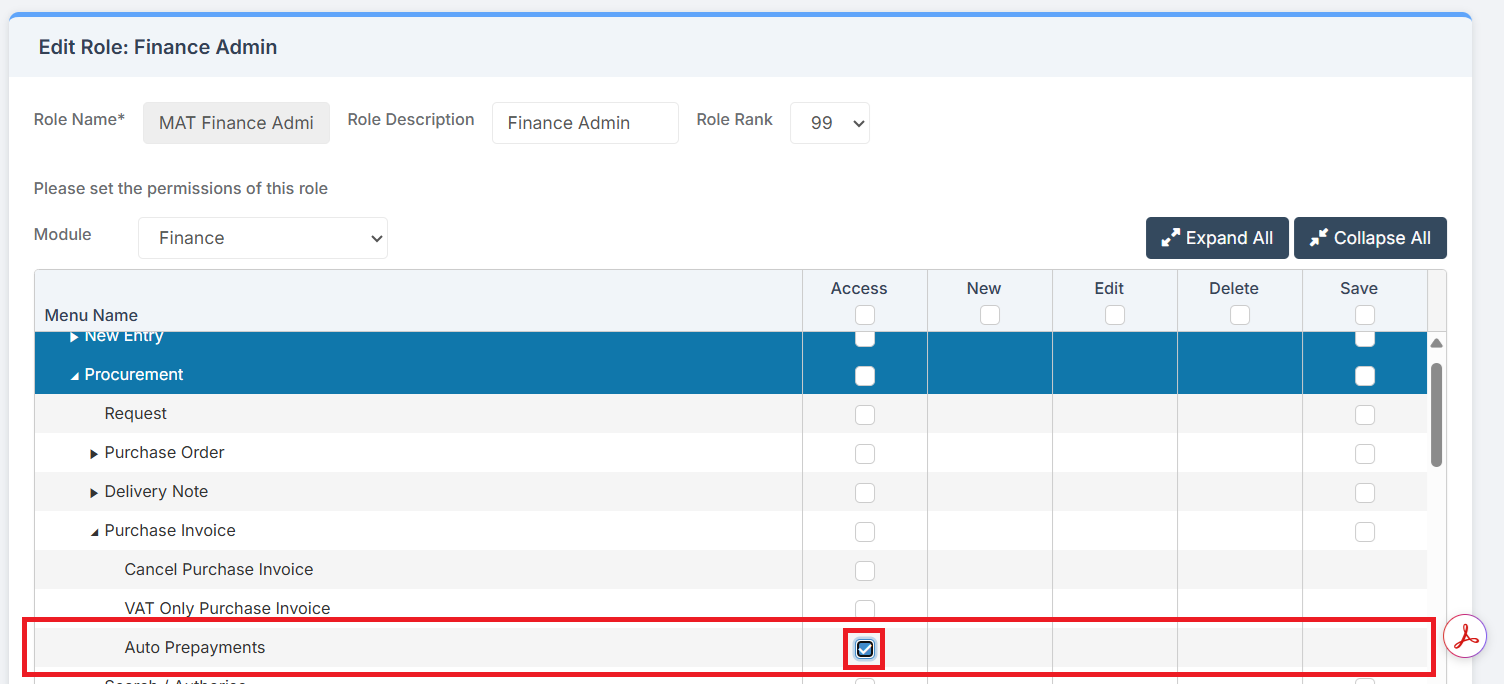
How to Add Prepayments
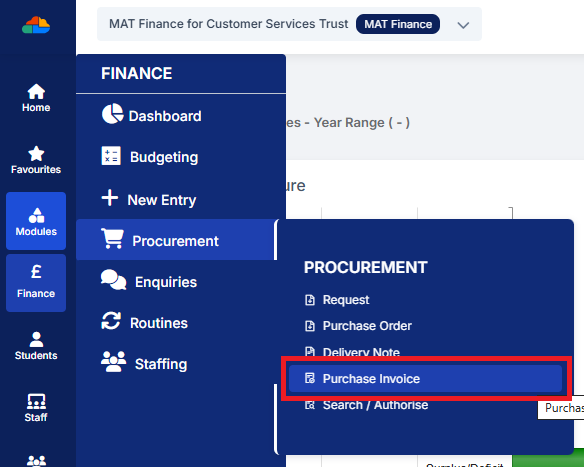
To begin, from the left Menu, go to Finance > Procurement > Purchase Invoice.
Note the Prepayment function.
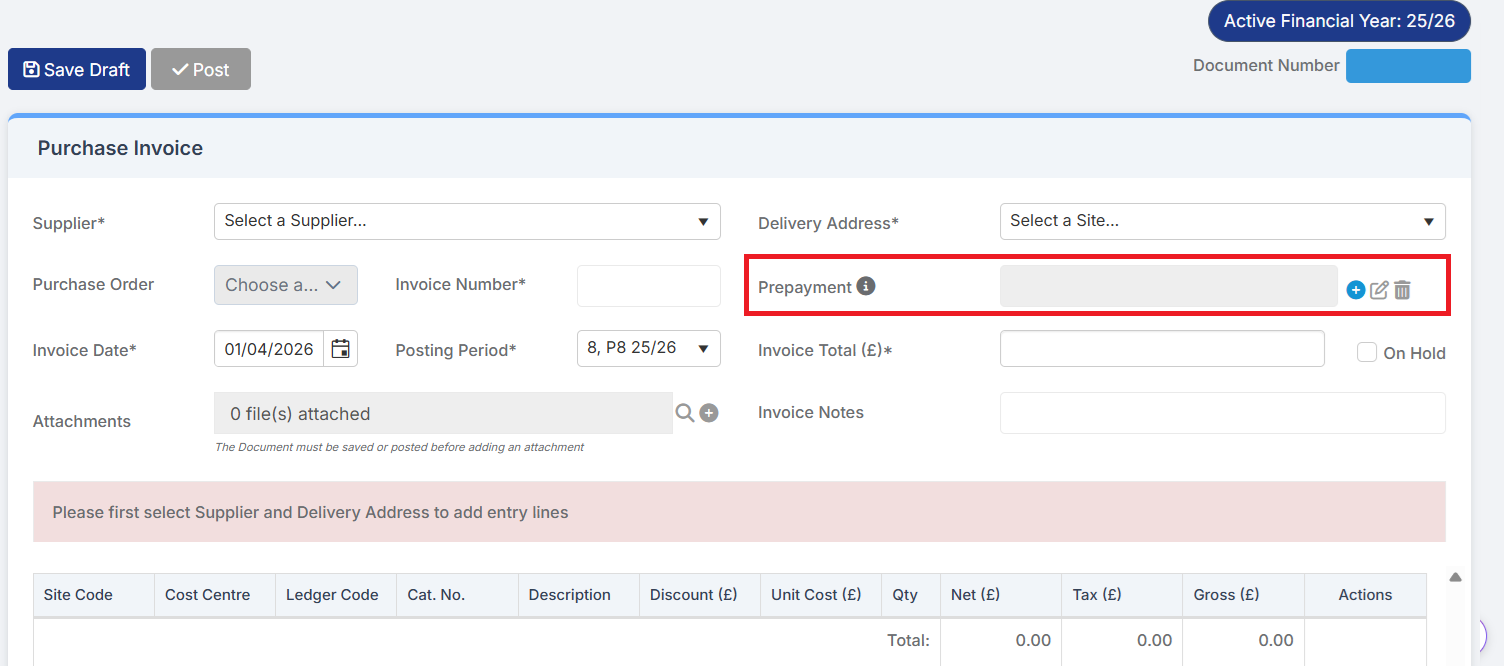
The icons allow you to:

- Plus symbol: Add Prepayment Parameters
- Pencil: View/Edit Prepayment Parameters (greyed out if no prepayment is present)
- Bin: Delete Prepayment Parameters (greyed out if no prepayment is present)
Click Add Prepayment Parameters to bring up a window to enter prepayment details. The default selection is Period Range.
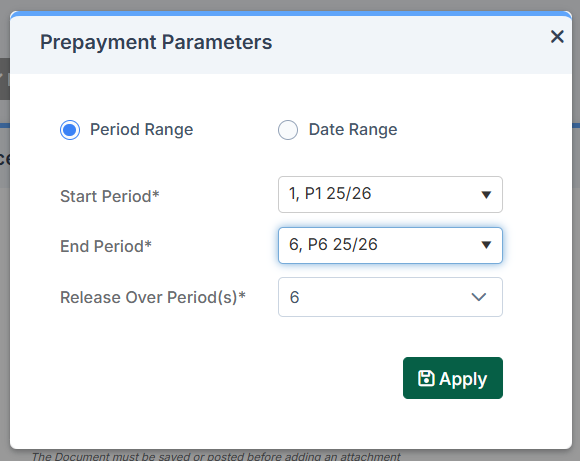
This can be switched to Date Range depending on needs and preferences.
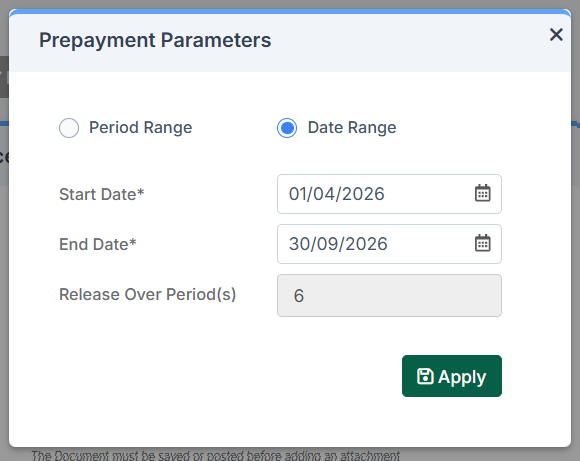
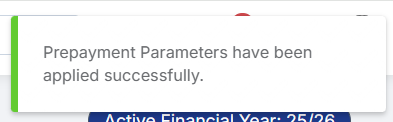
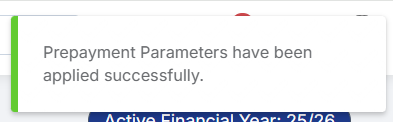
After clicking Apply, a confirmation message will appear in the top right of the screen.
Back on the Purchase Invoice screen the Pencil and Bin will now be Blue to indicate they can be used.
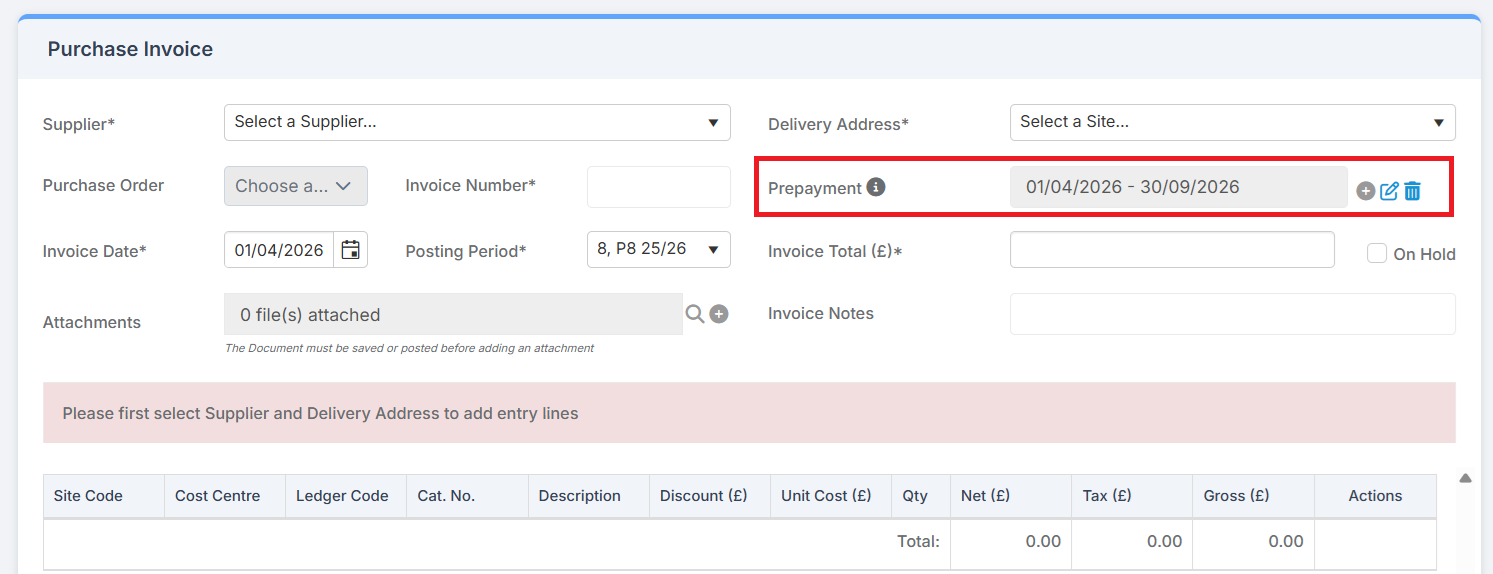
Click the pencil to Reopen the Payment Parameters pop-up and make any changes needed before clicking apply. The same confirmation message will show.
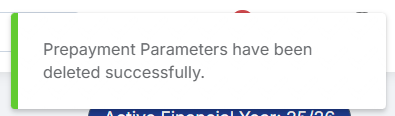
Click the Bin to Delete the Prepayment Details. A Confirmation will show in the top right of the screen. This will only delete the Prepayment Parameters. It will not delete the Purchase Invoice.
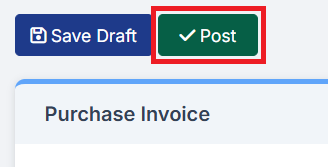
When all relevant details have been completed for the Purchase Invoice, click Post.
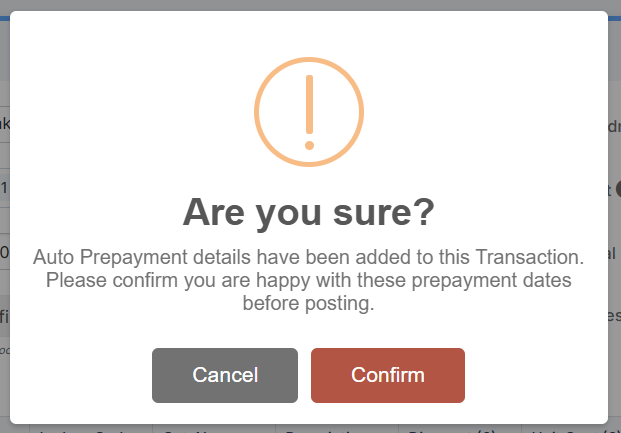
Click Continue to proceed with posting the prepayment.
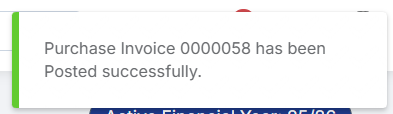
A Confirmation Message will display in the top right of the screen.
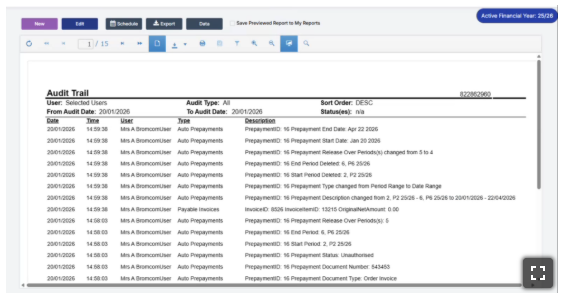
The details of the prepayments will be clearly displayed in relevant reports.
How to View Prepayments
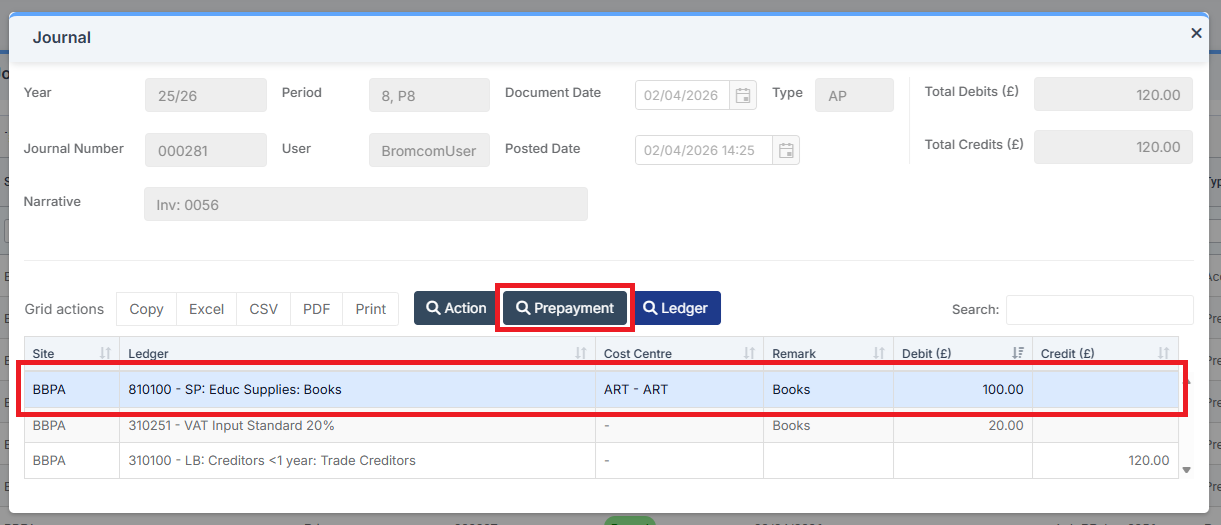
Go to Finance > Enquiries > Journal Browser. Select a Purchase Order Invoice with Auto Prepayments and double click on it to open it up.

Having selected the Invoice, highlight the relevant line and click on Prepayment.
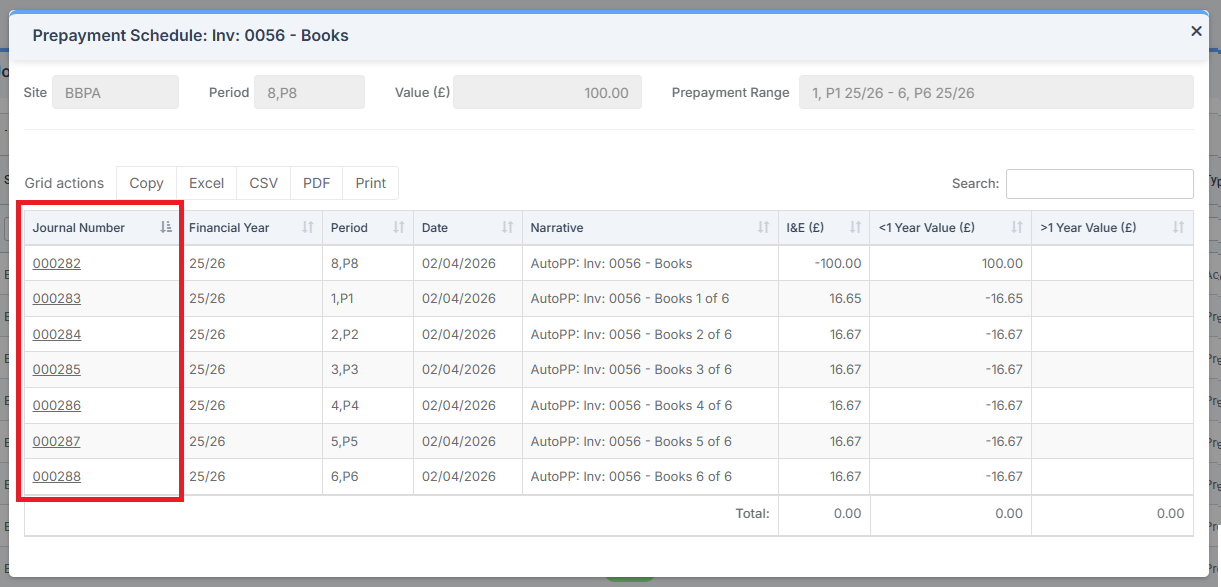
This brings up the Prepayment Schedule. Click individual Journal Numbers to go straight to that individual Journal.
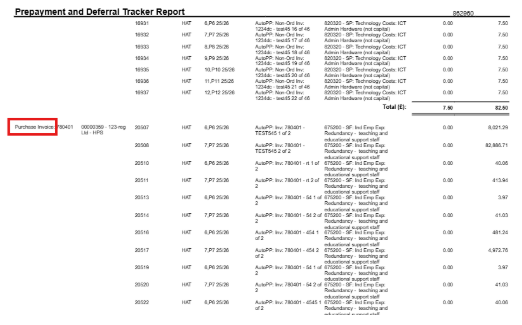
Go to Reports > Finance > Prepayment and Deferral Tracker Report. The report lists Purchase Invoices.
How to Cancel Prepayments
Prepayments cannot be cancelled individually. To reverse prepayments, the original transaction must be cancelled.