
In this guide, we will look at how to to create a Mock Exam Season, set up Mock Basedata and create Entries.
Access: The minimum permissions required to access the Exams page is found in the Exams Module of Config>Setup>Roles & Permissions.

See Also: How to Manage Exam Entries and How to Create a Season Pattern and Season
Prior to following the steps in this guide you will need to have set up a Season Pattern and Season for the Mock Exams, for more information on how to do this please see How to Create a Season Pattern and Season
Setting up Basedata
First go to Modules>Exams>Manage Basedata.

Ensure you select the correct Season from the Season dropdown

Next, right click on Mock Exams and select Add Series.

In the pop-up that appears, enter a Series Code and a Series Name and press Save.

This will create a Series, which will appear underneath Mock Exams, right click on the Series and select Add Qualification

In the pop-up that appears, enter a name for the new Qualification. This is usually a combination of the Exam Level and the Subject. In this example we’ll use GCSE Maths.

This will create a new Qualification within the Series. Next, right click on the Series and Select Add Exam Option.

In the pop-up that appears, enter a name for the Exam Option and select the Grade Set you would like to use, then click Save.

Note: When you come to make Entries, they are made by Exam Option rather than by Component and Students are entered for all Components within the Exam Option you make the Entry against. So if you have tiered Exam Options underneath the same Qualification (For example a Maths Foundation option and a Maths Higher option within the GCSE Maths Qualification) you will need to create multiple Exam Options within the same Qualification, each with their own Components.
Next, right click on the Exam Option and click Add Component

The Component is the Exam Paper, so in the pop-up that appears enter a Name for the Exam Paper, the Date the Exam will take place, the Exam Start Time and the Time Allowed. Once you’re happy, click Save.

Continue adding Exam Options and Components until you have added all required Exam Papers for the Qualification.

Making Entries
Go to Modules>Exam>Manage Entries>Action>Manage Entries By Class

Select the Teaching Classes you require, in this example 2 Year 10 History Classes have been selected, click Done.

Then in the next screen click Add Option Code.

In this example the selected Teaching Classes have some students doing the foundation paper and some doing the higher paper, for this scenario choose both Exam Options for click Done.
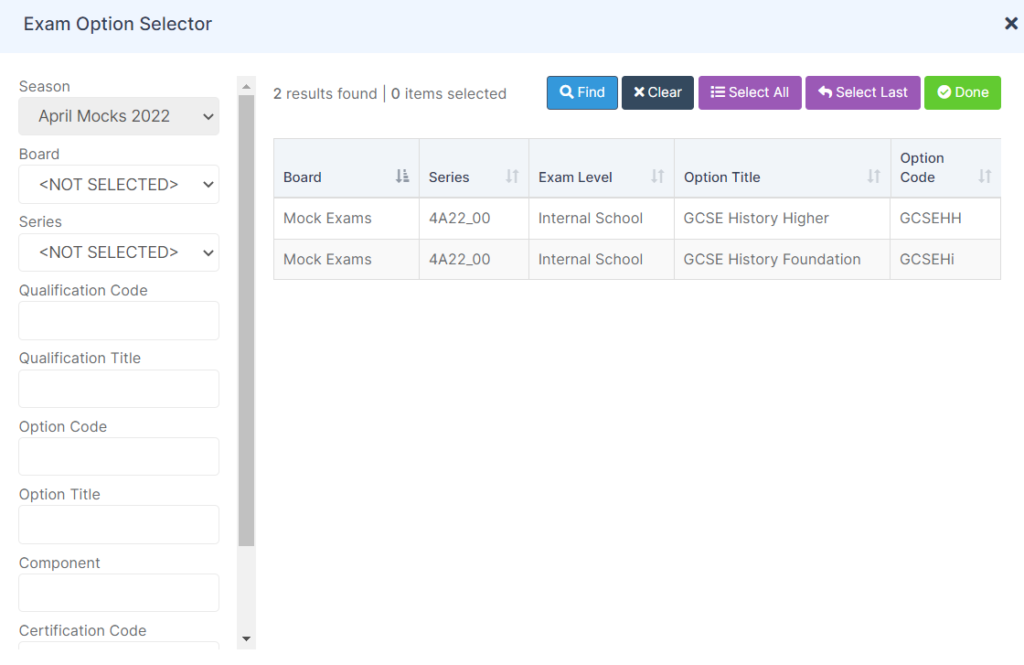
Then as you can see in the example below you will have 2 columns to make the entries and choose either Foundation or Higher

Click Save when the entries have been made against the students, click Next to see the Next Teaching Class.

For a more detailed look at making entries please see How to Manage Exam Entries