In this guide, we show How to Transfer Staffing Information from the MIS into the MAT Finance Module using manual and scheduled methods.
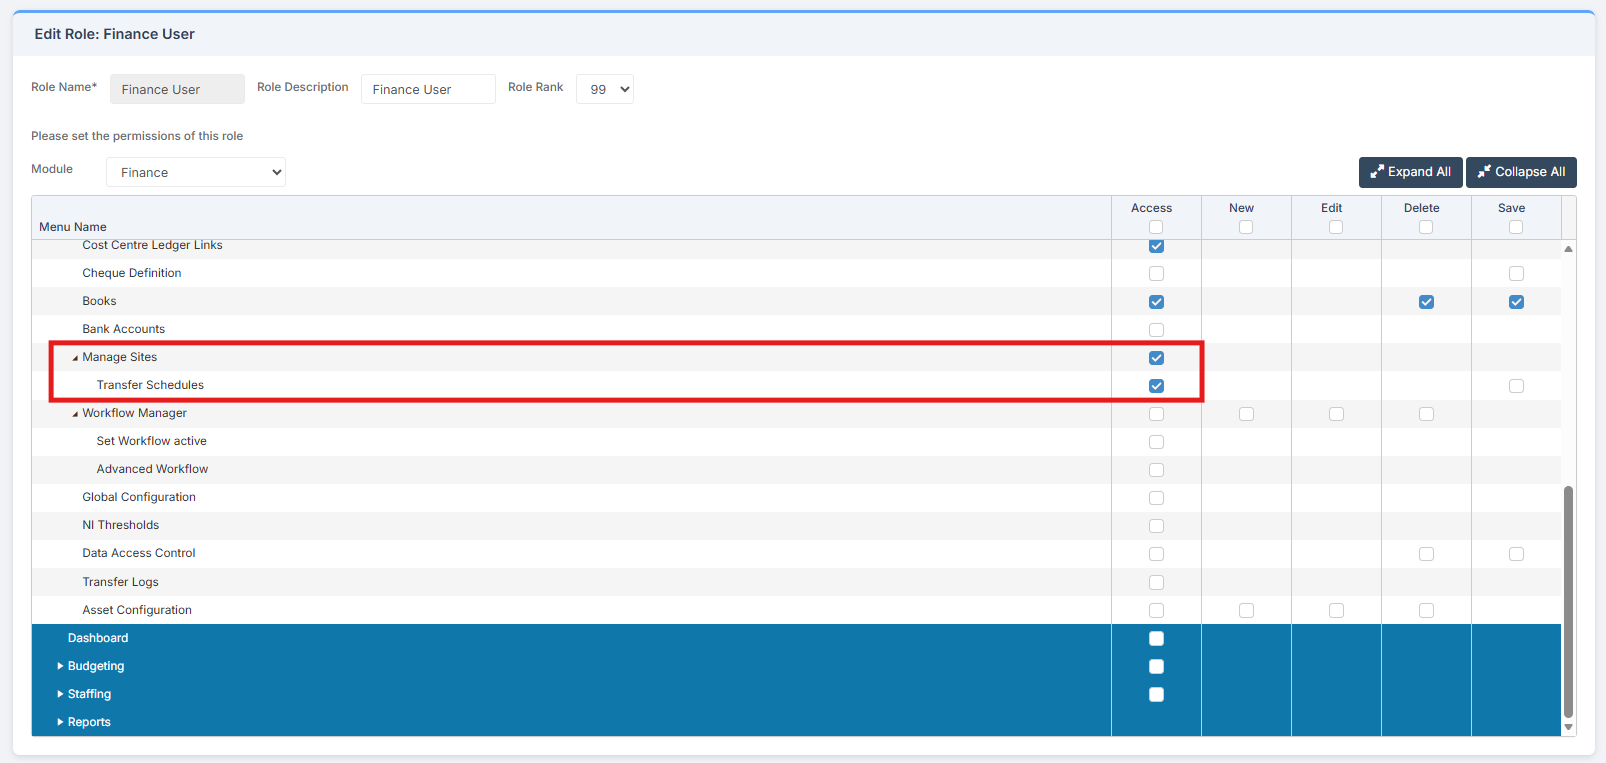
Access: The minimum permissions required to Transfer Staffing Information are found in the MAT Finance Module section of Config > Setup > Roles and Permissions.
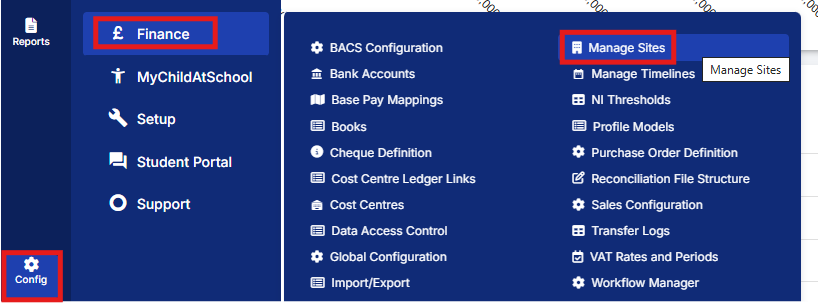
To begin, from the left Menu, go to Config > Finance > Manage Sites.
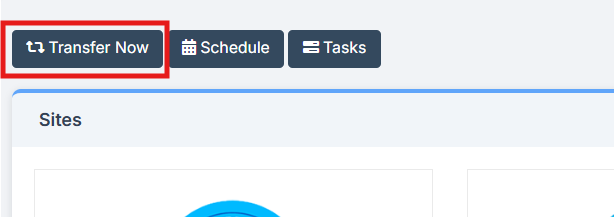
A page with all the MAT Sites is displayed. To complete the transfer of staffing data manually, click the Transfer Now button.
In the pop-up, transfers can be configured. The Site Filter allows for the filtering by Sites, Phases or Cluster Codes. Until a relevant selection of Sites is made, the Transfer Now button is greyed out.
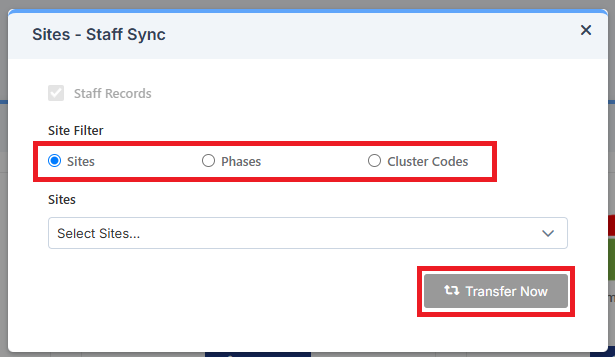
When selecting Sites, Phases or Cluster Codes, choose any number of the displayed options in the dropdown menu.
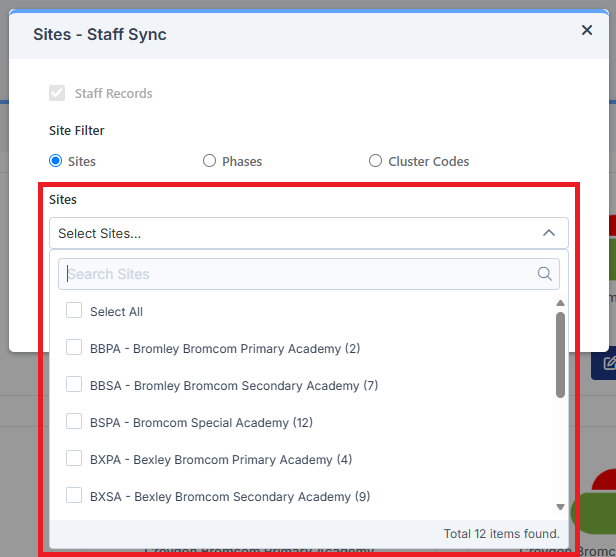
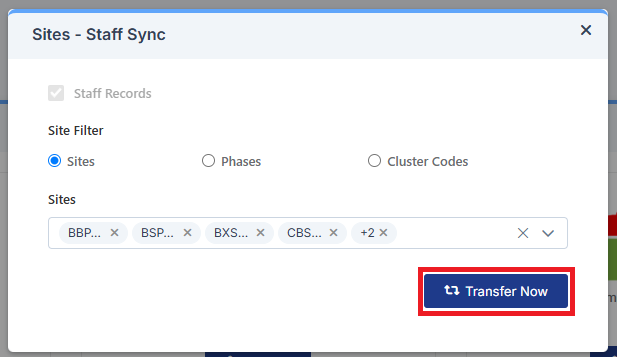
When there is a relevant selection the Transfer Now button turns blue and can be clicked.
Notification that the sync will be carried out in the background is given.
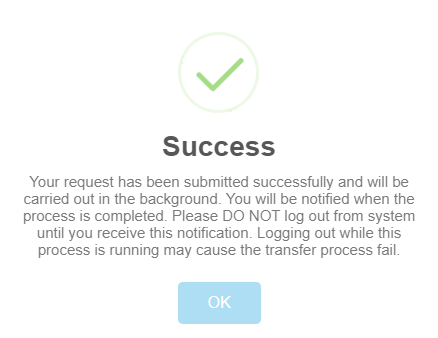
Click OK. Notification is given once the transfer has successfully completed.
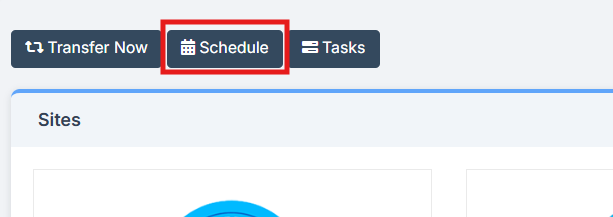
Is it also possible to schedule a transfer rather than using the Transfer Now function by clicking the Schedule button.
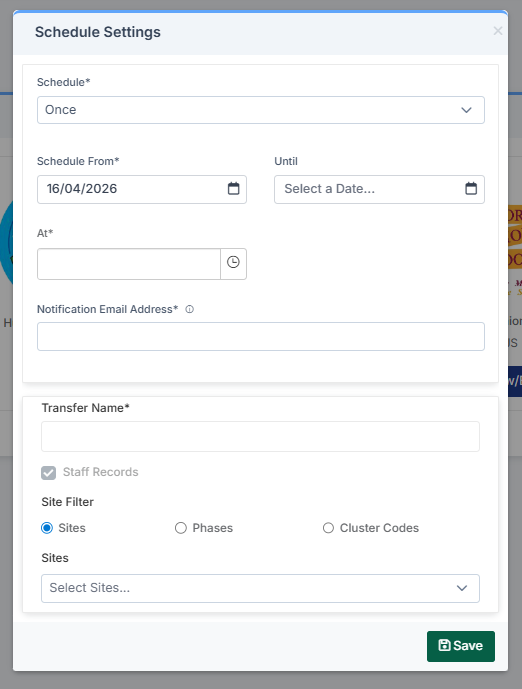
The pop up that opens allows the selection of when schedules run. The schedule can be set to run Once, Daily, Weekly or Monthly. After completing all necessary fields, click Save.
The main page also has a Tasks button.
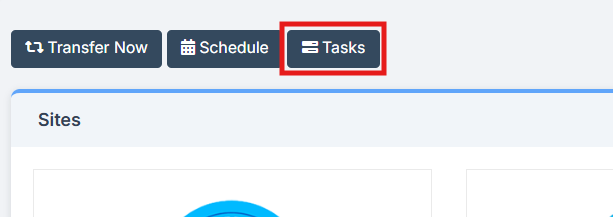
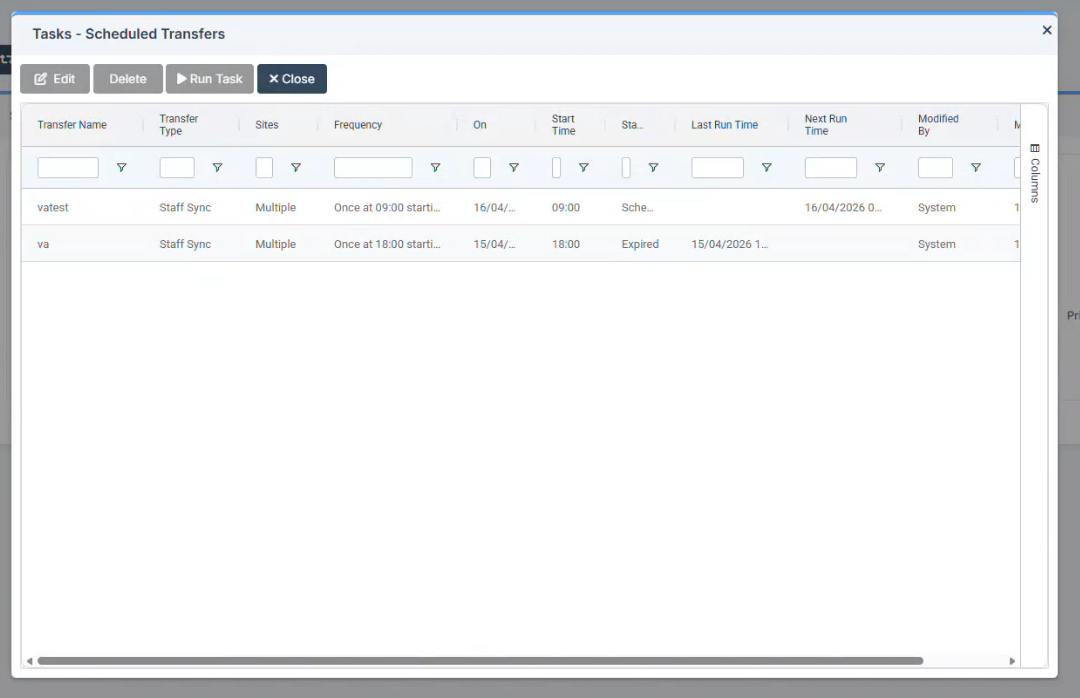
Clicking the Tasks button will show all the Scheduled Transfers that have been saved and provide options to:
- Edit: Make changes to an existing a task once a user has selected a row in the table
- Delete: Cancel an existing a task once a user has selected a row in the table
- Run Task: This will run the saved schedule instantly once a user has selected a row in the table
- Close: Go to Schedule Settings pop up