
In this guide, we show How to Use Automatic Reconciliation to Reconcile Central Payments and Receipts within the Finance Module.
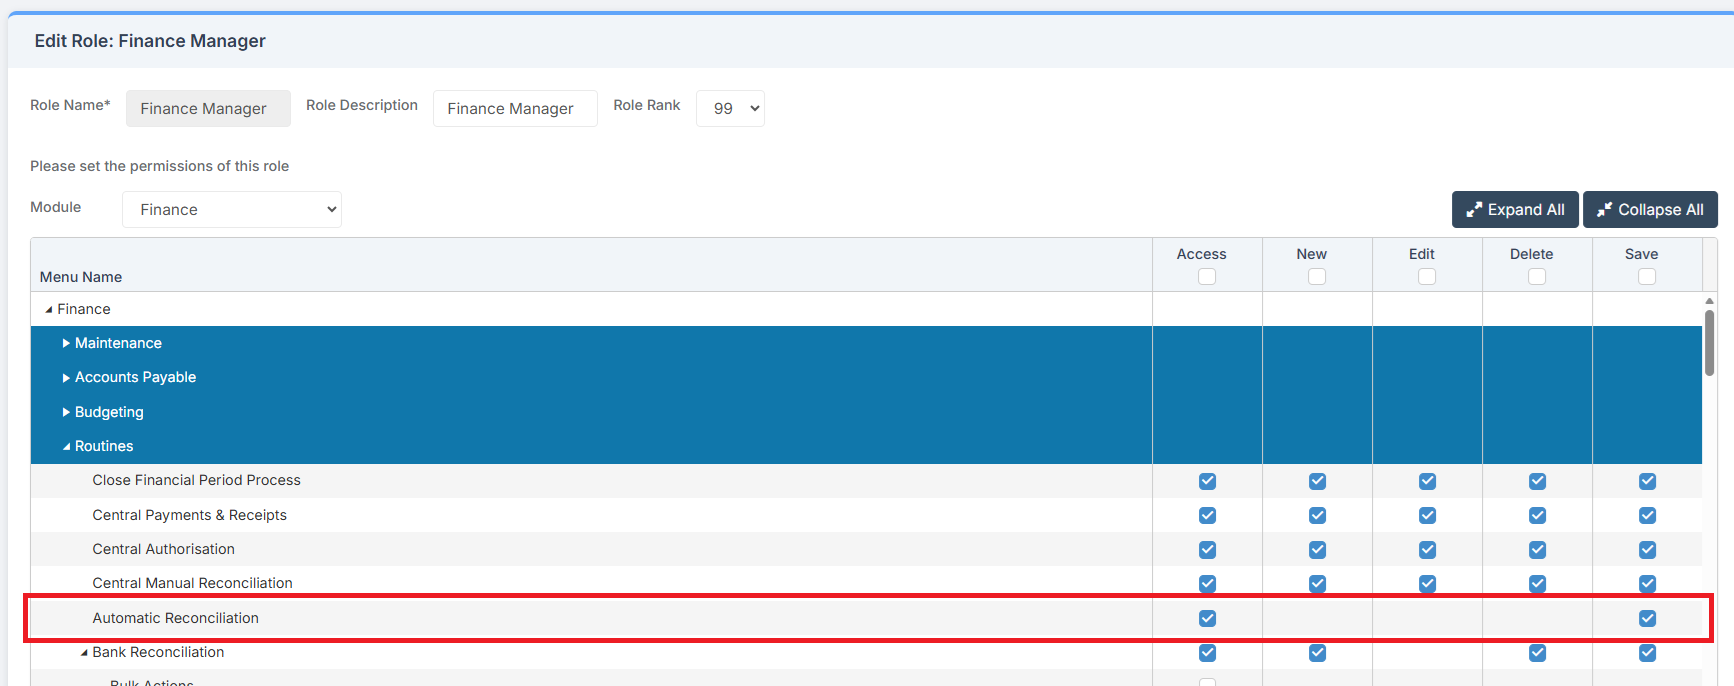
Access: The minimum permissions required to Use Automatic Reconciliation to Reconcile Central Payments and Receipts are found in the Finance Module section of Config > Setup > Roles & Permissions.
This Guide forms part of the CENTRAL PAYMENTS AND RECEIPTS USER GUIDE. Click to see Related Guides.
Related guides:
Note: The Automatic Reconciliation process accepts most file types, including .CSV and .TXT files.
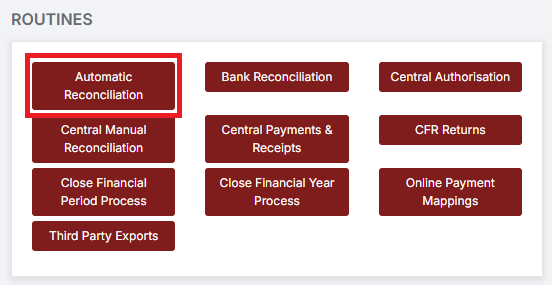
To begin, go to Modules > Finance > Finance Home Page > Routines > Automatic Reconciliation.
Accounts Payable / Central Payments
After the Local Authority has paid the Invoices that were sent to it, it sends a File back to the School to be Reconciled. Save the File.
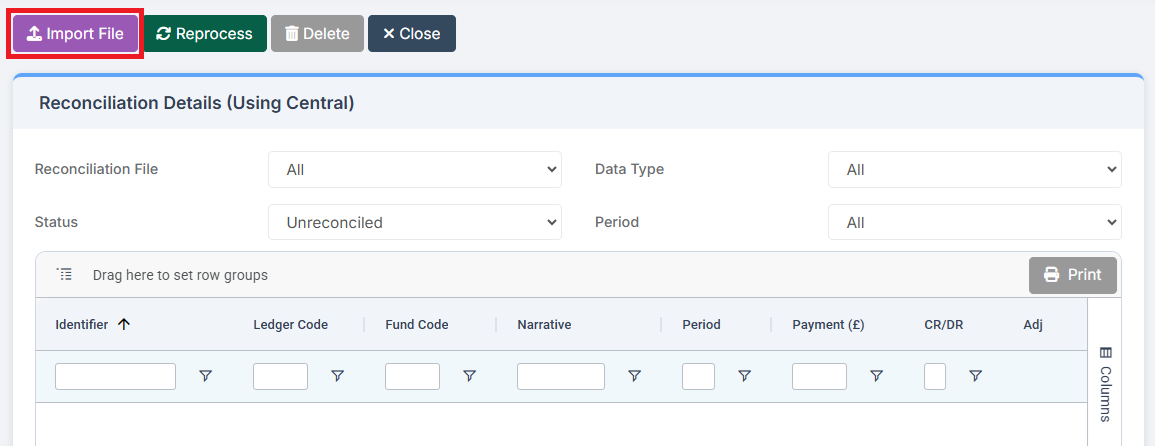
In Automatic Reconciliation, select Import.
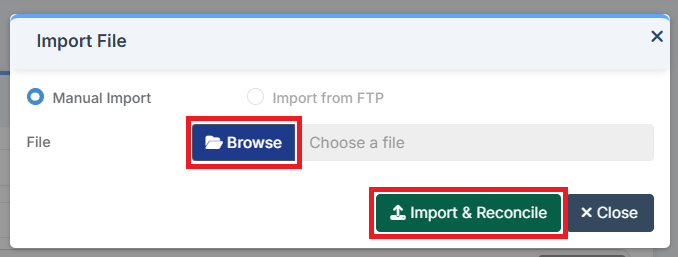
Choose the saved File and click Import & Reconcile.
Items in the File may or may not Reconcile.
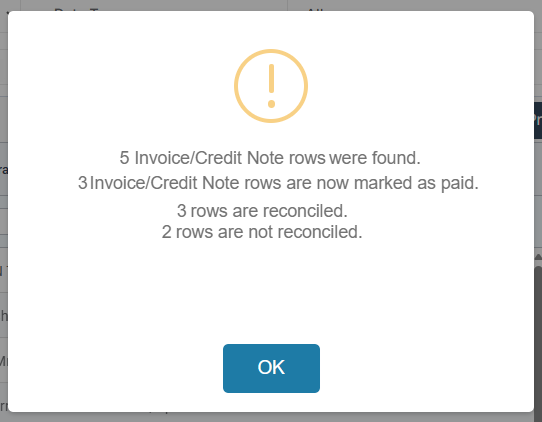
Items that do not Reconcile can be Manually Reconciled. For guidance on this, see:
Note for Financial Year End: If the Local Authority has not paid any outstanding Invoices in the correct year, it is best to cancel the Purchase Order and Invoice and re-raise them in the New Financial Year.
Accounts Receivable / Central Receipts
After receiving a Payment, the Local Authority notifies the School. The School then issues a Receipt. See:
And then the School creates a Paying In Slip. See:
- How to Process a Paying In Slip for a Central Payment
The process of creating a Paying In Slip creates a File that can be used to Automatically Reconciled the Payment. Save the File.
In Automatic Reconciliation, select Import.
Choose the saved File and click Import & Reconcile.
Items in the File may or may not Reconcile. In the instance below, all Files Reconciled.
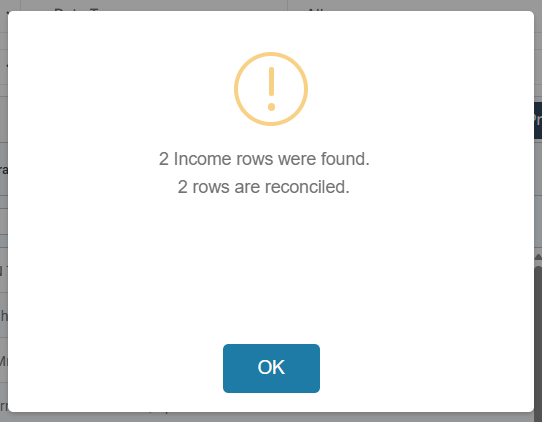
Items that do not Reconcile can be Manually Reconciled. For guidance on this, see: