
In this guide, we will show you how to get use the Options Clash Table. Timetablers can use this table to see total Subject choices made by the Students and where clashes are with the option to drill down to Student level and see choices.
Prerequisites: You must have the Options Module licenced on your MIS. The Options Module is available for all G Cloud 13 One Stop Shop customers and you can get this licenced by emailing onboarding@bromcom.com
Access: Depending on which Options functions you would like staff to see/access, all of the relevant permissions are located in the Options Module of Config>Setup>Roles & Permissions (after it has been licensed).
See also : How to use the Options Set Up Page, How to Import Pupil Choices and How to Review Pupil Choices
View and Filters
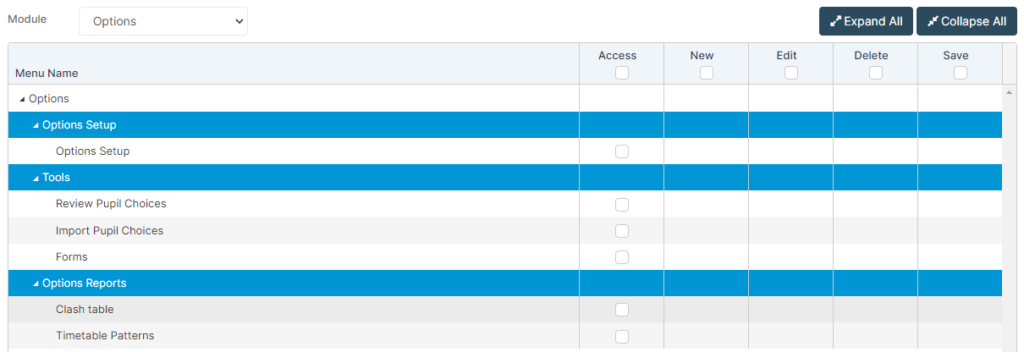
From the home screen go to Modules>Options>Options Reports>Clash Table

Below is an example of the Clash Table panel.

Columns show the Name of the Options Set Up, Associated Year Group, Start Date and End Date, Number of Submissions made against number of Students in the Options Set Up, Dry Run and Actions for each Options Set Up.
Use the Column Headers to filter if required. In this example Group has been typed into the Name Column Header.
This shows the 3 Option Set Ups with the word Group in the Name.

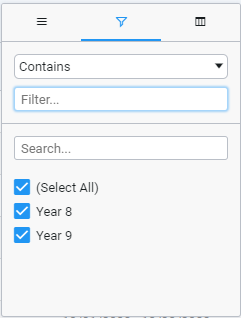
Click on the filter cup to the right of Name, Year, Start Date – End date and Dry Run to see further filter options using the dropdown.


Click the burger stack symbol to the right of each Column Header

From here you can Pin the Column Left, Right or No Pin
Autosize This Column or All Columns and Reset Columns

Use the Filter Symbol to further filter using the dropdown
Use the Grid Symbol to Hide/Unhide Columns to the Clash Table


Actions
Use the Actions Column to either set Subject Parameters or View Clash Table for the selected Options Set Up.


Type in the Subject Name or click the Filter Cup to further filter.


Click in the Min Size of Groups, Max Size of Groups and/or Max Number of Groups to edit if required.


Click Save to complete.
Click on the Grid symbol under Actions to View Clash Table for the selected Options Set Up.

This can be Ordered by Popularity or Alphabetical.
Use the View Choices By: dropdown to view Main Choice only, Reserves only, or Overview Total.

The blue numbers show the total number of Students who have made choices for the Subject. For Example 34 Students have chosen FRE ( French)

The numbers either side show the total number of Students who have chosen the 2 Subjects in the Grid, for example 12 Students have chosen Pe (PE) and Ar (Art).

In this example the Groups Needed shows 3/1 in red. This red text shows that three groups are needed but only one has been specified. If this were to be allowed, it tells us that the average class size would be 85 – above the ‘Max Size’ set.”
Average Size Shows the Average Size of the Groups.
Click on any of the numbers in the Clash Table to see a Student List, below is an example showing the 12 Students who have chosen PE and Art. Use the filters and column headers to further filter.
Click the top right X to close the Student List.
