
In this guide, we will show you how to run the CES Census.
Pre-requisites: Please check that you do not have a pop up blocker active on your browser before carrying out this process, as it will prevent files from exporting later.
Access: The minimum permissions required to access and run the CES Census are found in the Census Module of Config>Setup>Roles & Permissions.

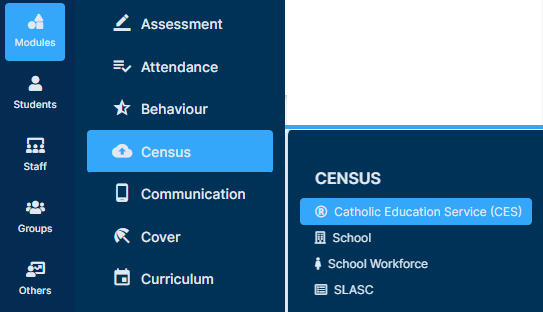
To begin, go to Modules>Census>CES Census.
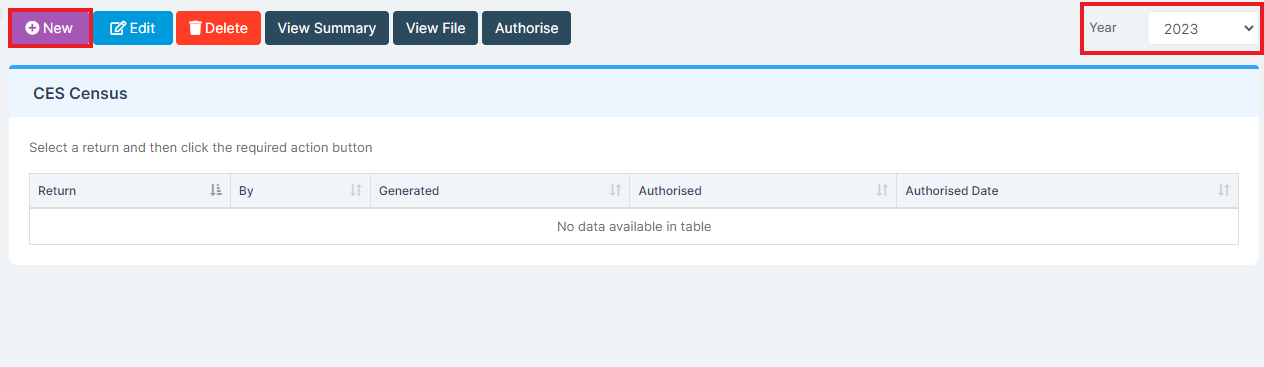
Double check that the Year dropdown (top right) is correct and then press New (top left).
This takes you through to the CES Census, which is comprised of multiple panels show below. Navigate through them and amend any details which you find to be incorrect.
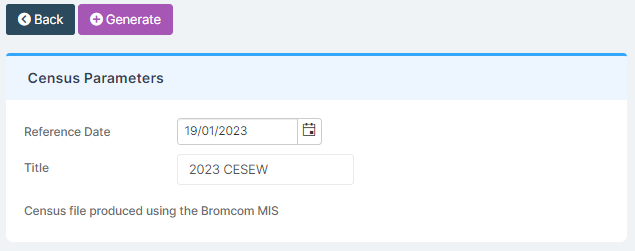
Census Parameters
Do not amend the Reference Date, you can amend the Title if you want.
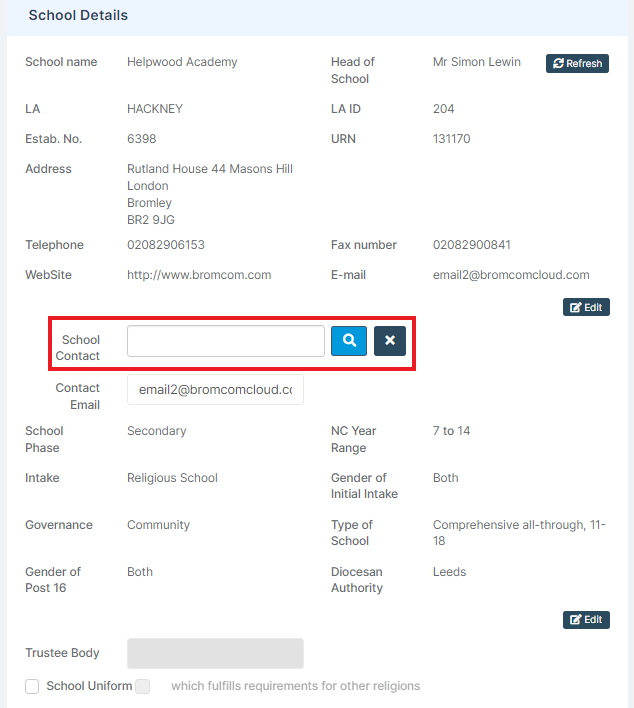
School Details
These reflect your School Details found in Config>Administration>Core Details, pressing Edit will take you there.
School Contact needs to be populated in order to Generate your CES Census later.
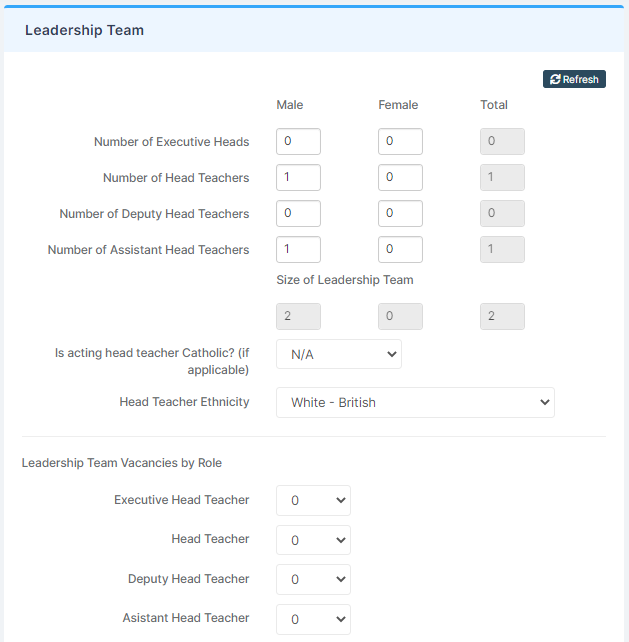
Leadership Team
These figures are automatically populated, pressing Refresh will give you the most up to date figures. They can also be manually edited if required.
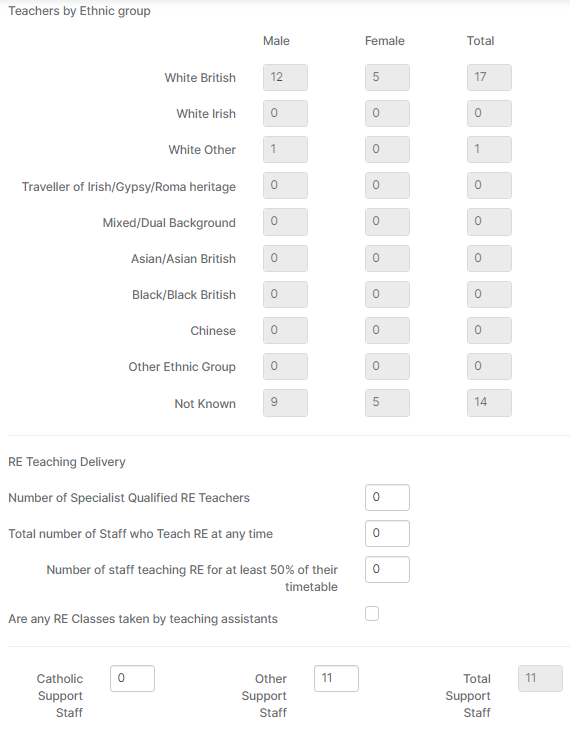
Teaching Staff Details
Again, these are automatically populated. Press Refresh to get the most up to date figures.

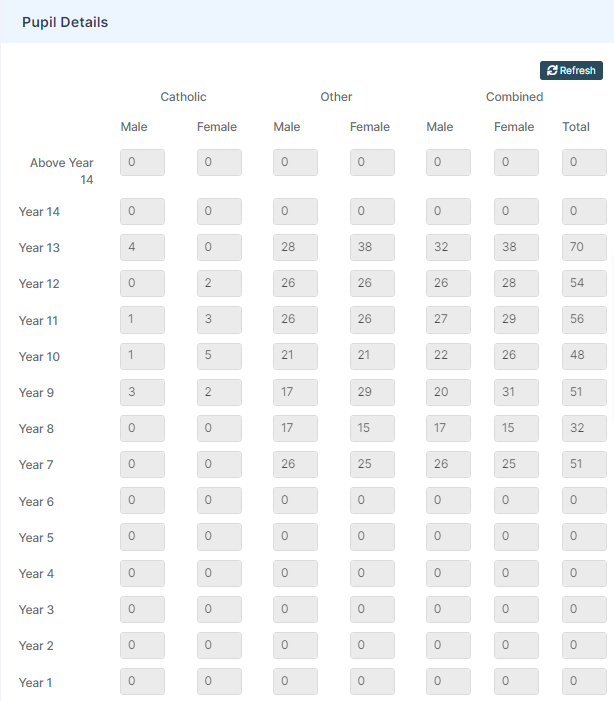
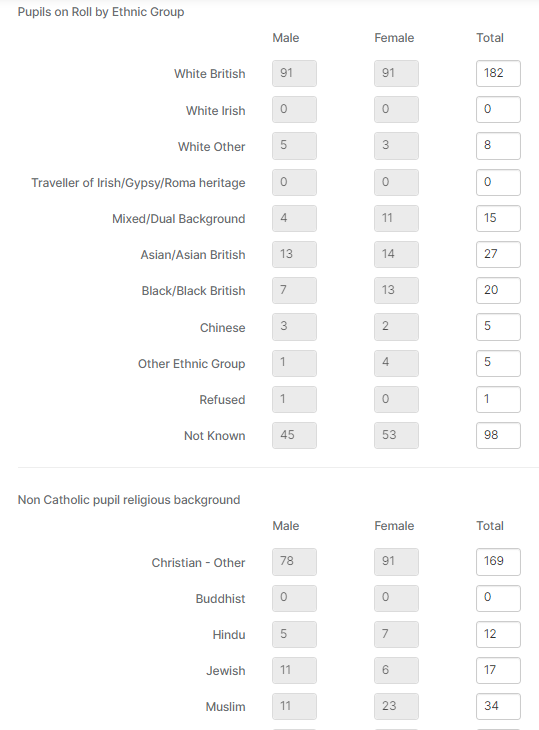
Pupil Details
Another automatically populated section, press Refresh for the latest figures.

Once you are happy with all of the details in each section, scroll back to the top and press Generate.

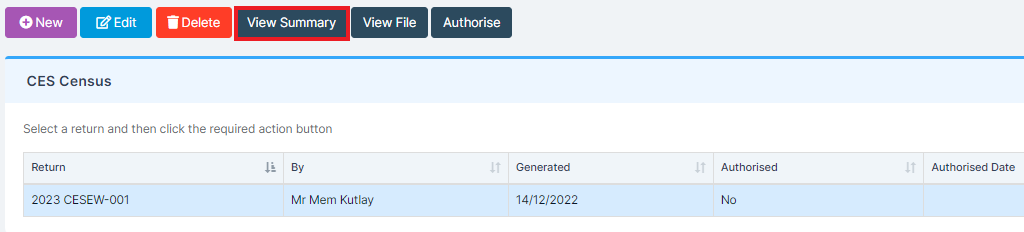
The CES Census return will now appear. Select it and press View Summary.
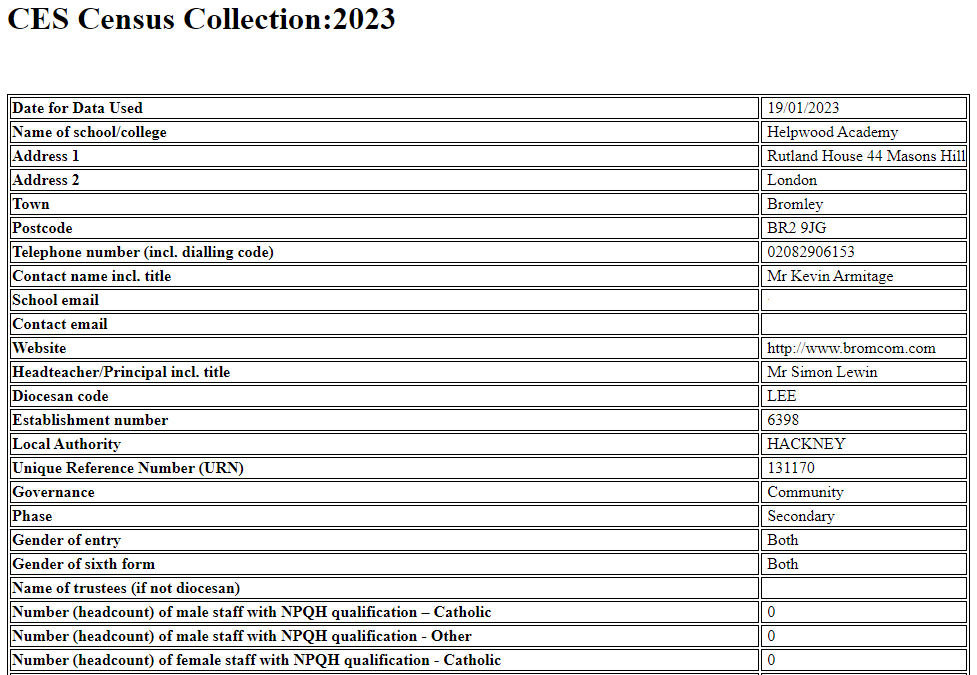
This will provide you with a HTML download at the bottom of your browser, containing a Summary of the data in the CES Census for you to visually check. Not to be confused with the CES Census File that you will eventually upload.

Once you are happy with the data and do not find any discrepancies, you can close the Summary.
The final step is to go back to Modules>Census>CES Census.
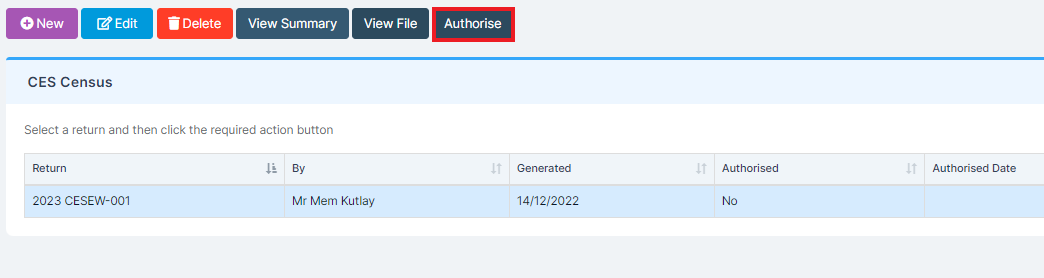
Now select the CES Census Return and press Authorise.
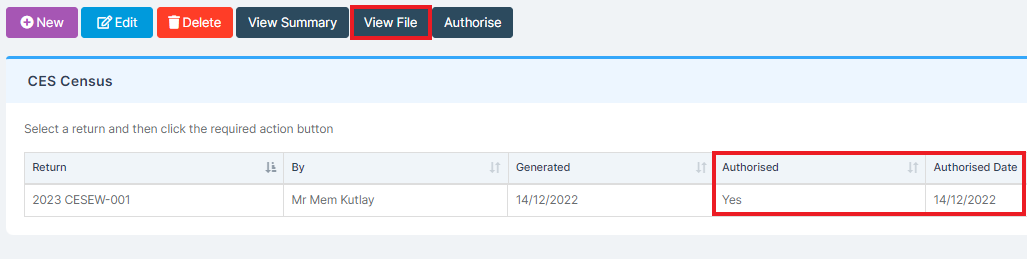
The CES Census Return will now be Authorised.
Press View File to export the CES Census File.
The CES Census File will export as a CSV File at the bottom of your browser. Not to be confused with the Summary HTML File from earlier.
This concludes the steps you need to take within the MIS. You can now upload the CSV File to the relevant location/body.