
Access: The minimum permissions required to access Announcements are found in the MCAS Module of Config>Setup>Roles & Permissions.

In this guide, we will show you how to configure and add Announcements for MCAS. This feature allows users to view school Announcements via MCAS and Push Notification.
From the left Menu, go to Modules>MyChildAtSchool>Announcements.

This will open the Announcement Settings page.

- Enable Announcement Module – tick to Enable and display the Announcement Widget on MCAS.
- Announcement Module Title – the Title entered here will be what will be seen on the Widget on the MCAS.
- Announcement Module Subtitle – this can be left blank
- To make it more personable, entering a phrase like: There are Announcements for %StudentName% will display the Student Name
- No Data Existing Message – a message can be displayed here if there are no current Announcements
- To make it more personable entering a phrase like: There are currently no Announcements for %StudentName% will display the Student Name
Add a New Announcement
To Add a new Announcement, click on the Add New Announcement button.

This will open the Announcement Maintenance page where you can enter the following details;
- Announcement Title – add a Title for the Announcement
- Announcement Message – add the Message
- Group Type – select the Group/s of students that the Announcement is going to be sent to
- AvailableFrom and Available To – add the Dates the Announcement will be available from and available to
- The Available To Date will be the last Date the Announcement will be displayed, so leave this blank if the Announcement does not expire
- Attachments – if required an Attachment can be added by using the Browse button
- Document Name – any Attachments will be listed here, a Delete icon will display to the left

Once you are happy with the Announcement, press Save.
It will then appear in the list below, and you will notice there is now an arrow to the left of the Announcements.
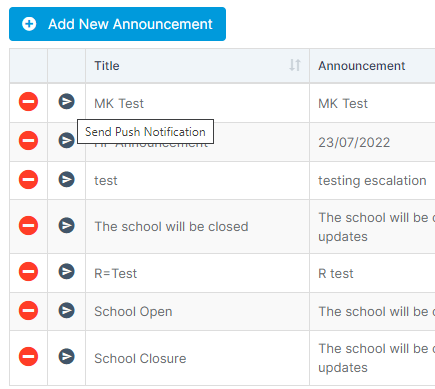
This allows you to send a Push Notification to the parents of the students that you selected when creating the Announcement.
This sends the Announcement directly to parents who have the MCAS App installed and have Notifications enabled on their phone.

If you wish to see how many or which Push Notifications have been sent, you can go to Modules>Communication>Overview.
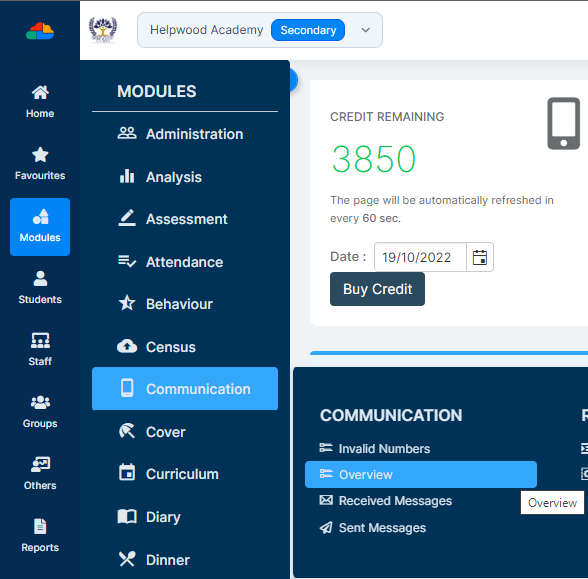
By default, this page will load on the current day (you can use the date selector to change this if needed).
You can use the Push Notification panel on the right to just show you the Push Notifications sent for the day or for the week. They will appear in the Information table at the bottom page.
