
This guide will cover how to create User Accounts for the Student Portal with and without Single Sign on Providers enabled.
Access: The minimum permissions required to access User Accounts can be found in the Student Portal module from within Config > Setup > Roles and Permissions.

Without Single Sign-On
To begin, you will need to go to Modules>Student Portal>User Accounts

Once this page loads, any existing Student Portal User Accounts will show on the page as seen below;

In this example, we have started with a blank setup so that the full process can be shown and a first time set up for Student Portal User Accounts is displayed.

Once the User Accounts page loads, it will be blank because there are no existing User Accounts yet. From here, press New.
Once you press New, this will open a new section where all of the Students without User Accounts are displayed and you have the following options:
Current – This option refers to Students who are currently on Roll.
Leaver – This option refers to Students who have been processed as Leavers.
Future – This option refers to Students who have a future start date/will be joining.
Set this to Current and it will provide you with all of the on roll Students without accounts yet.

From here, you can either use the Select All option, or individually click on the specific Students you want to create User Accounts for and press Next.

Once you press Next, this will take you to the account generation page where you can select to Auto or Manually Generate the Accounts.
It is recommended here to use Auto, especially if you are doing this in bulk. This means that the format of the User Accounts is consistent and the process is more efficient.
When you are ready press Save.

Pressing Save takes you to the final step where the Accounts have been created.
You can choose to Send the Invitation Code Emails at this point, or press Close and send the Emails in your own time.

When you return to Modules>Student Portal>User Accounts, all of your Students with User Accounts will now be visible.
If you did not send the Invitation Code Emails in the last step of the process, you can now send the Emails from Modules>Student Portal>User Accounts Page under Action as seen below;


You will now also see that when you open a Student’s Record, the Graduation Cap on the top right of their record is now Green.
Previously this will have been Grey before a User Account was created for them.

When it is Green, you can click on this to preview the Student’s Student Portal account.

With Single Sign-on
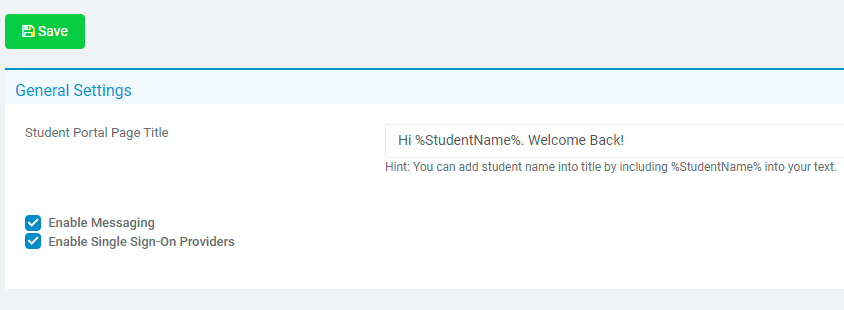
If you are creating Student Portal User Accounts and you have enabled the option for Single Sign-On Providers within Config>Student Portal>General Settings, then the process is a little different to the method where it is not enabled.
When you are on Modules>Student Portal>User Accounts, you will ONLY be able to Import new User Accounts not create them manually.

To obtain the correct template which allows you to Import User Accounts, use the CSV Button highlighted below.
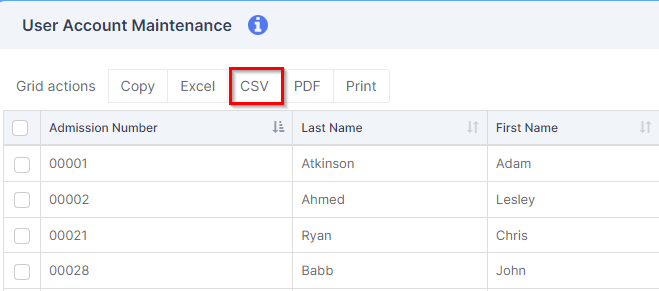
This will export the existing list of User Accounts to your PC as a CSV Download.
It is crucial that you do not amend the Headings within the file otherwise the Import will not work.

Leave the Headings as they are and populate the fields below them correctly for each Student and save the file.
Once the data has been entered, you will be able to Import the CSV File on the User Accounts page, which will create the User Accounts for you.
Note: New User Accounts need to be linked to an Office365 or Google Email Address to use Single Sign-On.