
In this guide, we will show you how to bulk assign Students to Classes, for example when running End of Year processes and creating the Groups for the following year.
You cannot use the export/import routine within the Bulk Group Assignment tool to assign Pre-Admission students to groups. This will need to be done by selecting the relevant groups/students and clicking ‘Go’ or via Groups.
If you wish to complete this off system first, for example by collecting the data on a spreadsheet, you can Import the data. See How to Bulk Assign Students to Groups using Import/Export.
Access: The minimum permissions required to access this feature are found in the Curriculum Module of Config>Setup>Roles & Permissions.

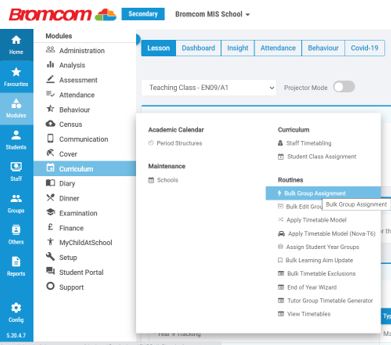
From the left Menu go to Modules > Curriculum and from Routines select Bulk Group Assignment.
In this example we are assigning students to Classes, so leave the setting as the default Class Memberships.

Click Find and use the Group Type Filter set to Teaching Class to find all of the Classes required for both transferring from and transferring to, then click Done.

Select the Students to assign/transfer by clicking the Student Find or by typing their name into the window and clicking to add to the Student Selection List.

When all Students have been selected click Go.
The Bulk Group Assignment page displays the current Memberships status of the Students selected.

For multiple selections make sure the Add/Remove on click option is selected from the dropdown list.

Amend the Start Date to the required date.

Untick the relevant Classes for each Student that you wish to remove their memberships from and tick the Classes you wish to re-assign the Students to as of the Start Date selected.

When you’re finished click Save and Close.
The Auto Allocate button can be used to randomly allocate memberships across a selection of classes. Use Remove All Memberships to clear the allocation if you are not satisfied with the allocation provided):

Note: When using Auto Allocate the system will assign a Student in rotation to any Blocks which have more than one Group. Once allocated, these can be adjusted using the Bulk Group Assignment page for the respective Groups.