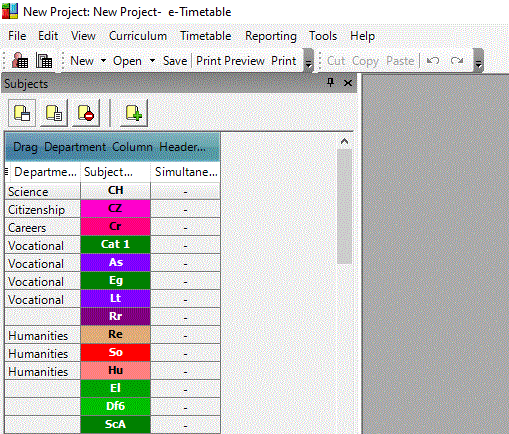
Note: All pages shown below are subject to having relevant Roles & Permissions.
In this guide, we will cover all of the steps required to carry out the following processes regarding e-Timetable;
- Install e-Timetable
- Connect e-Timetable to your MIS
- Curriculum Planning Tool
- Exporting a Timetable from e-Timetable to Bromcom
- Importing a Timetable from Bromcom to e-Timetable
Note: Please ensure that you are storing the e-Timetable files locally and not on cloud/network storage, such as Sharepoint or OneDrive.
e-Timetable is a Timetabling Software that is available for Schools to create Timetable Projects, which can then be Imported into Bromcom.
The benefits are being able to make changes to your Timetable outside of the MIS and being able to have multiple Projects which allow you to use different Timetables throughout the Academic Year if required.
See also e-Timetable FAQ
Install e-Timetable
The first step is download and install the Software.
This is done by clicking on the User Profile Menu>Versions within Bromcom.

Once the Versions page loads, you will see a Download Client Installers list on the right.

From this list, click on the e-Timetable Installer (32-bit or 64-bit).

This will open a new tab on your Browser and show the following Warning, press Continue.

Pressing Continue will begin the download of the e-Timetable Installer and it will appear at the bottom of your Browser.
Note: Pop up blockers may prevent it from appearing at first, check for any blockers if the installer does not appear after a few seconds.

Click on the download to begin installing the program.
Once it begins to run, press Install.
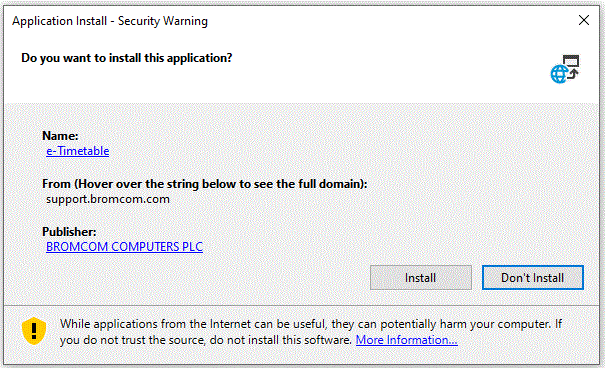
Allow the program a minute or so to finish installing.

Once the download has completed, e-Timetable will open automatically and you will see the following screen;

You will not be able to create a Project until the Connection Settings between e-Timetable and your MIS have been configured.
This will be covered in the next section of this guide.
Connect e-Timetable to your MIS
Now that e-Timetable has been successfully installed, the next step is to connect it to your MIS.
To begin, open e-Timetable and go to Tools, where you will see Connection Settings.

You will then see the Server Settings screen, where you need to enter cloudmis.bromcom.com as the Bromcom MIS Server Name and press OK.
Note: Ensure that Use SSL is ticked.

You will then return to the Home screen of e-Timetable where you are asked if you want to Create or Open a Project.
You can press File>New>Project or reboot e-Timetable to Create a New Project.
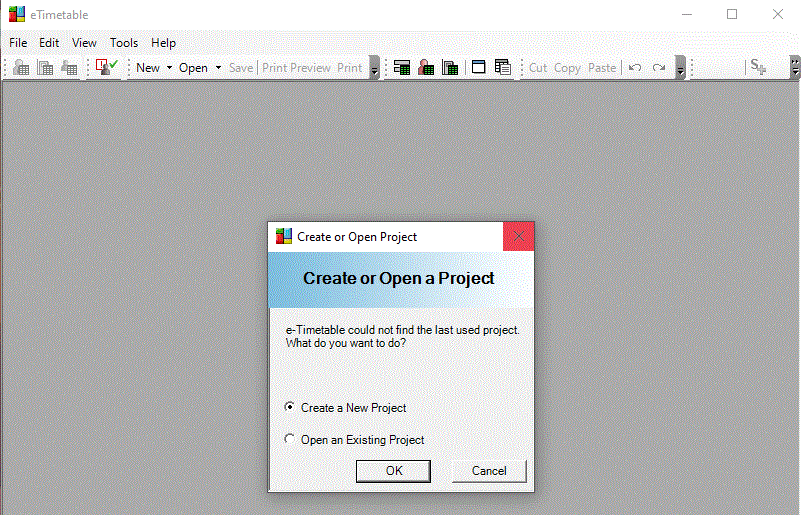
After selecting Create a New Project, press OK.
You can then name your new Project and select a Default Folder before pressing Next.
Note: Creating a designated folder on your PC to store all e-Timetable Projects is recommended. The timetable files must be stored locally on your machine. Saving them on a network / Google drive or SharePoint can cause the files to corrupt.

The Connection Settings that were configured earlier mean you should now see the following screen where credentials are required.
You must tick Use Cloud Services to be able to enter the School ID.
Note: If you normally use SSO (Single Sign On) to access Bromcom, you will need to obtain your original credentials and use them here. See: How to manage Staff Passwords (Non SSO).
Once you have done this, enter your personal login credentials as if you were logging in to Bromcom. This will be your School ID, your username and your password.
Note: Please ensure that you are doing this on a Local PC and NOT on a Network Drive / OneDrive / SharePoint / USB – it must be local storage.
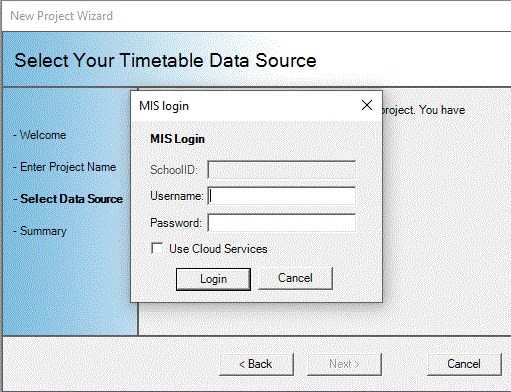
Once they are entered, press Login.

You will then be asked which Entities/Data you wish to Import TO e-Timetable FROM your Bromcom MIS (This data can include Staff, Departments and Bands).
Import the data you desire, give the new Timetable a name and press Import.

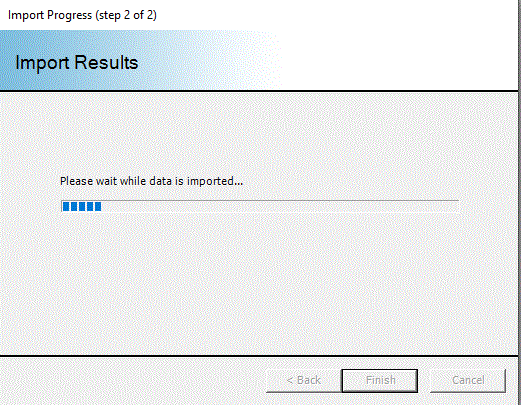
Grab a nice drink and allow e-Timetable the time it needs to Import your MIS data.
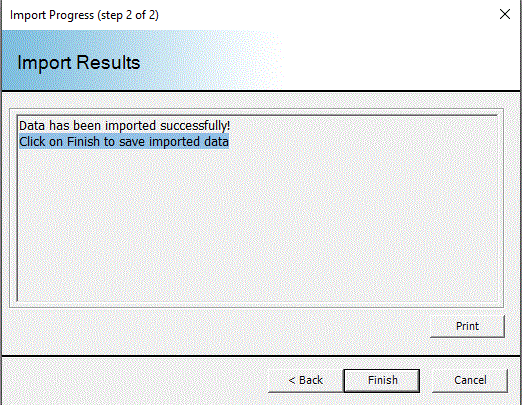
Your data should now have Imported successfully and can now be amended or used within e-Timetable.
Press Finish.
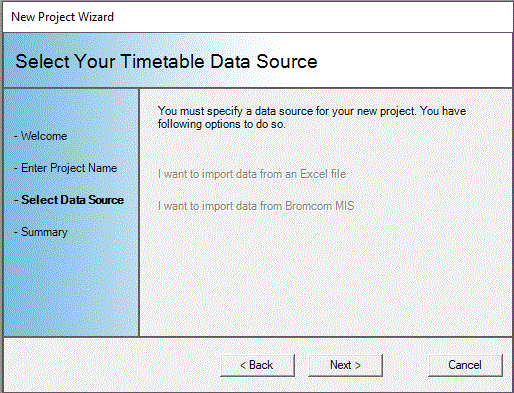
You can now press Next because you have provided Source Data from your MIS.
Press Finish.

The Project that you just created will appear for selection, make sure it is highlighted and press OK.
Note: If you have multiple projects, ensure that you highlight the correct one.

The Timetable Project will then open automatically for you to begin amending.

Curriculum Planning Tool
Before we proceed further, there are some key factors to consider.
- e-Timetable offers the ability to create and manage your Timetable within e-Timetable and Export it to Bromcom.
- You can then, make small changes within Bromcom to individual classes for example and then Import those changes back to e-Timetable to keep both Timetables up to date.
- Or, you can use e-Timetable to implement ALL changes, but for them to take effect in Bromcom you would have to Export the project into Bromcom and re-apply it each time. We recommend the former (make small changes in Bromcom and Import back to e-Timetable as you go).
- Big changes should be made in e-Timetable while Structural changes such as adding Periods or changing lesson Times MUST be done in e-Timetable.
- Lastly, the Timetable in Bromcom must have been originally created in e-Timetable to be able to Import changes back to e-Timetable.
- You cannot Import a Timetable from Bromcom to e-Timetable if it was originally created using another program such as Nova T.
To begin amending your Timetable Project, you will need to use the Curriculum Planning Tool.
This is found within the Curriculum heading at the top of the screen

This Tool allows you to manage and create Blocks, Bands and Subjects. The bulk of the work within e-Timetable will be carried out here.
Once it opens, you will be able to navigate various tabs which allow you to amend different areas of the Timetable.

Note: The buttons at the top each provide a function, the tabs at the bottom each house a different area of the Timetable.
Hover over the buttons at the top to see their function.

Once you have used to Curriculum Planning Tool to create your new Timetable (Saving as you work), you are now ready to Export it in to Bromcom.

Exporting a Timetable from e-Timetable to Bromcom
To Export your Timetable from e-Timetable to Bromcom, go to File>Export at the top of e-Timetable and select Export Data to Bromcom MIS.

You will be reminded to Save if you have not recently.

You may also be asked to provide your login credentials again if you closed e-Timetable recently.
Note: As stated earlier in the guide, you need to tick Use Cloud Services and you are entering your personal credentials that you use to log in to your MIS daily.

You will then see the following screen where you can either Select existing model to Export into/update or Create a new model in Database.
Select existing model allows you to overwrite the contents of the selected Timetable as it currently is in Bromcom.
Creating a new model in Database is for creating and Exporting an all new Timetable into Bromcom, rather than updating an existing one. You will then be able to apply it later.

For a first time user, select Create new model in Database, name the Timetable Project and press Export.

Wait for the data to Export into Bromcom.

If there are no errors or clashes, your project will have Export successfully.
Press Finish to complete the process.

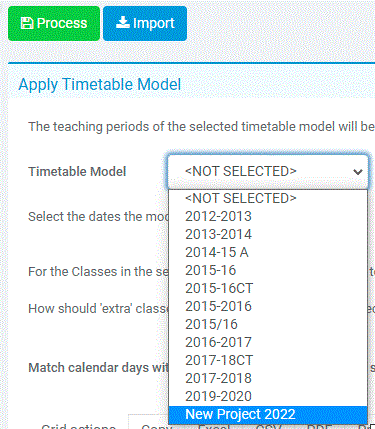
Within Bromcom, you should see the Timetable Project when you go to Modules>Curriculum>Apply Timetable Model.
Importing a Timetable from Bromcom to e-Timetable
The last option left to cover is Importing a Timetable from Bromcom to e-Timetable.
This is used when you make minor Timetable changes within Bromcom and then want keep your e-Timetable Project up to date by Importing the latest version back to e-Timetable.
To begin, you must already have a Timetable in Bromcom which was originally created within e-Timetable.
If this is the case, open e-Timetable and go to File>Import>Import Bromcom MIS Data.

You may be asked to enter your credentials again if you have recently closed or re-opened e-Timetable.

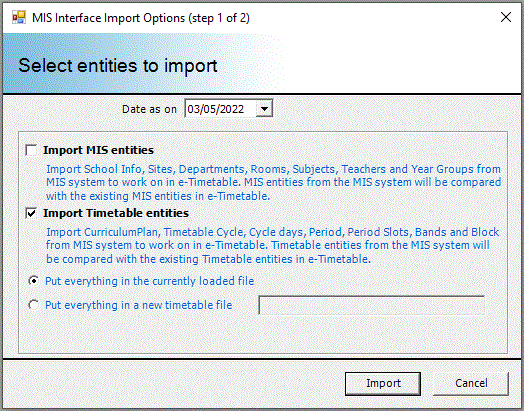
You will then see the following screen. When Importing from Bromcom to e-Timetable, you ONLY Tick Import Timetable Entities.
This means that the components of the Timetable that have been updated in Bromcom Import in to e-Timetable, rather than the entire School set up again.
Select Import Timetable entities and press Import.
After a short wait, the Timetable will Import successfully.
Press Finish to complete the Import.

The Timetable will then open automatically and will be able to use/amend in e-Timetable, with the manual changes implemented in Bromcom already included.
