Use this guide to add a new Dinner Menu and publish it on MCAS, this guide covers the following tasks;
- Add New Menu
- School Holidays and Rotations
- Medical Conditions and Dietary Needs
- Download Template and Import Items
- Add Menu Items
- Publish Menu to MCAS
See Also: How to Setup Meal Types and How to Configure the Dinner Module
Access: The minimum permissions required to access Dinner Menus can be found in the Dinner module from within Config > Setup > Roles and Permissions.

Add New Menu
Navigate to Config > Dinner > Dinner Menus.
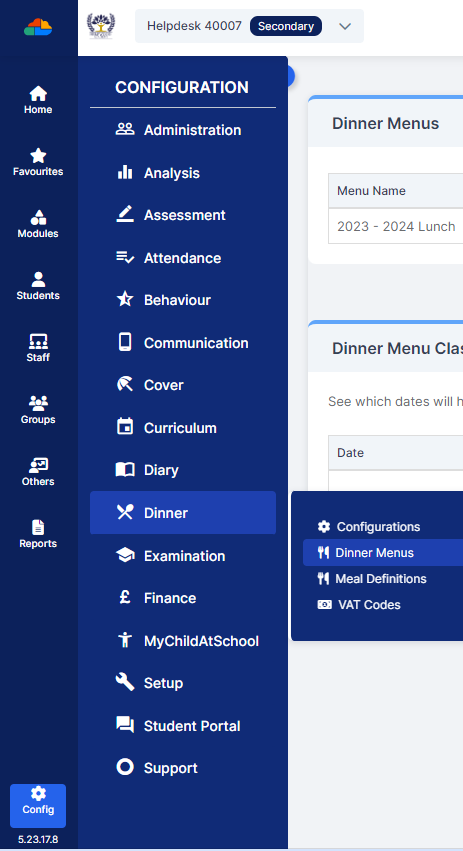
In the Dinner Menu page any pre existing Menus will be visible.
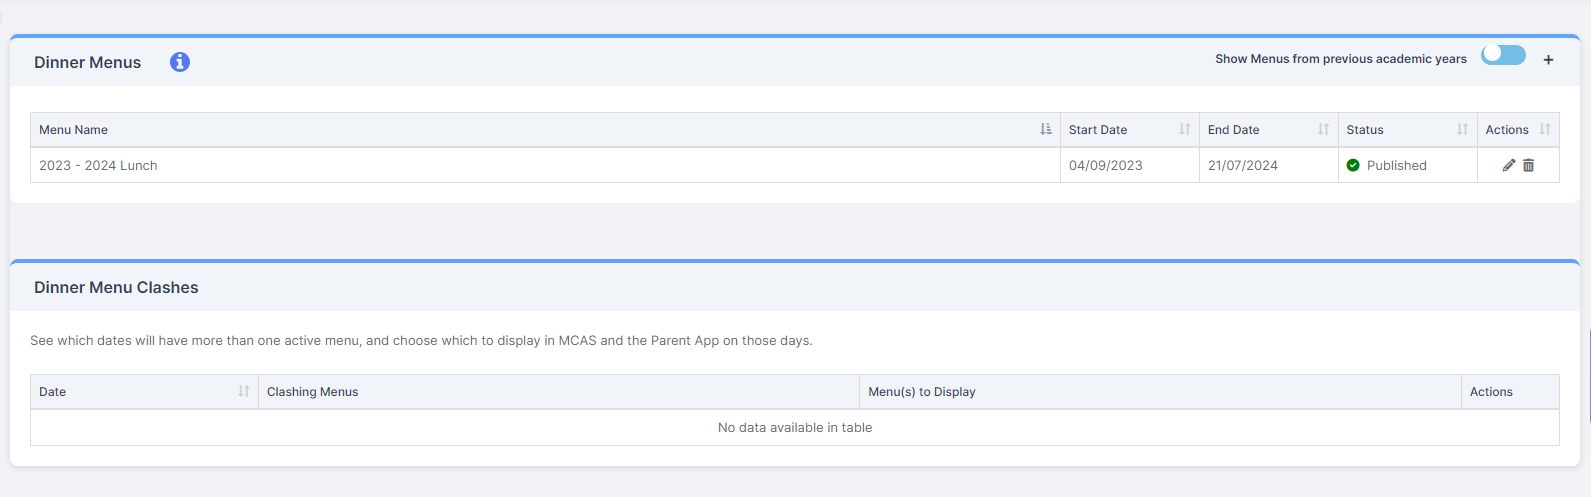
Click the Plus icon in the top right-hand corner to Add New Menu.

Use the Menu Details screen to all of the relevant information.
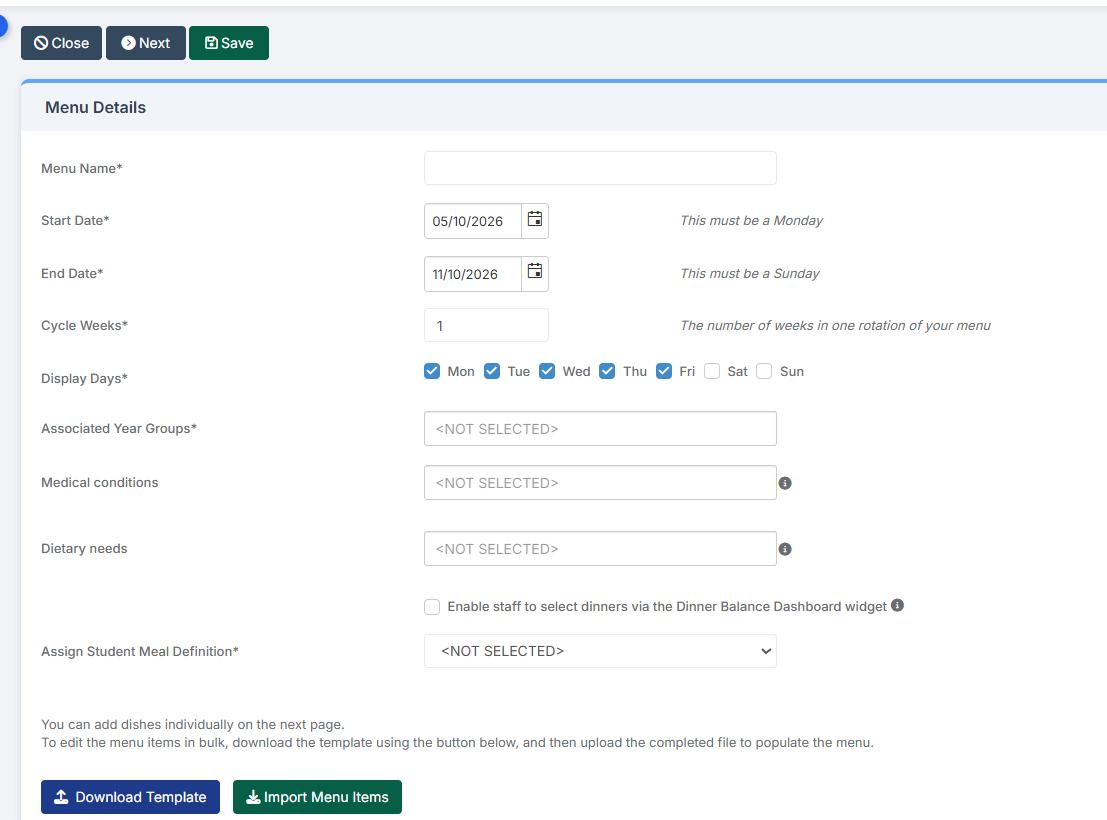
In the example below, we have created a Menu which is only visible to Year Groups 7-11.
This Menu has a 2 Week Cycle, which means there are 2 separate Weeks where the choices are different and they rotate each Week.
For example;
- Week 1 has Meal Choices 1-5, after Friday Week 1 it will switch to Monday Week 2
- Week 2 has Meal Choices 6-10, after Friday Week 2 it will switch back to Monday Week 1
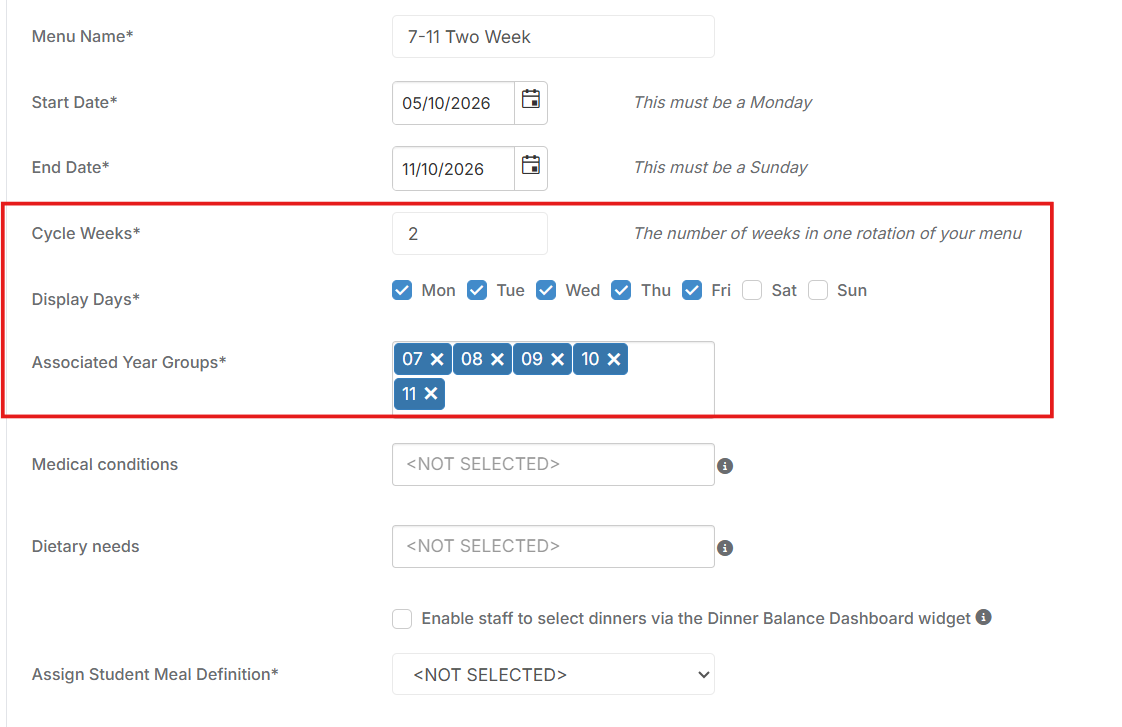
School Holidays and Rotations
Important : Please take holidays into account when setting the dates for the menu.
- If Dinner Menu rotation is in place, the rotation will continue during holidays.
- So, for example for a 3 week rotation and the last week prior to a holiday was a Week 3, then you had a 2 week break, the week you return would be another Week 3.
- We would recommend that most schools set the Menu to end prior to the holiday, and then begin a new Menu when the Students return.
Medical Conditions and Dietary Needs
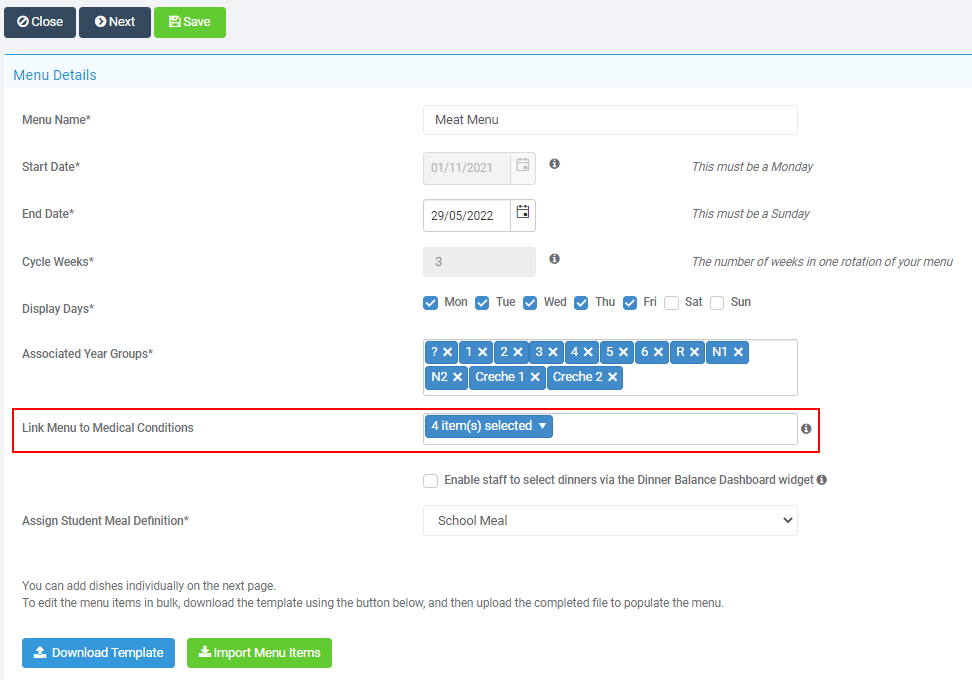
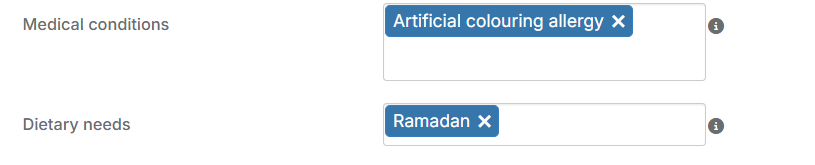
If required choose to Link Menu to Medical Conditions or Dietary Needs by selecting the relevant fields.
- This means that the menu will only be available to Students who have been recorded as having the selected Medical Condition(s).
- Note: If no Medical Condition(s) or Dietary Needs are selected the menu is available to all students.
Download Template and Import Items
At the bottom of the page, there are options for Download Template and Import Menu Items.

Pressing Download Template will produce a Template download where the user can create and amend multiple Menu Items in one place then Import them.

Once you have this Template, it may be necessary to add an additional row to the Table and then add the information under each Column for the Menu Item.
Note: It is crucial to not amend the Column Headings otherwise the Import will not work.
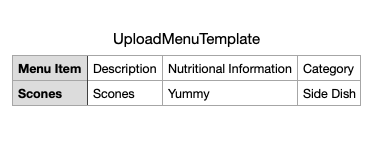
Once the template is complete, press Import Menu Items and browse to choose the Template.
Once the Template has been Imported, a Success Message will confirm the import.
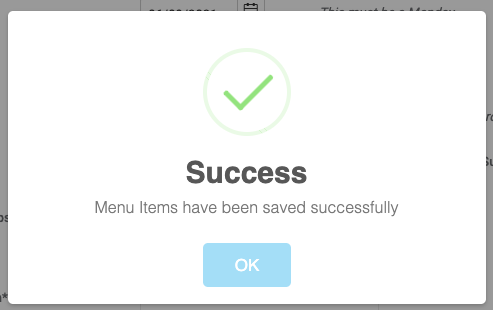
Check the Menu Items by pressing Next at the top of the page, the Items you created should be visible.

Once Menu items have been imported or created click Next.
Add Menu Items
Use the Menu Items page to Select or manually Add Menu Items to be on your Menu.
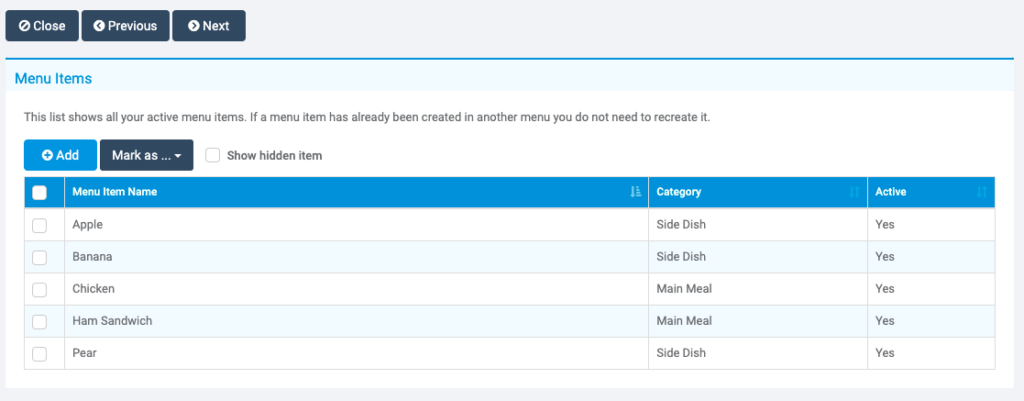
To create a new Menu Item manually, press Add to create a new Meal Choice.
Note: An image can be uploaded for each menu item to help parents and students identify meal choices in MCAS. Image files must not exceed 200 KB.

Once complete press Save.
To add a Category like Vegan or Light Snack, these can be added via the Lookup Tables within Config > Administration > Lookup Tables > Dinner Food Option Category.
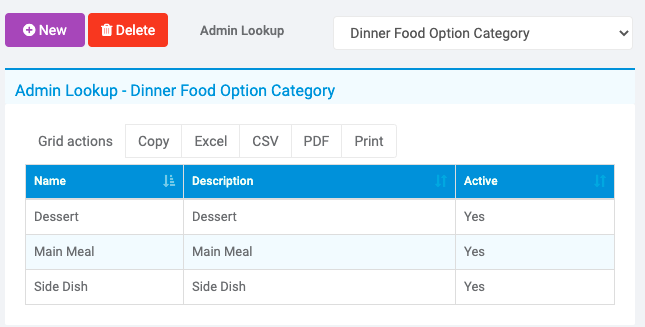
Here you can create new Categories which you can then select when you make a new Menu Item.
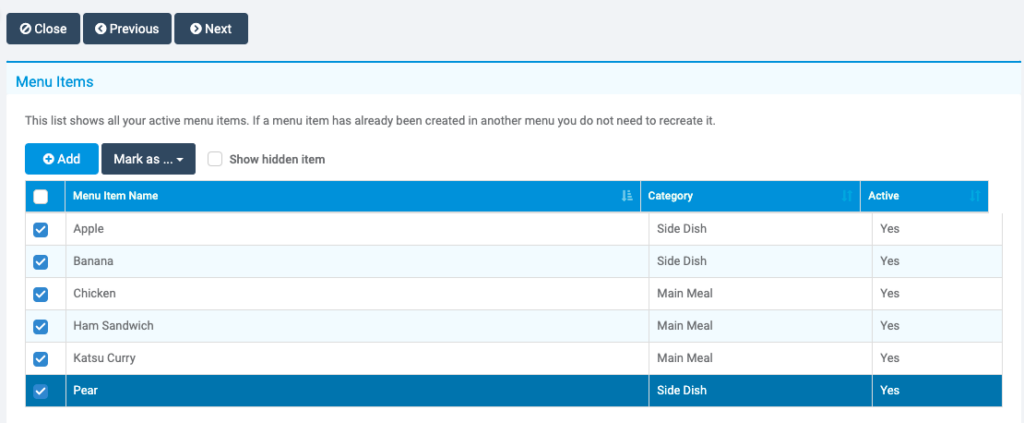
Once all of the Menu Items are in place Highlight/Tick the ones you want to use and press Next.
In the final page determine which Menu Items are available on which Days and Weeks.
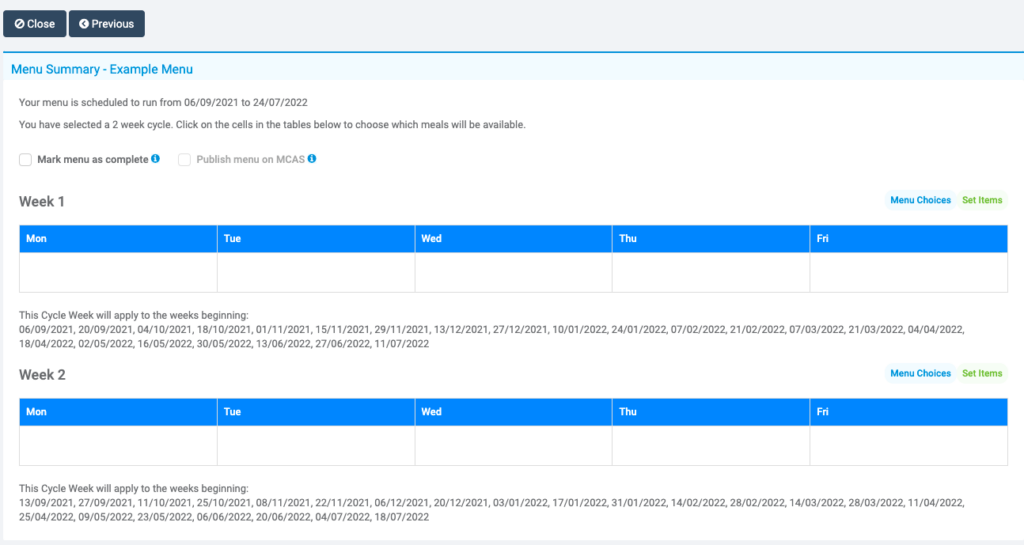
To do this, Hover on the space under one of the Weekdays until it turns blue then click on it. The user is prompted to add a Meal Choice.
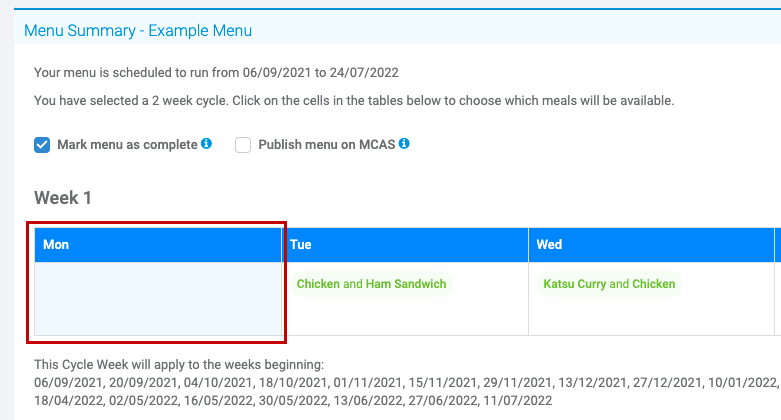
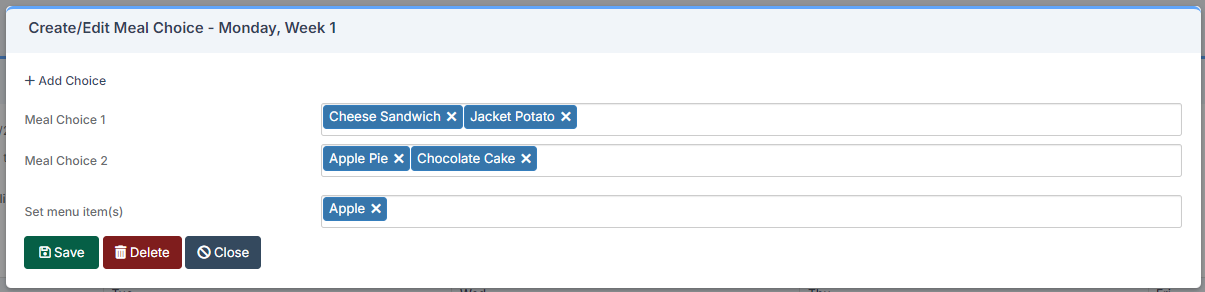
In my example, select which Meal Choices the schools wants to be available for Monday Week 1.
Set Menu Items are given to all Students who make a Dinner booking on that day, regardless of the choice that they make. Click Add Choice if you would like to give the Students options to select from.

In the example below, when making a Dinner Booking, the Students would have to make a choice between a Cheese Sandwich or a Jacket Potato, and then a choice between Apple Pie and Chocolate Cake, and all Students who make a dinner booking will receive an Apple.
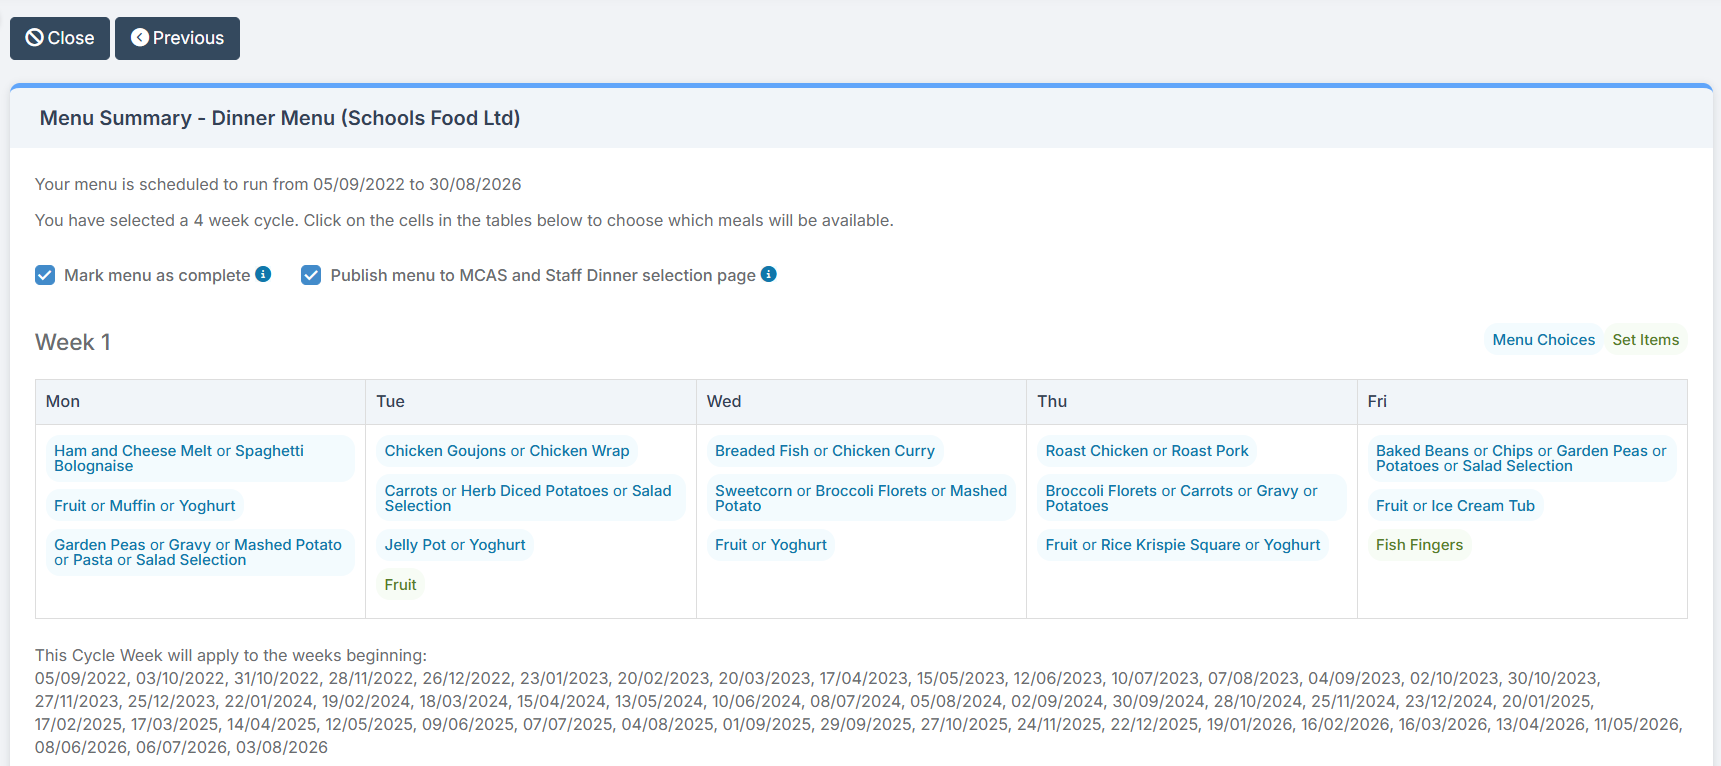
Continue until all of the Menu Days and Weeks have Meal Choices selected.
Publish Menu to MCAS
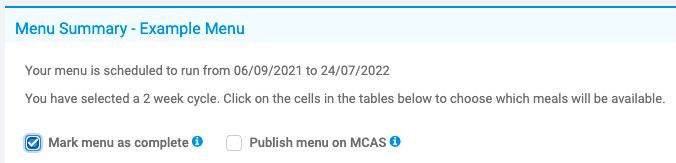
Once you Mark the Menu as Complete a Success Message will pop up, as well as the ability to Publish the Menu on MCAS.
Note: The Start/End Date defined when first creating the Menu will determine when the Menu will be visible on MCAS and for how long.

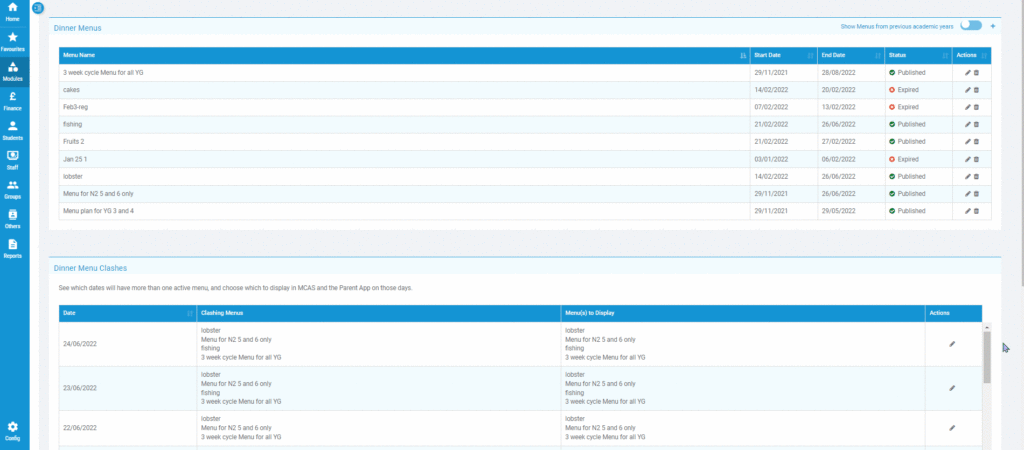
Go back to Config > Dinner > Dinner Menus, the new Menu will appear with a status of Complete.

The option to add Multiple Dinner Menus has been added.
- Where Menus overlap, they will be displayed in the Dinner Menu Clashes section.
- Clicking on the Pencil icon to the right will give the option to select or remove the Menus to be available for that Date.
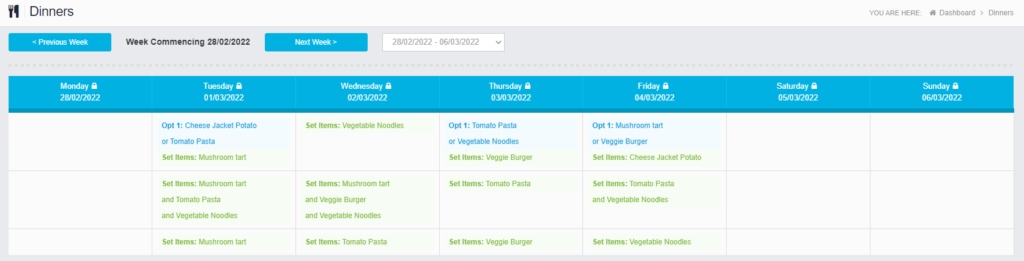
The option to select from Multiple Menus will then be available in the MCAS Parent Portal.
Important Note: Where parents of Pre-Admission Students have been added to MCAS in advance of the Student’s enrolment date, it will not be possible for the parents to book Dinners until the Student is actively enrolled at the school.
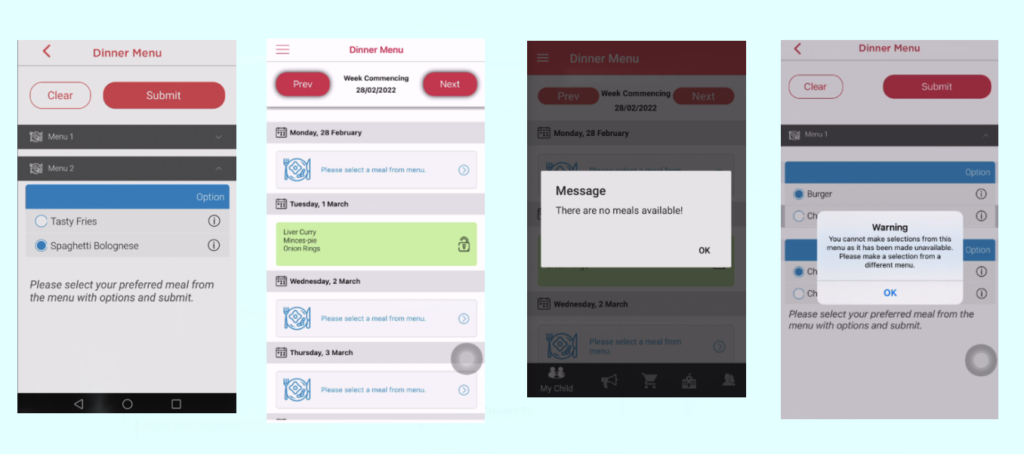
This will also be reflected in the MCAS Parent App.
Note: Parents using the MCAS Parent App will need to download the latest version from the Google Play Store or the Apple Store to see the changes.
The option to link a Menu to Medical Conditions has been added. Only Students or Staff who have the selected Medical Conditions will be able to see the Menu.
Note: The Medical Conditions displayed in the dropdown list will be those created in the Lookup Tables.