
In this guide, we are going to show you how to manage Exam Entries and Submit Entry Files from within the Examination Module
This as a ‘manual’ process (as appose to submitting files via an A2C link) where the Exam Entry files are created and then once downloaded the files can be uploaded to the Entry Carrier for example A2C
IMPORTANT : we strongly recommend checking with the exam boards directly to ensure they have received your submission files.
Access: To follow this guide, you will need the following minimum permission from the Examination Module of Config>Setup>Roles & Permissions.

See also
Once the Exam Entries have been made in Bromcom go to Modules> Examination> Manage Submissions to Submit the Entry files.
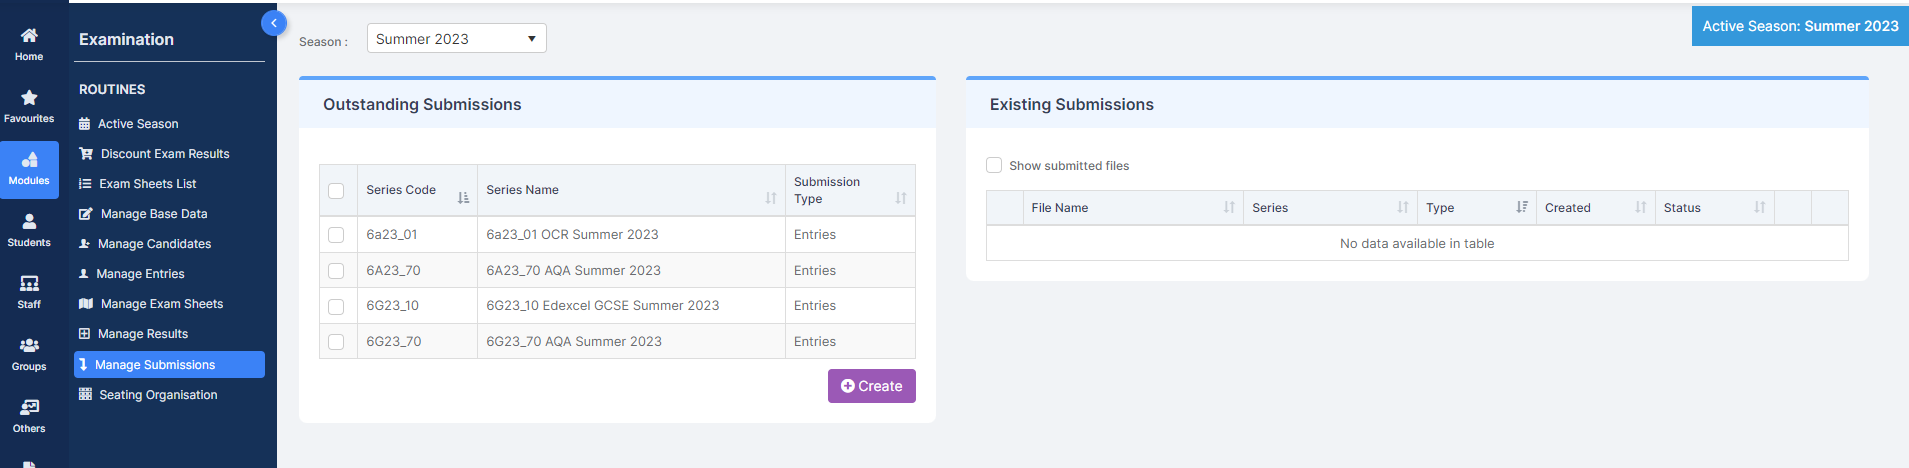
In this screen you will see Outstanding Submissions and Existing Submissions
To make a Submission;
Either select all the files in the Outstanding Submissions Panel or click individually
Click Create

The selected files will then move over to the Existing Submissions with the Status Not Submitted

In the Existing Submissions Panel you can choose to View Candidates, Download the file or Tick – mark as Submitted

Click View Candidates

This produces an online view of the Name, Candidate Number, Exam Code and Entry Code

Click Download

This produces an entry file with Candidate and Entry Information to Download to your computer in the file type of your choice, example in Word below;

Tick to Submit

This is just a reference to yourself that you have Submitted the file
Then click to download the Entry files to your PC.

Click on Show submitted files to see all Submissions

Once a file has been submitted, you can un-submit it by clicking the icon next to the Download icon.
Once downloaded the Exam Entry files can be uploaded to the Entry Carrier for example A2C.
IMPORTANT : we strongly recommend checking with the exam boards directly to ensure they have received your submission files.