In this guide, we will show you how to use Forms within the Options modules
Timetablers or Curriculum Managers can use this guide to;
- Forms Page. See which Students have made choices against a selected Option Set Up with the ability to customize the Form, submit choices and reserves and send email reminders to Students.
- Fixed and Flexible – see examples of how Subject Groups show on the Student Form
- Student Forms. See examples of an option form sent to a Student and how they access the Form
Prerequisites: You must have the Options Module licenced on your MIS. The Options Module is available for all G Cloud 13 One Stop Shop customers and you can get this licenced by emailing customercareteam@bromcom.com
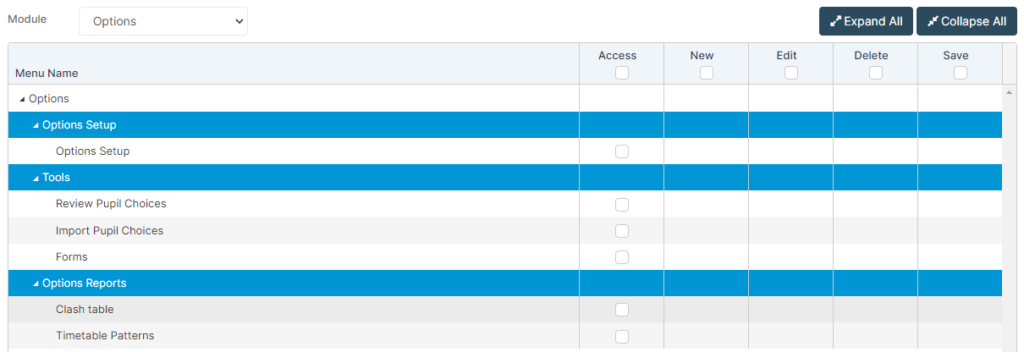
Access: Depending on which Options functions you would like staff to see/access, all of the relevant permissions are located in the Options Module of Config>Setup>Roles & Permissions (after it has been licensed).
See also :
- How to use the Options Set Up Page,
- How to Import Pupil Choices,
- How to Review Pupil Choices,
- How to use the Clash Table
- How to use Timetable Patterns
Forms Page
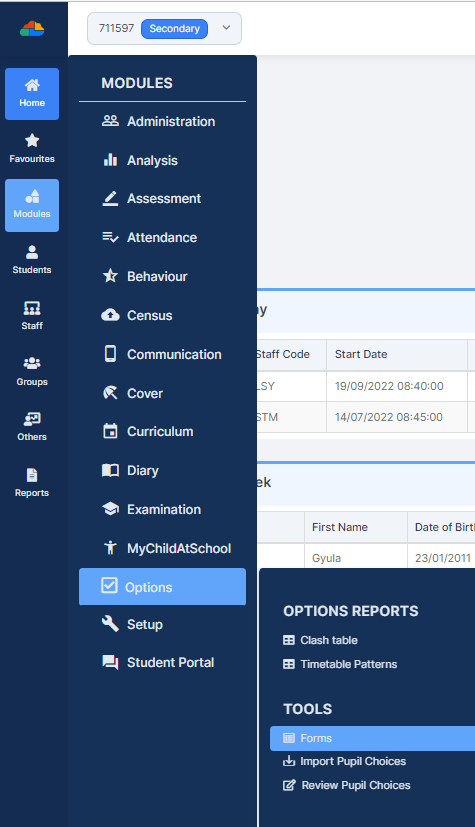
From the Home Screen go to Modules>Options>Tools>Forms
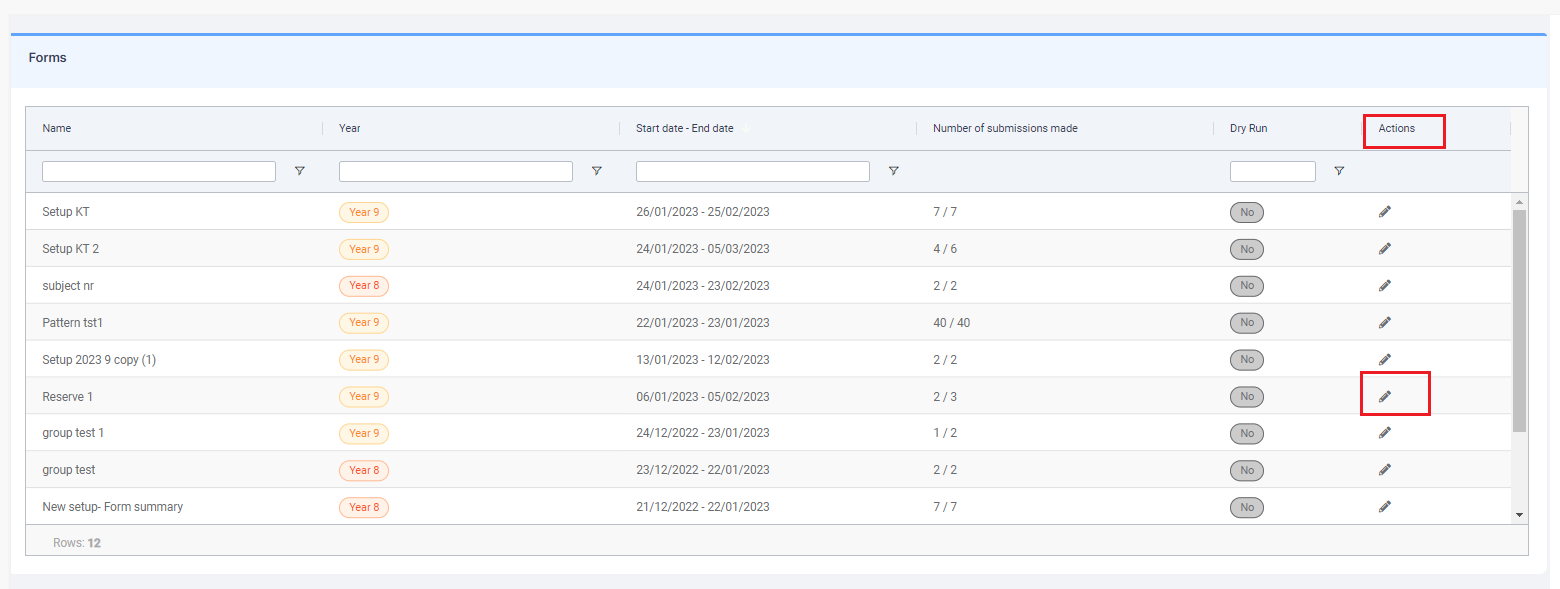
The Forms Panel shows a table of Option Set Ups with the columns Name, Year, Start Date – End Date, Number of Submissions, Dry Run and Actions
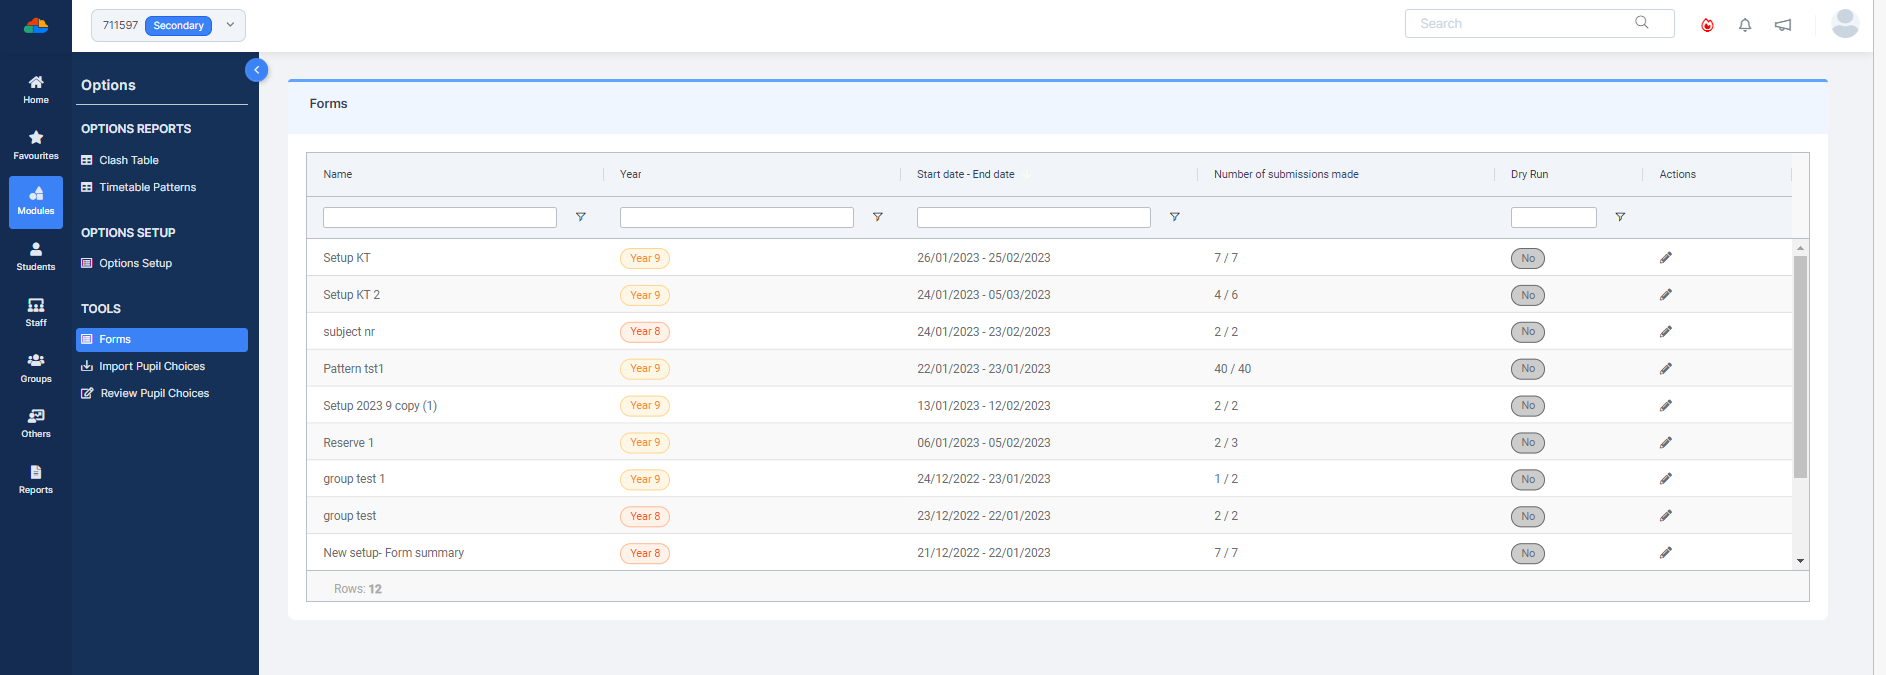
You can use the white boxes to type into plus use the filter cups with a drop down and finally use the Burger Stack symbol on each column with option to Pin, Resize and Hide/Unhide columns.

Click on the Pencil in the Actions column to view the Forms for the selected Options Set Up
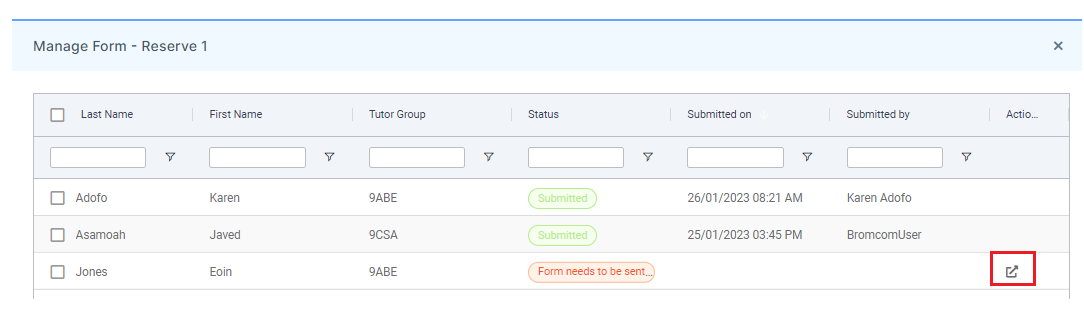
From Manage Form you can see individual Student information with a Status Column.
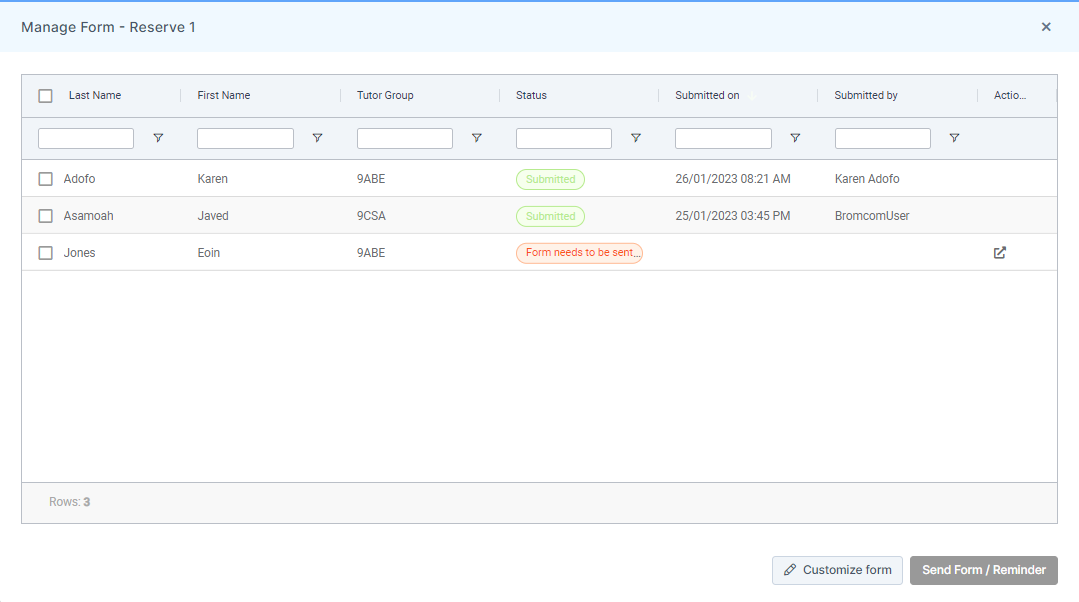
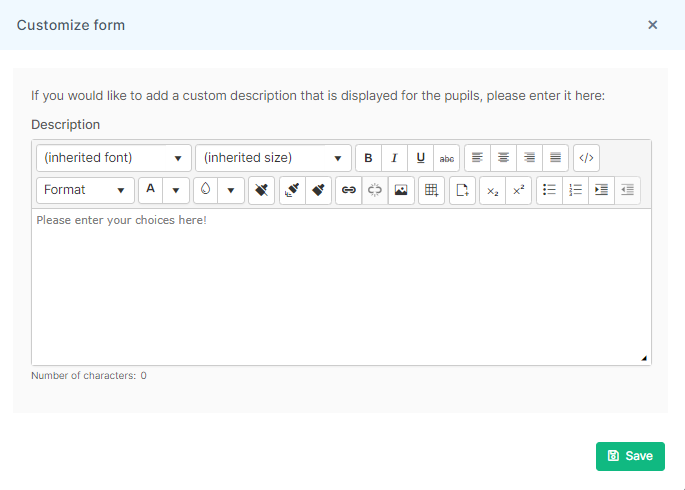
If you would like to change the information on your Form click Customise Form, make the necessary changes then click Save.
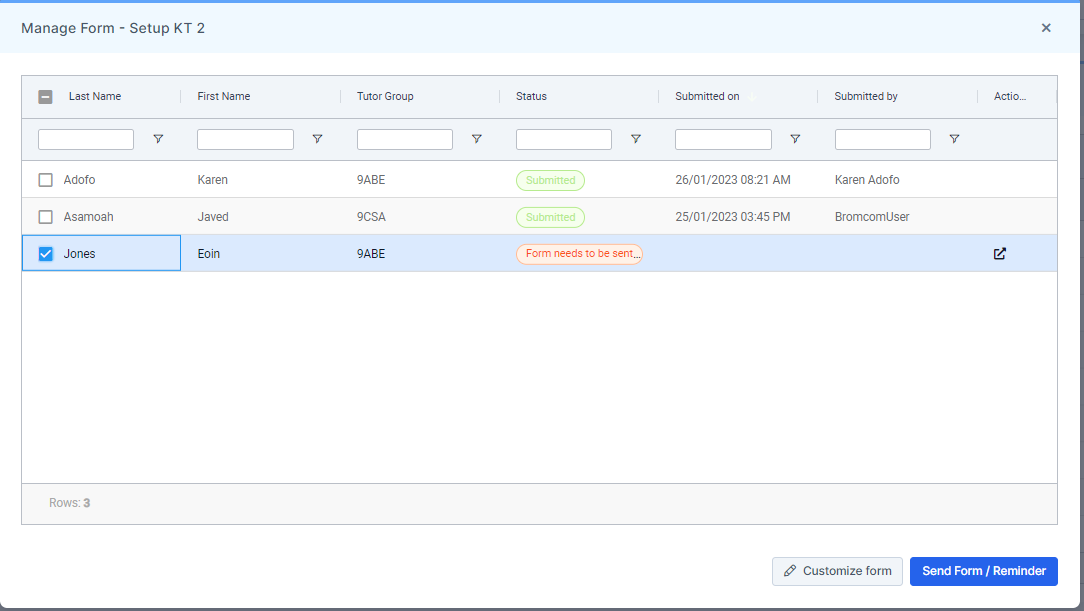
Select the required Student(s) and choose Send Form/Reminder.
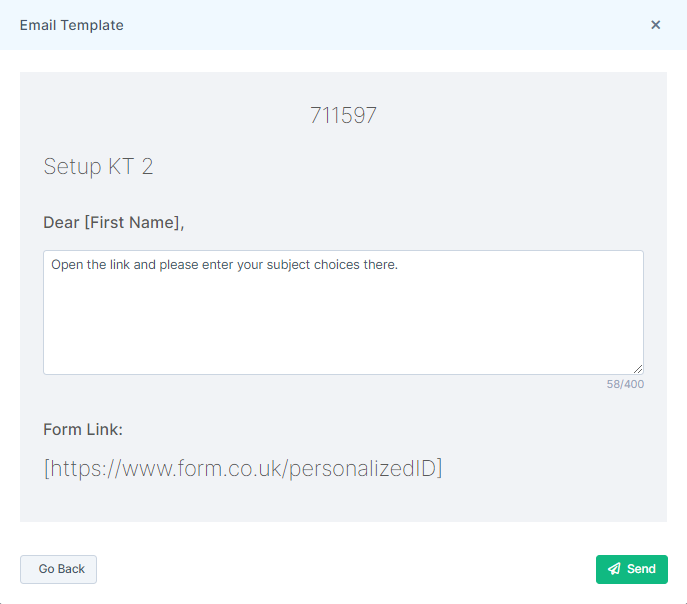
Then you will see an Email Template which can be edited if required.
Click Send
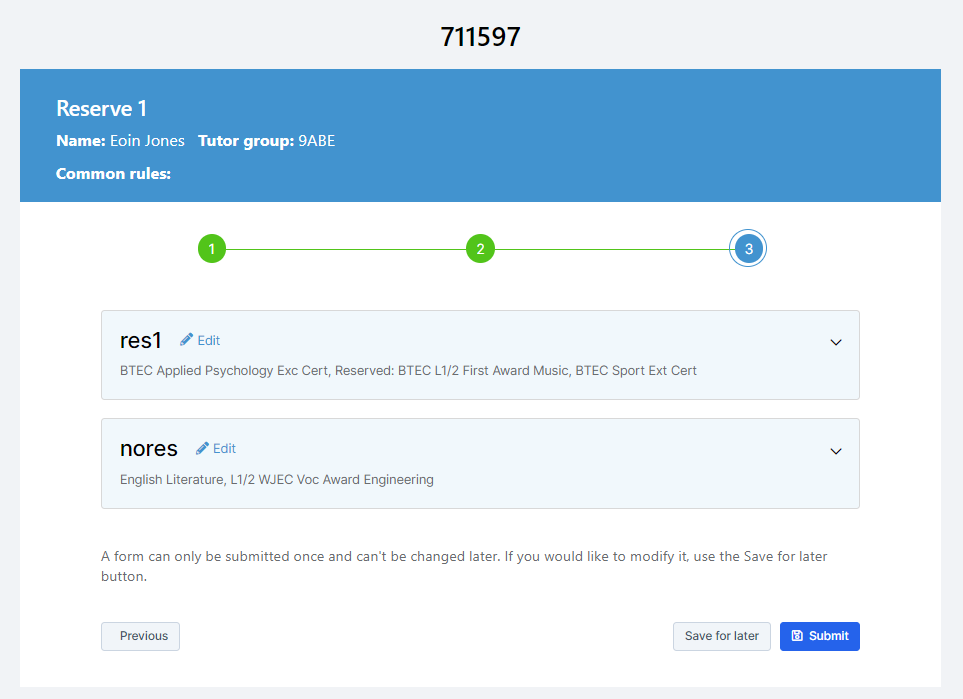
If the Status Column is set to Form needs to be sent you have the option to click the expand button to View the Form. This option also allows you to select Subject choices and reserves on behalf of the Student.
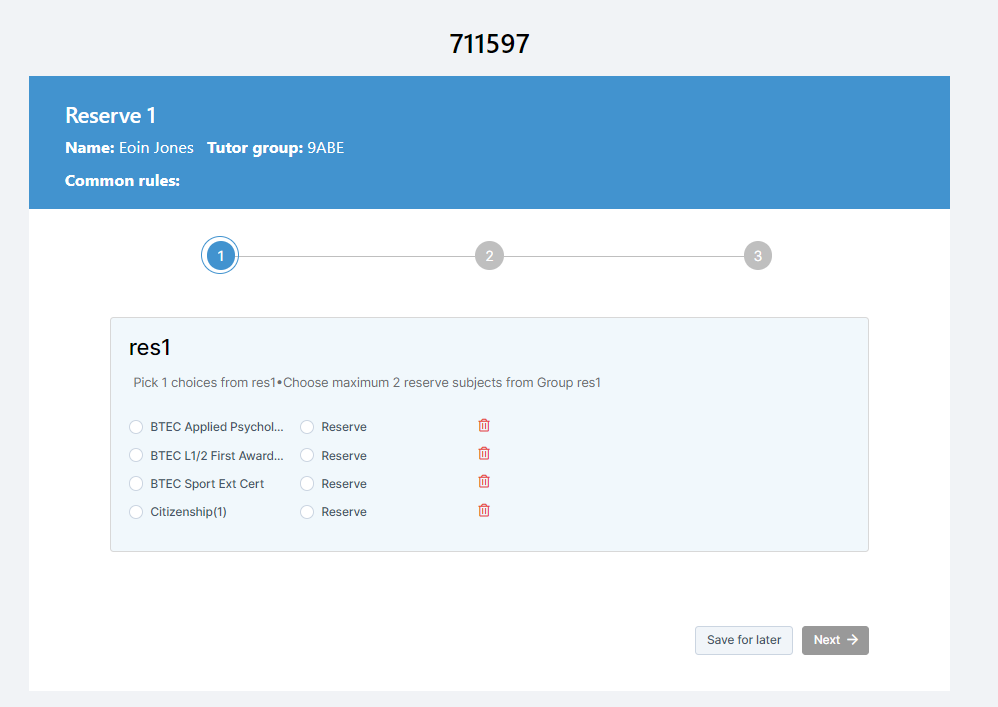
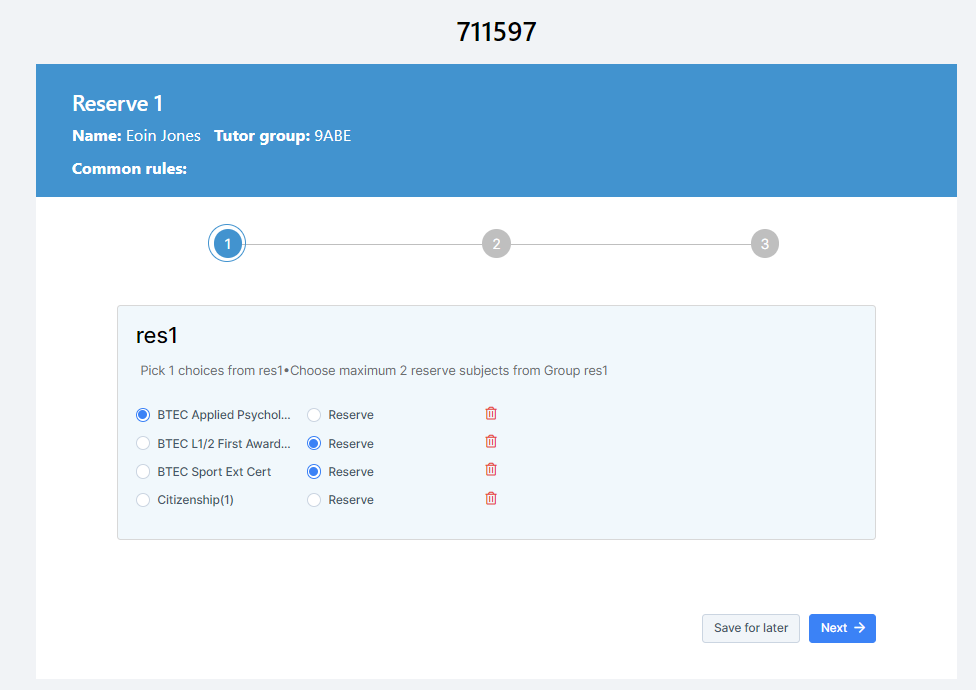
Click Next to see the choices made with the option to Save for later and Submit if needed.
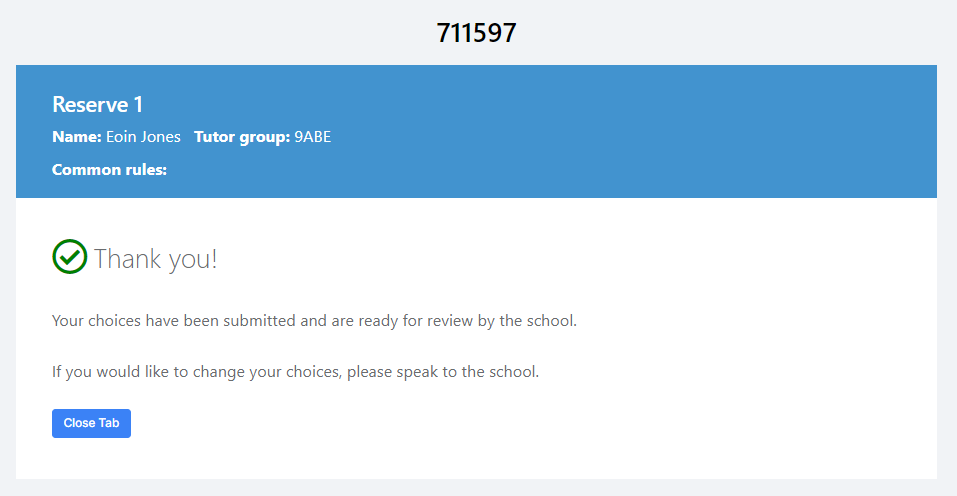
Click Close Tab
Fixed and Flexible Groups
In the Options Setup you can define if Groups are Fixed or Flexible
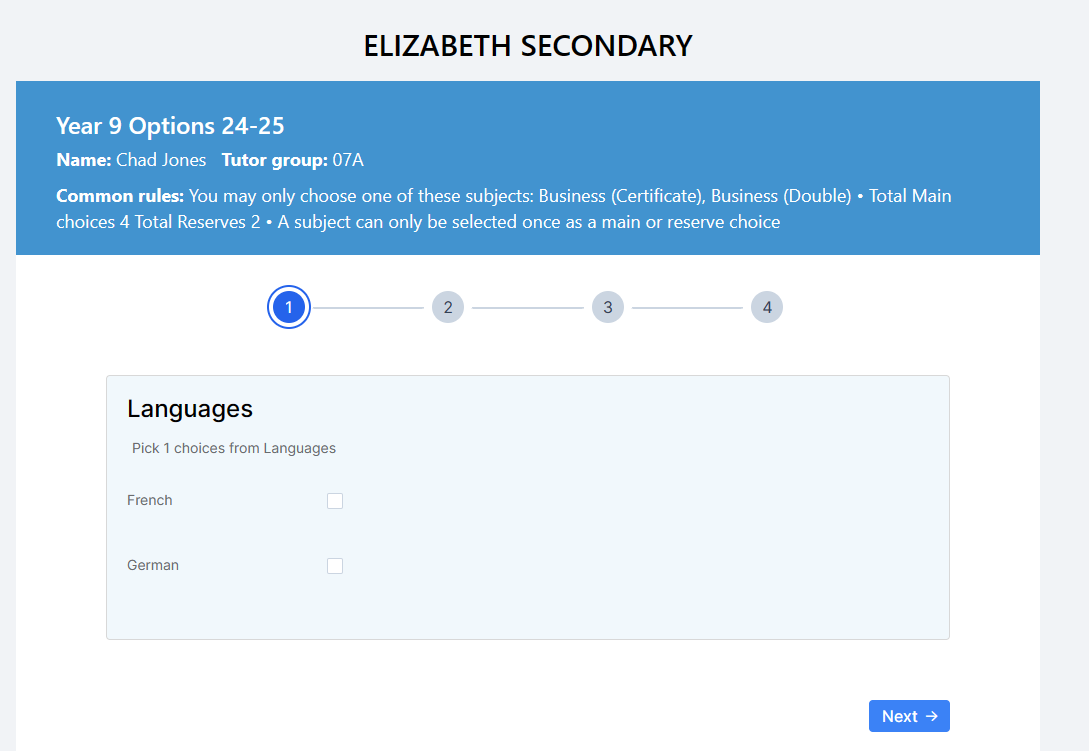
Below is an example of a Fixed Group where the Student clicks to choose from a list of Subjects
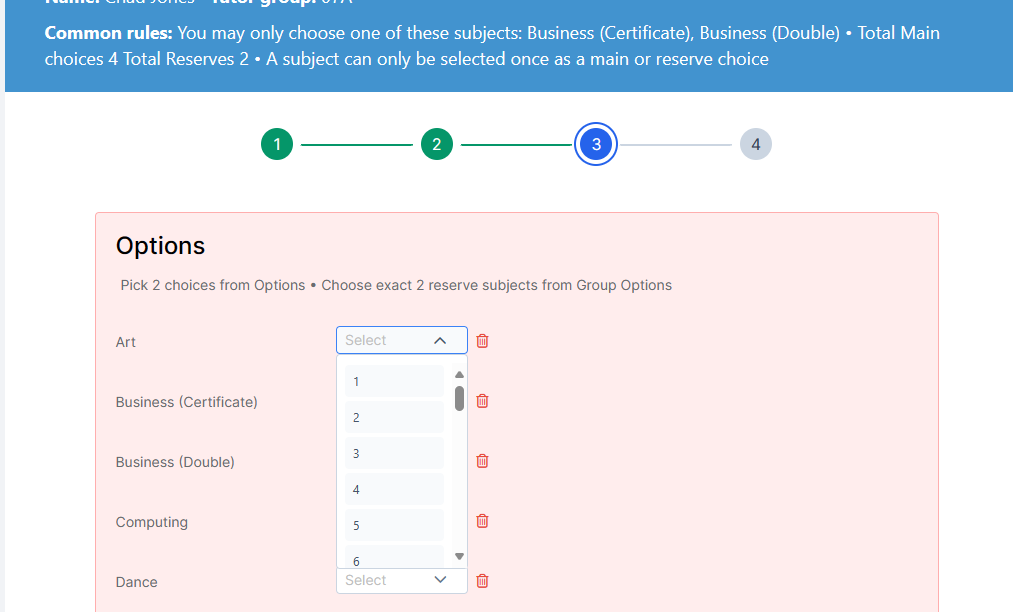
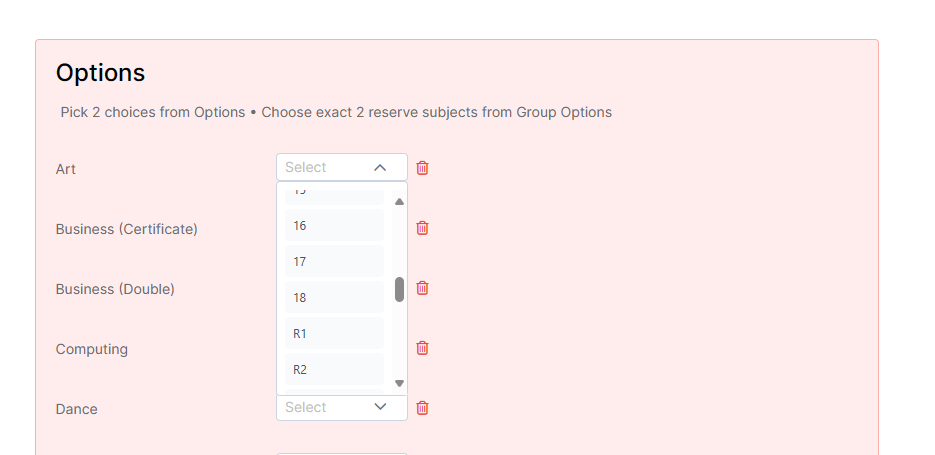
Below is an example of a Flexible Group where the Student clicks the drop down next to the chosen Subjects and selects a number i.e. 1 for choice 1 or R1 for Reserve choice 1.
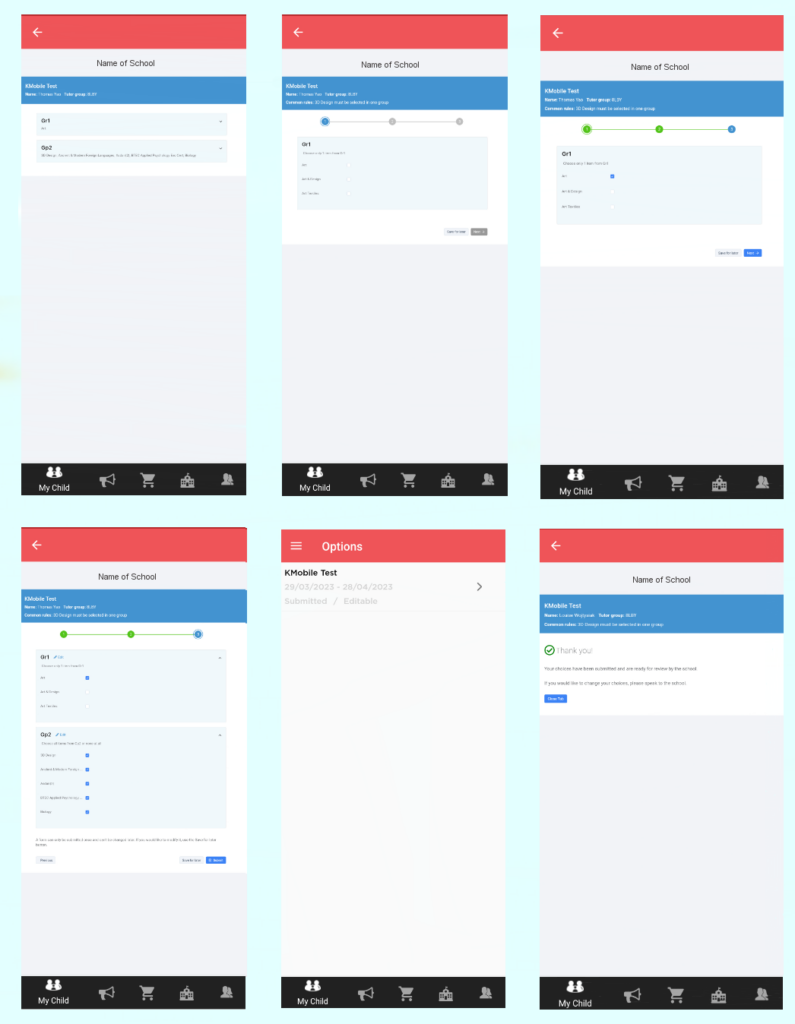
Student Forms
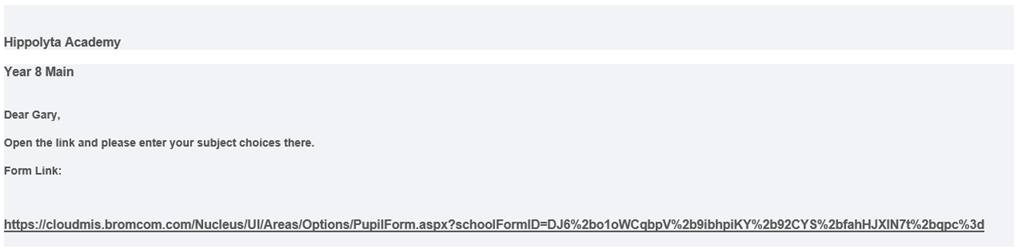
Once the email has been sent the Student will receive an email, below is an example email;
Student clicks on the link.
The Student then enters their school email address to generate a one-time password (OTP) which is sent to the same email address.

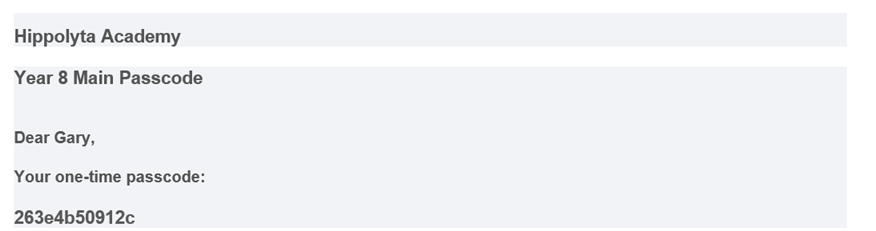
The Student then receives another email to their school email address with the OTP
The form then changes to the OTP page so Student can leave this open ready to add the OTP they have just received.
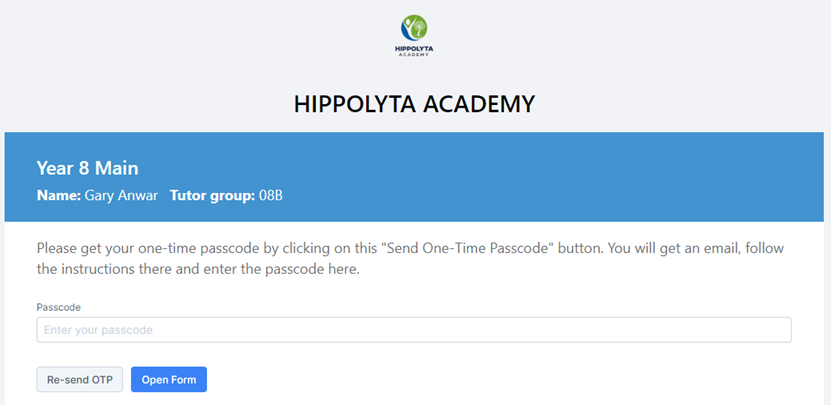
The Student enters the OTP and then clicks Open Form.
Where Option Choices have been setup for MCAS, Contacts can access the Options Form through the App. If the Setup is enabled for Contacts to Submit the Form, they will follow the same process as Students using a web version of the Form.
Note: The Close tab after Submission cannot be detected by the App, so the User should use the Back Arrow to Close the page.