
In this guide, we will show you how to carry out the following tasks with regards to Pre-Admissions;
Access: To create a Pre-Admission Group, you will need the following permission from within the Administration Module of Config>Setup>Roles and Permissions.

See also;
Create a Pre-Admission Group
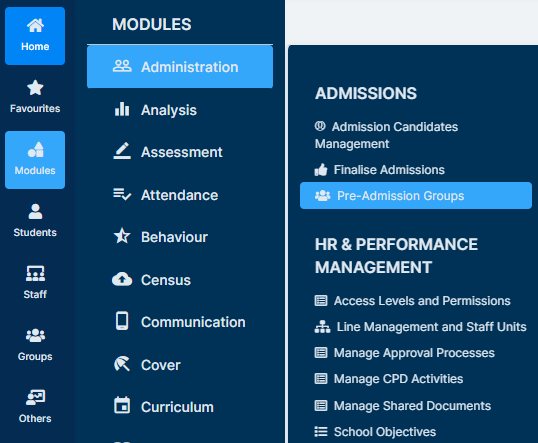
To begin, go to Modules>Administration>Pre-Admission Groups.
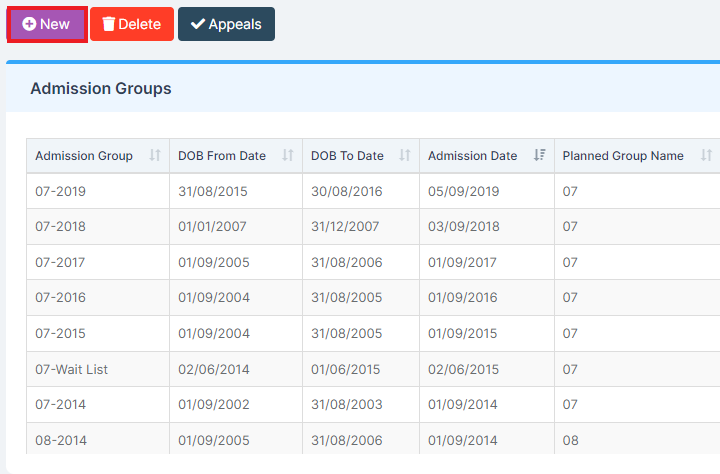
Any previously created Pre-Admission Groups will be displayed by default. To create a new Pre-Admission Group, press New.
Complete the following details, note all fields marked with * must be completed.
- DOB From: Enter the date of birth range for the required Year Group
- DOB To: This will populate automatically once the DOB From Date has been populated
- Admission Date: This is the date the students will be admitted.
- Planned Yr Grp: This will populate based on the defined Date of Birth Range.
- Year Name: If Auto Generate Name is selected this will Auto Generate a name based on the year group and the year of admission. Untick Auto Generate to edit this field.
- Planned Admission: Complete with your planned admission number

Click Create to complete the process.
For the next step, which would be adding Pre-Admission Students to your system via a CTF and ATF Import, please refer to the following guide;
View Pre-Admission Students
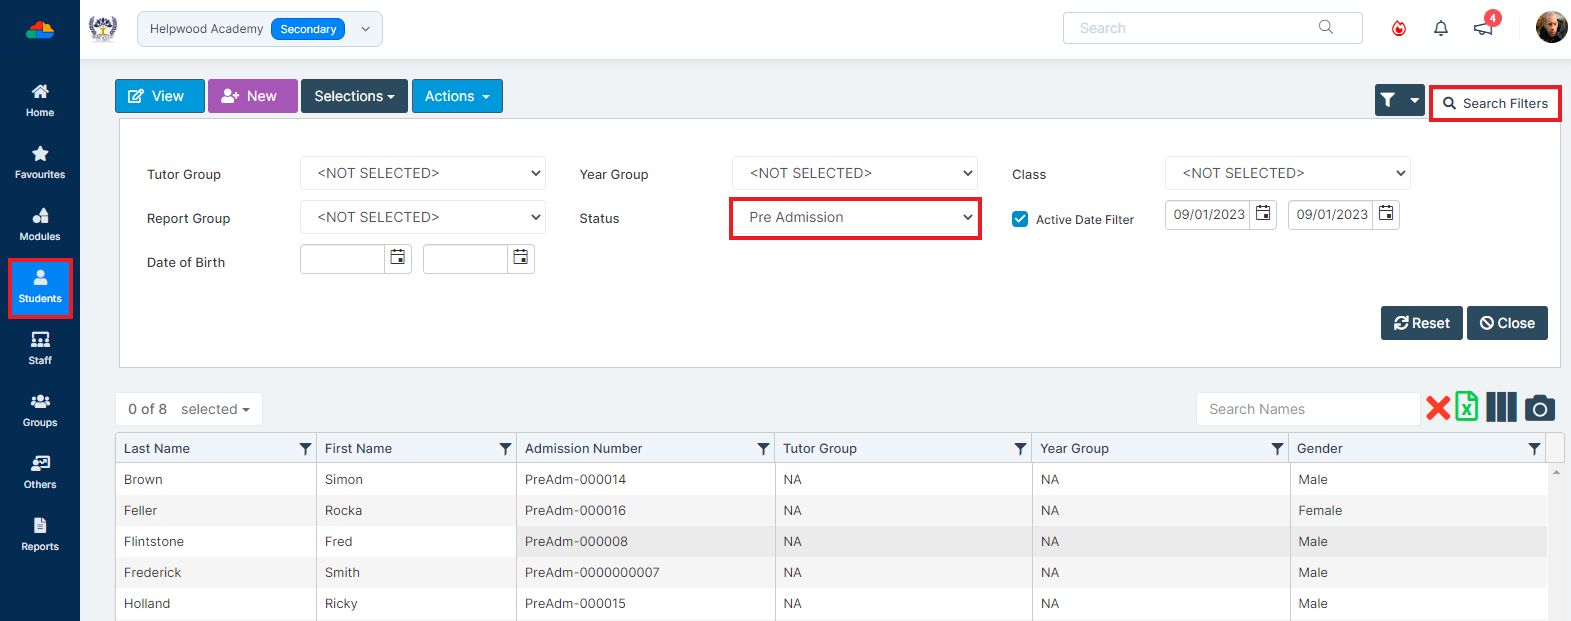
To view Pre-Admission Students, navigate to the Students list page.
Next, click on the Search Filters (top right) and from the Status dropdown choose Pre-Admission.
This means now only Pre-Admission Students are being displayed. Press Close.
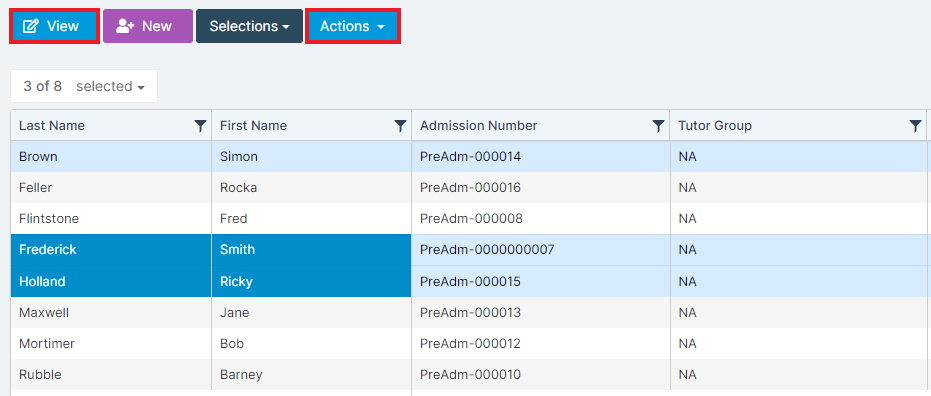
You can now click on the Pre-Admission Student(s) required and click View to open the Student Profile or press Actions to carry out other tasks such as Quick Edit.
In this guide, we will show you how to carry out the following tasks with regards to Pre-Admissions;
Access: To create a Pre-Admission Group, you will need the following permission from within the Administration Module of Config>Setup>Roles and Permissions.
See also;
Create a Pre-Admission Group
To begin, go to Modules>Administration>Pre-Admission Groups.
Any previously created Pre-Admission Groups will be displayed by default. To create a new Pre-Admission Group, press New.

Complete the following details, note all fields marked with * must be completed.
- DOB From: Enter the date of birth range for the required Year Group
- DOB To: This will populate automatically once the DOB From Date has been populated
- Admission Date: This is the date the students will be admitted.
- Planned Yr Grp: This will populate based on the defined Date of Birth Range.
- Year Name: If Auto Generate Name is selected this will Auto Generate a name based on the year group and the year of admission. Untick Auto Generate to edit this field.
- Planned Admission: Complete with your planned admission number
- Numbers to Rank: This need to be completed even if you are not managing your own admissions. Note this number must be at least 25% more than Planned Admission i.e. planned admission = 100 , Number to Rank = 125.
- Admission Policy: If you are not managing your own admissions leave this as Not Selected, otherwise choose the Admission Policy from the drop down box or click the + to Create an Admission Policy. The criteria for Admission Policies are defined in Config>Admin>Lookup Tables> Admission Criteria. (See also: How to Edit Lookup Tables).

Click Create to complete the process.
For the next step, which would be adding Pre-Admission Students to your system via a CTF and ATF Import, please refer to the following guide;
View Pre Admission Students
To view Pre-Admission Students, navigate to the Students list page.
Next, click on the Search Filters (top right) and from the Status dropdown choose Pre-Admission.
This means now only Pre-Admission Students are being displayed. Press Close.
You can now click on the Pre-Admission Student(s) required and click View to open the Student Profile or press Actions to carry out other tasks such as Quick Edit.
