
This page contains Bromcom guidance for the process of Finalising/Admitting your Pre-Admission Students.
This guide will cover the steps that are required after you have either imported your Pre-Admission Students via a ATF/CTF or manually added them to the MIS.
Access: To access Finalise Admissions, you will need the following permissions from the Administration Module of Config>Setup>Roles & Permissions.

See also:
- How to Set and Format Admission Numbers
- How to Create a Pre-Admission Group
- How to Add Pre-Admission Students from a ATF/CTF Import
- Summer 2024 Admissions Guidance
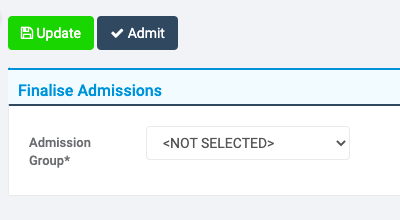
For this process, you will need to go to Modules>Administration>Finalise Admissions.

Once the page loads, you would then select the desired Pre-Admission group from the dropdown.
Depending on the group you select, you should see your Pre-Admission Students in this group with a Pre-Admission number.

There are now a few options you have which are determined by the Action dropdown.


Confirm all for admission – Selecting this will Admit all Students in the Admission group as of the Admission Date of the group.
Confirm all who have accepted a place – Selecting this will Admit all Pre-Admission Students who have a place accepted on their Record. (To have a place accepted, the place offered must be populated.)
Confirm Individuals – Selecting this means you will need to individually select which Students you wish to Admit from the group.
Withdraw confirmation from individuals – If you have Confirmed a student but have not yet Admitted them, the students will appear under this option. You can select them and click Update they will then appear in Confirm Individuals/Confirm All and you can continue with finalising their Admission.
The two options most likely to be used will be Confirm all for admission or Confirm Individuals.
Sticking with Confirm Individuals for this example, the desired Students for Admission have been highlighted.

Note: It is crucial to make sure the Admission Date is correct when Admitting Students.
Once the date is set correctly and the Students are selected, you can press Admit at the top of the page.
Pressing Admit may then provide you with a confirmation message, depending on the Maximum Intake for the Year Group.

If you are happy then you can press Proceed and you should then receive a success message.

You should now see that the Pre-Admission group has updated to reflect the number of Students that were Admitted (the number of Students in the Pre-Admissions group went from two to zero in my example).

Note: Admitting the Students from this group will assign them an actual Admission Number to indicate they are now on roll, they will have also moved from being in Pre-Admission to On Roll on the Students List Page.

The Admission Number that is set depends entirely on which Admission Number is available next on your system within Config>Administration>Admissions Settings.

This page is how the Admission Numbers on your system are configured and ordered.
Note: Admission Numbers can only be released when a Student is deleted from the MIS. Students processed as leavers will retain their Admission Numbers.
Note: Please never delete a Student without being 100% sure this is the correct action.

If you are unsure of these settings or the process overall, please check with a colleague or contact the Bromcom Helpdesk before Admitting Students.