Note: All pages below are subject to having relevant Roles and Permissions.
Create the Subject
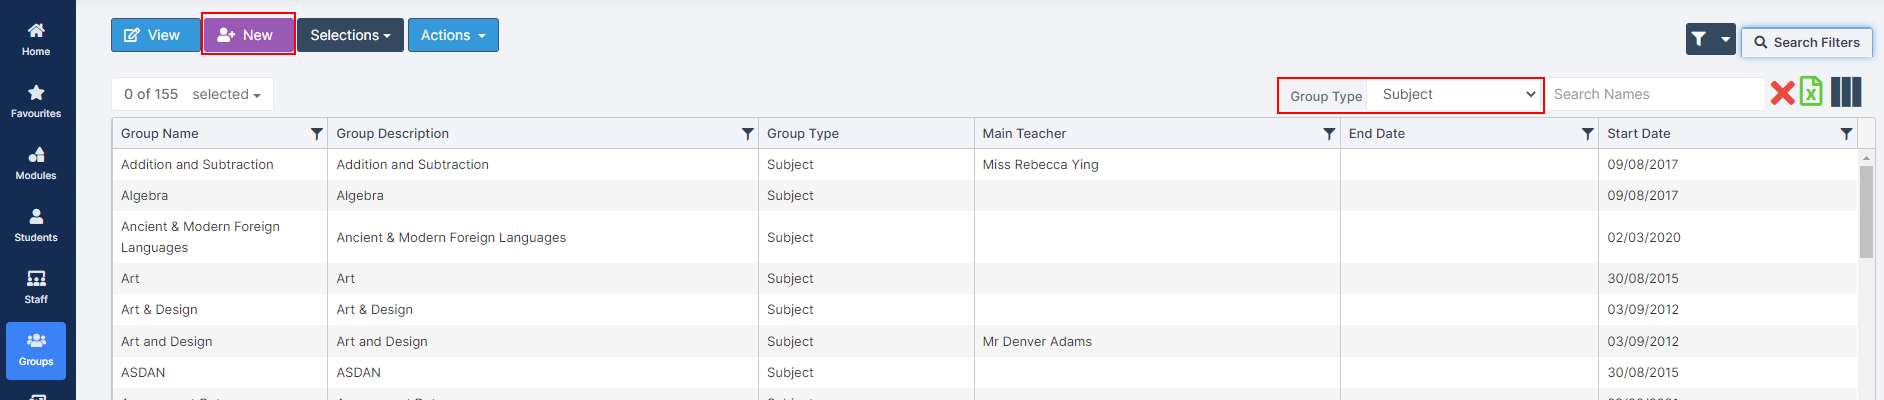
From the Groups pages, select Subject from the Group Type dropdown list, then click New.
This will open the Create Group pop-up, with Subject already selected in the Group to Create dropdown list. If not then add it from the dropdown list.
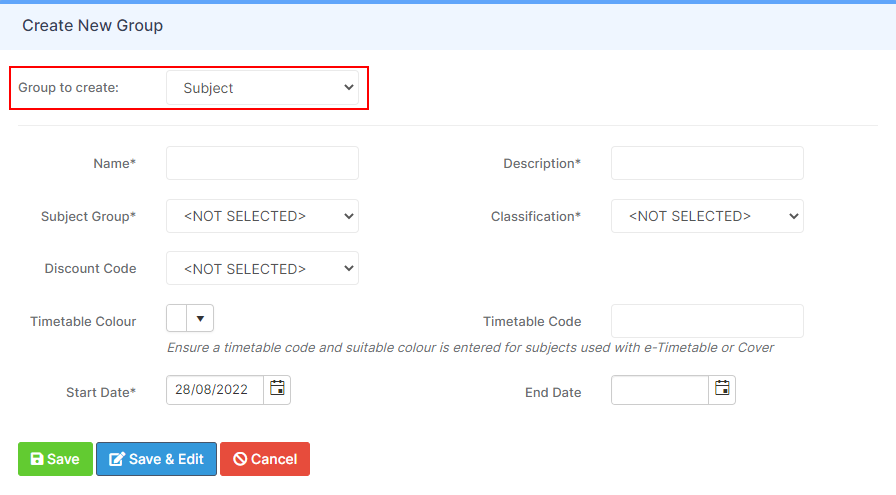
Complete the mandatory fields (denoted by *) Name, Description, Subject Group, Classification and Start Date.
Optional Fields:
- Discount Code – only required if you wish to use Headline Figures analysis
- Timetable Colour – normally imported with a timetable model
- Timetable Code – normally only required if the subject is used in a timetable model
- End Date – subject can be edited and an end date applied.

Click either Save to return to the Groups Page, Save and Edit to continue updating the page or Cancel to close the pop-up.
Add Staff
To add Associated Staff to the Subject, double click on the Subject or click on the Subject and click View. This will open a new page with sections for Basic Group Details, Additional Group Details and Associated Staff.
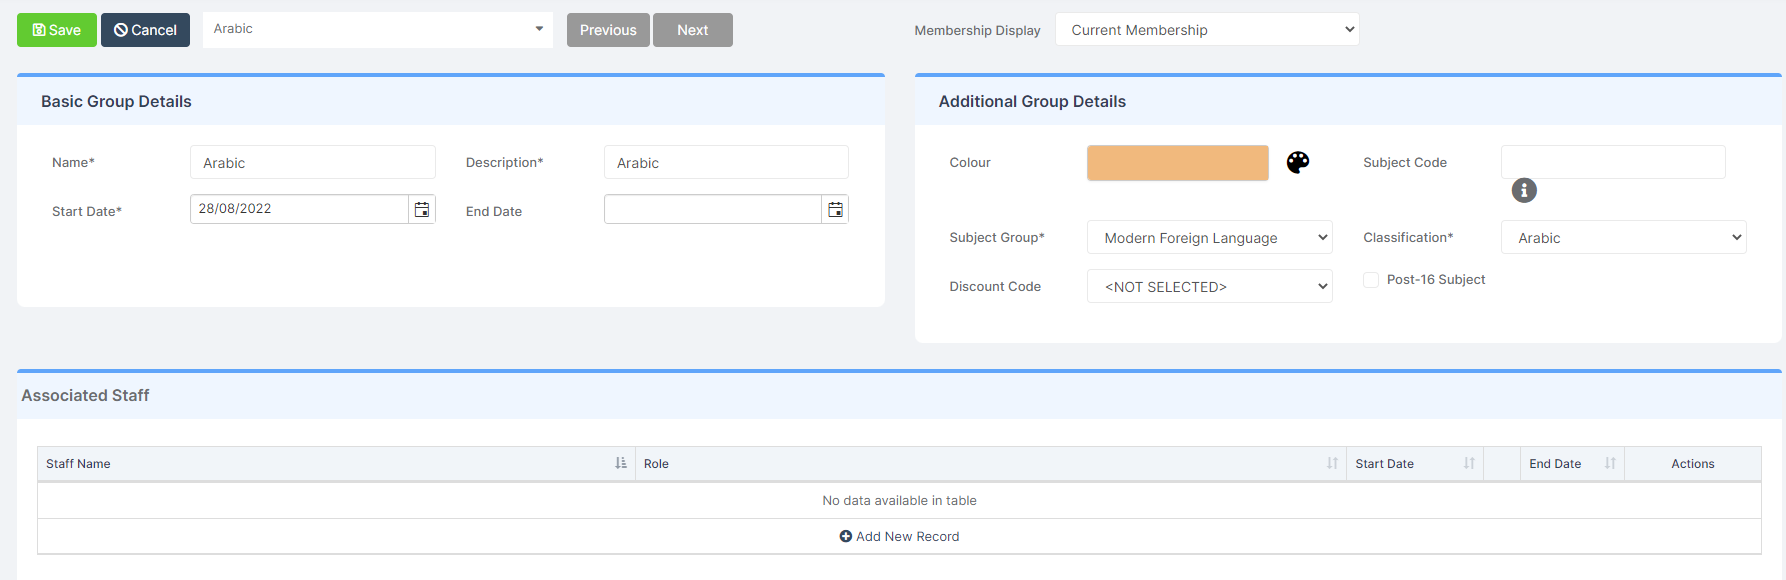
In the Associated Staff panel click on the Add New Record option. Then from the dropdown lists select the Staff Name, the Role and the Start Date, untick the End Date tick box to add an End Date, then under the Actions column click the tick.

Repeat to add Additional Staff.

Editing and Deleting the Staff Association
The Staff Associations can be Edited or Deleted by clicking on the Pencil, to Edit or the Dustbin, to Delete under the Actions column to the right of the member of Staff.

When Editing click the Tick to update the record.
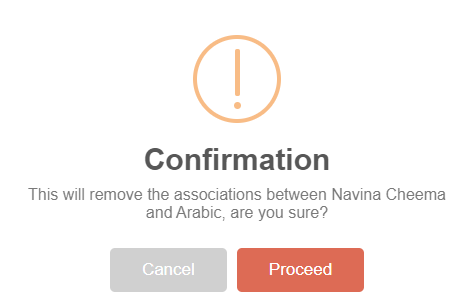
When Deleting an Associated Staff member, a Confirmation Messaage will be displayed, select Cancel or Proceed.