
Note: All pages below are subject to having relevant Roles and Permissions.
Note: The Periods you select for the Withdrawal Group come from Academic Days set in Config > Curriculum > Academic Days.
See How to Edit Academic Days.
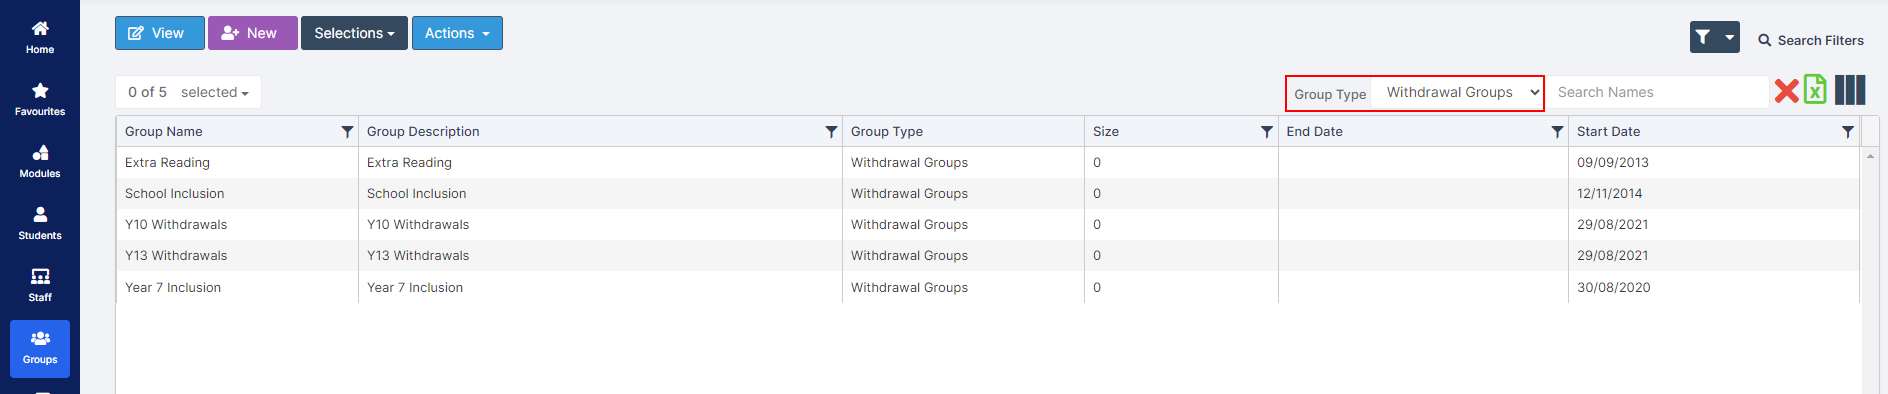
From the left Menu, go to Groups and select Withdrawal Groups from the Group Type dropdown list.
Click on the New button, this will open the Create New Group pop-up.
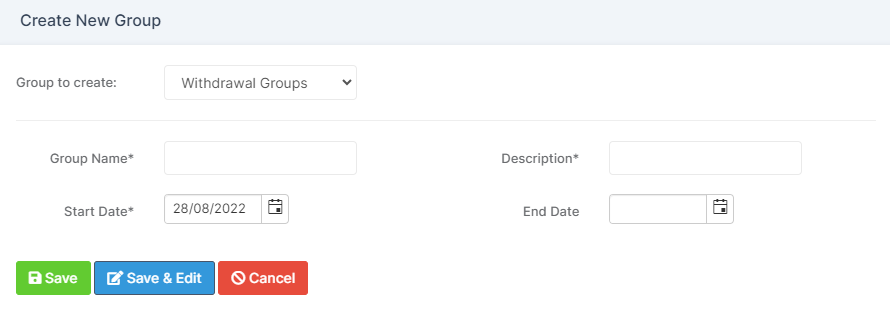
Add a Group Name, Description and Start Date which are all are mandatory fields marked with a *. Add an End Date if the Group has a limited Date Range.
Click either Save to finish for now or Save & Edit to continue.
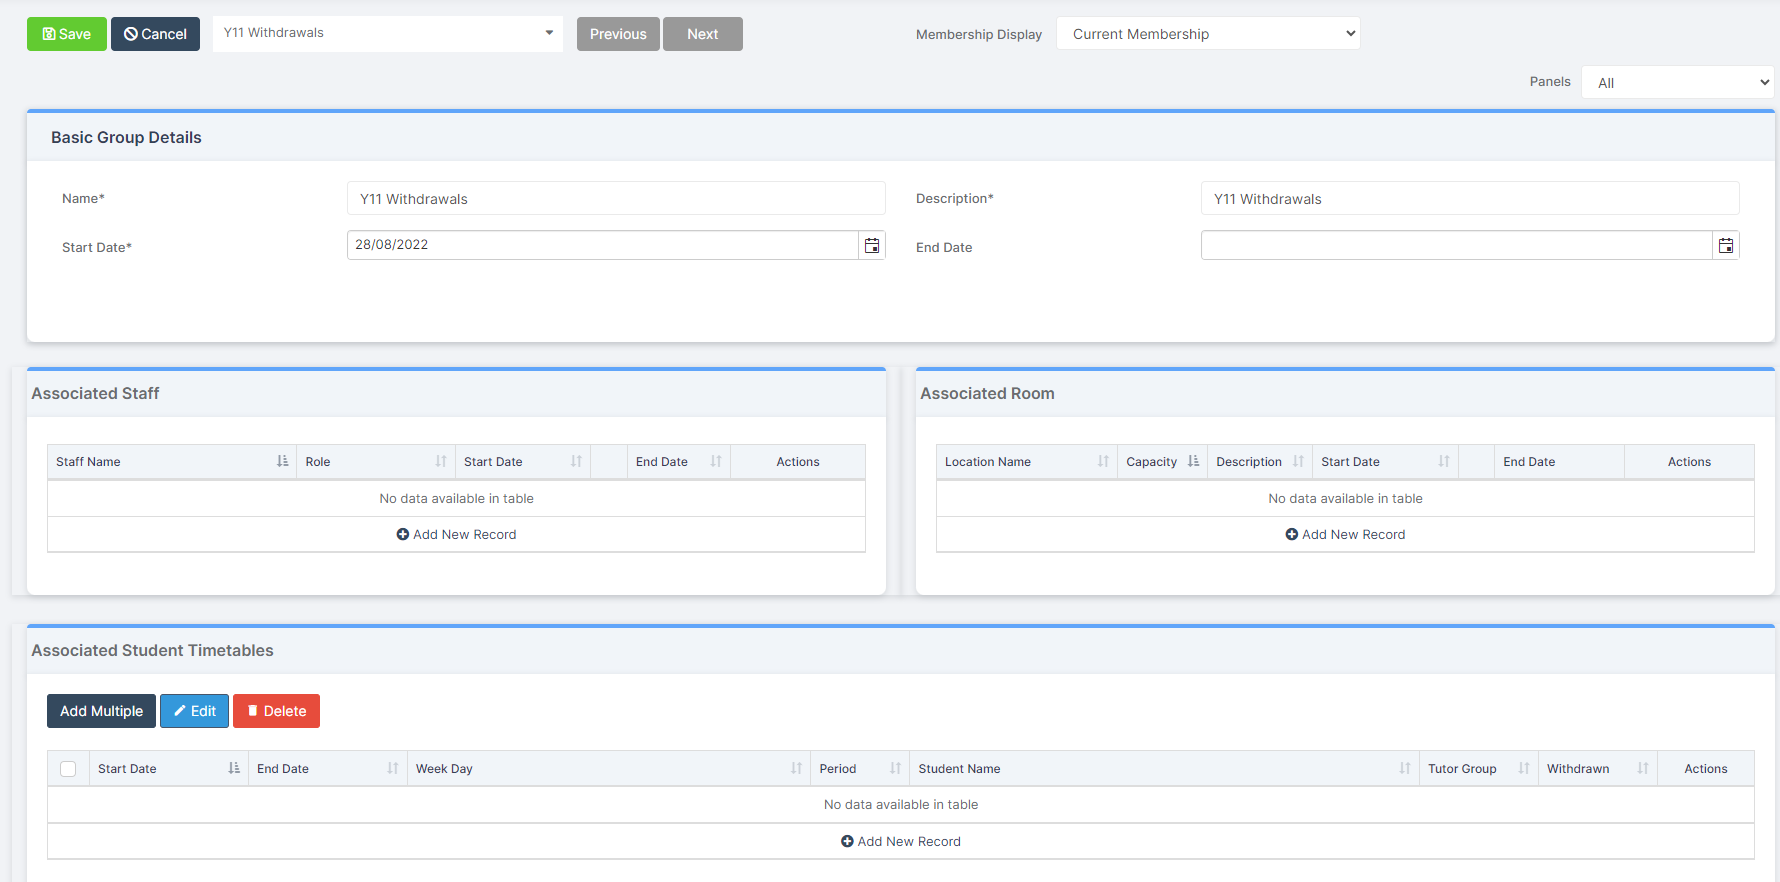
On the Associated Staff panel, click on the Add New Record option, select the Staff member from the dropdown list and amend the Dates if required, then click the Tick on the right of the row.
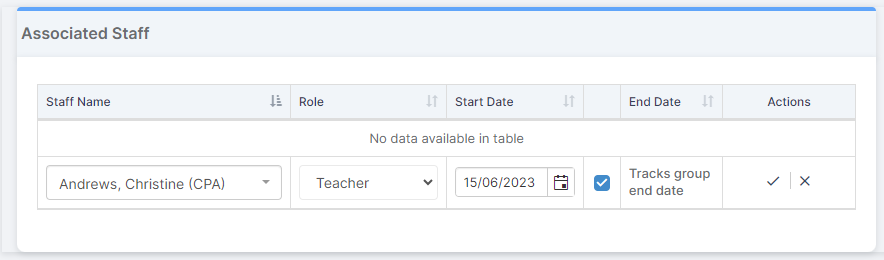
Note: Multiple members of Staff can be added to the Group by clicking the Add New Record option.
On the Associated Room panel, click on the Add New Record option, select the Room from the dropdown list and amend the Dates if required, then click the Tick on the right of the row.
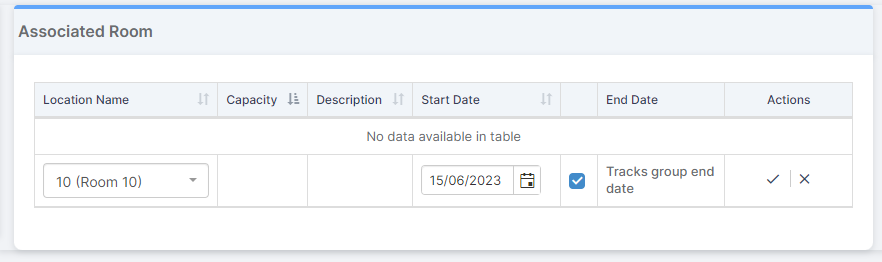
Note: Multiple Rooms can be added to the Group by clicking the Add New Record option.
Finally, On the Associated Student Timetables panel, click on the Add New Record option.

Students can be added one Period at a time if a single lesson Withdrawal is required by selecting the Students and the Timetable Periods to Withdraw them from, then click the Tick on the right of the row.

Details of the Group Withdrawn from will be displayed and the record can be edited by clicking on the Pencil icon on the right of the record.
When Editing click the Tick icon to Update or the X icon to Cancel the action.
Adding Students to Multiple Periods
To Withdraw Students from Multiple Periods, click the Add Multiple button.

This will open the Add Multiple Student Timetables for your Withdrawal Group, pop-up.
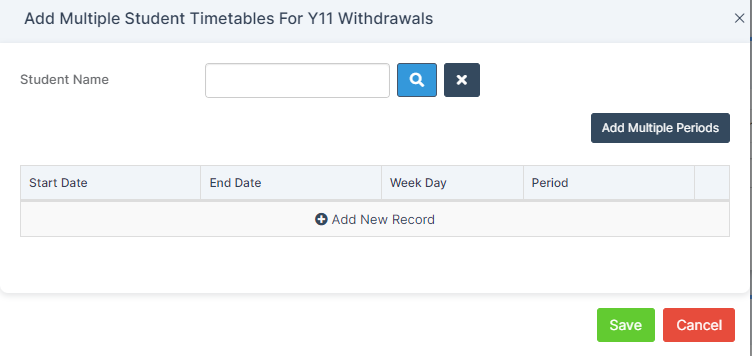
Click on the Add New Record option, find the Students by entering their Names in the Student Name field or clicking the Magnifying Glass icon to open the Student Selector. The Students will be added to a Selection List. Use the dropdown options to change the Dates, Week Day or Period and click the Tick on the right then Save when finished.
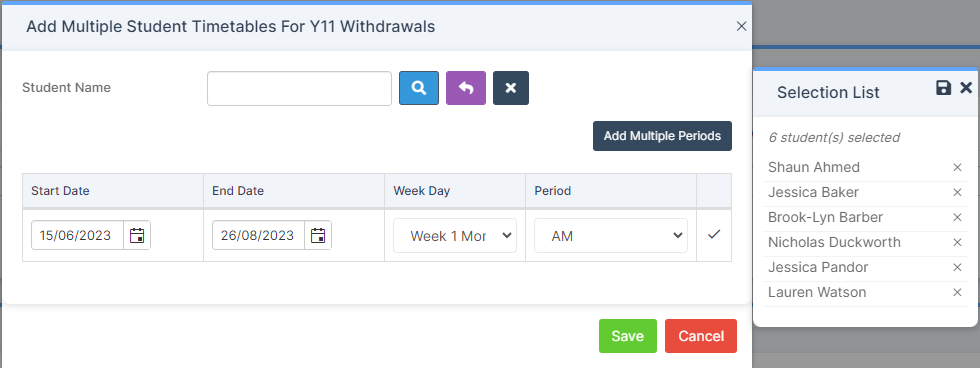
To Add Multiple Periods click on the button. Set the Date range for Withdrawal, then use Ctrl button and click each Period as required, then Save.

Students can be Deleted or the Dates Edited in Bulk by selecting the Students and clicking the Delete or Edit button or Individually by clicking the Dustbin or Pencil icon in the Actions column to the right of the row.