Note: All pages below are subject to having the relevant Roles and Permissions.
Note: This option is for use with the Vision module only.
This will allow Lookup Tables to be distributed throughout the schools.
Also See: How To Manage Roles & Permissions within Vision and How to Use the Vision Data Lock
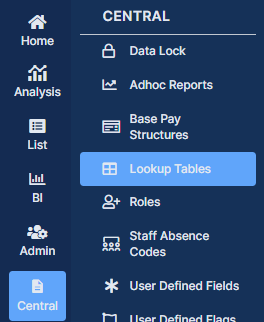
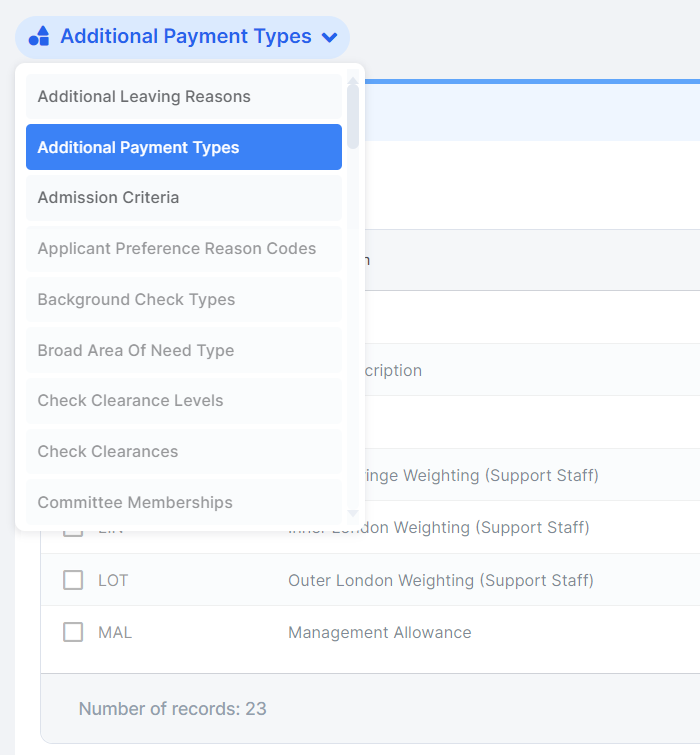
Login into Vision and from the left Menu select Central > Lookup Tables.

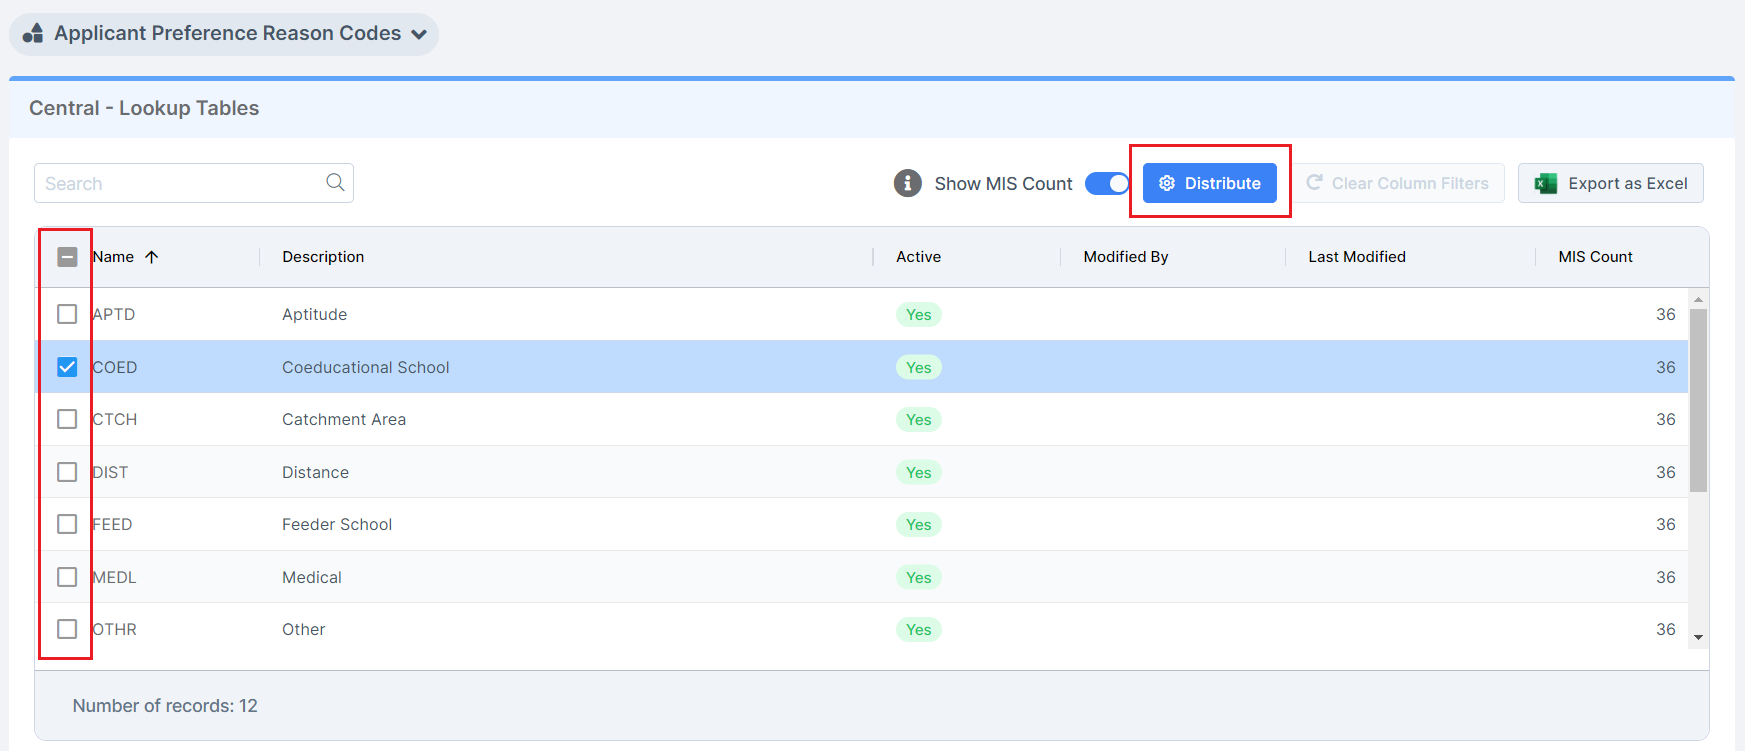
Ticking the Show MIS Count box will show the number of schools that have the Lookup Tables available in the MIS. The MIS Count column values for the Lookup Tables is now active.
Note: Enabling this Count can increase the time it takes the table to load
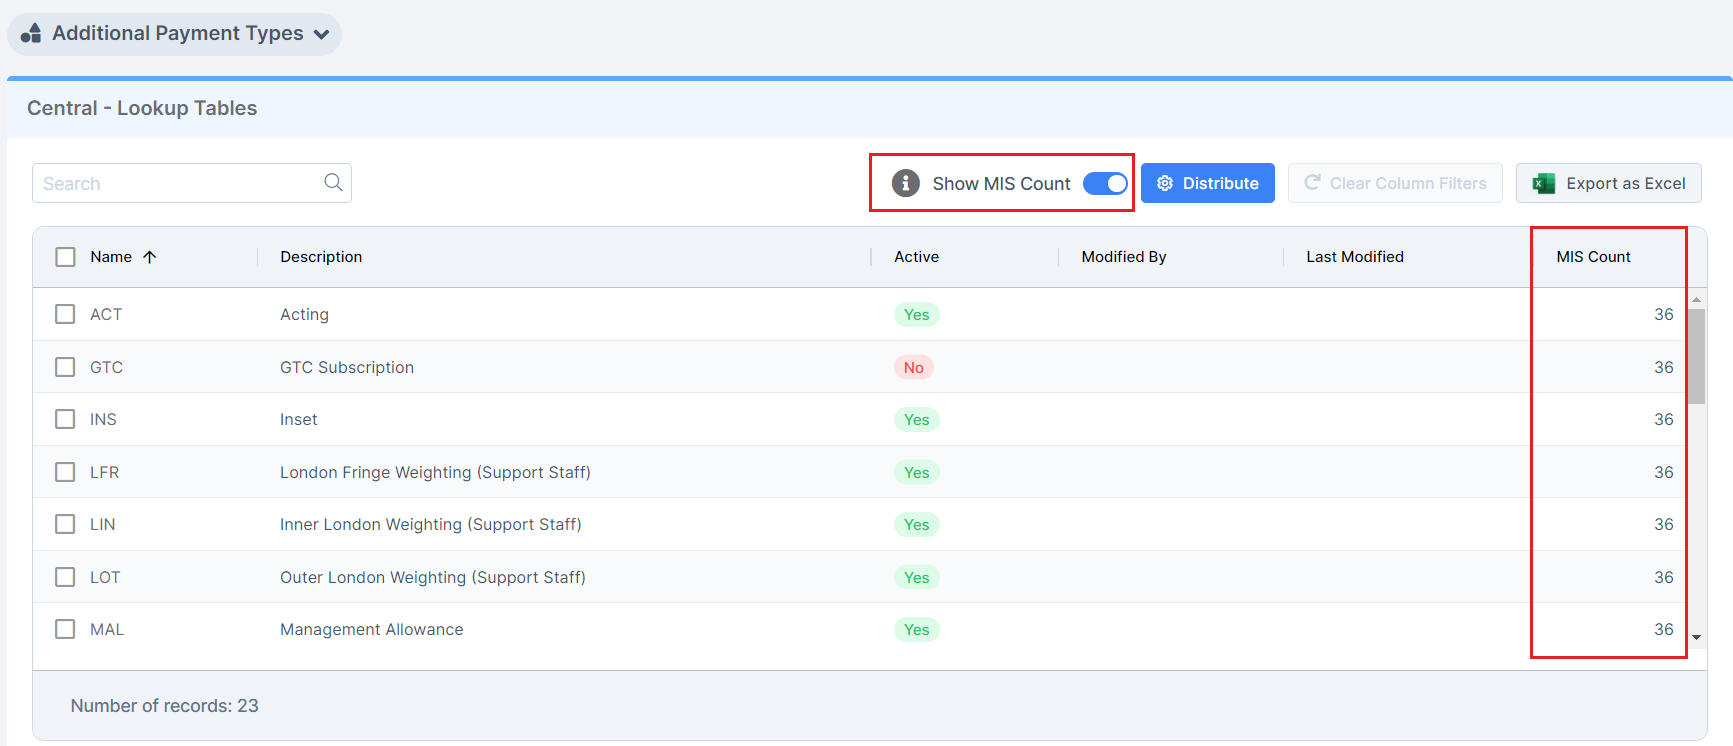
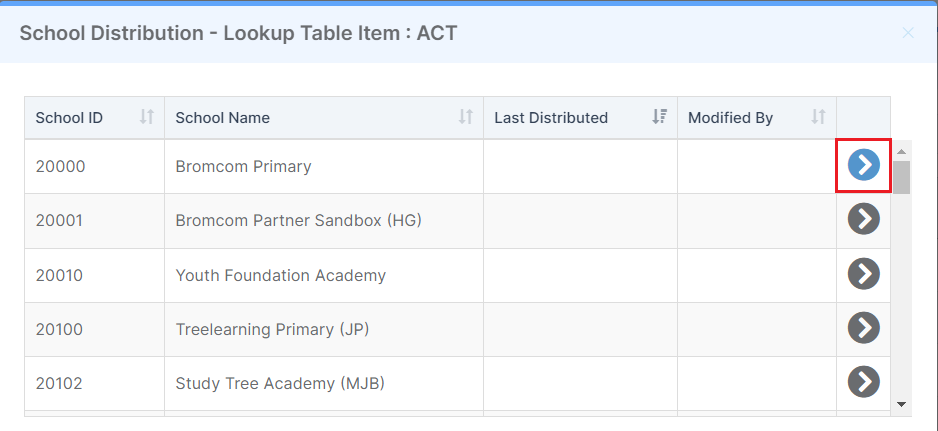
Clicking on a Value in the MIS Count column will open a School Distribution pop-up, where a Lookup Table can be Distributed to a single selected School.
A Lookup Table can be selected from the Lookup Table dropdown list, the columns displayed are dependent of the Lookup Table selected.
Once the Lookup Table has been selected tick the top box on the left to select all of the Tables or just tick the box to the left of the Tables required to select them. Once selected click the Distribute button to open the Distribute Lookup Tables to Schools pop-up.
From the School Filter select All Schools and then from the Schools dropdown list the School/s to Distribute the Lookup Tables to. Selecting Phases or School Set will display an additional dropdown list to select either the Phase/s or the School Set/s to distribute the Lookup Tables to.