In this guide, we show How to Configure Purchase Order Definition within the Finance Module.
This Guide forms part of the ACCOUNTS PAYABLE USER GUIDE. Click to see Related Guides.
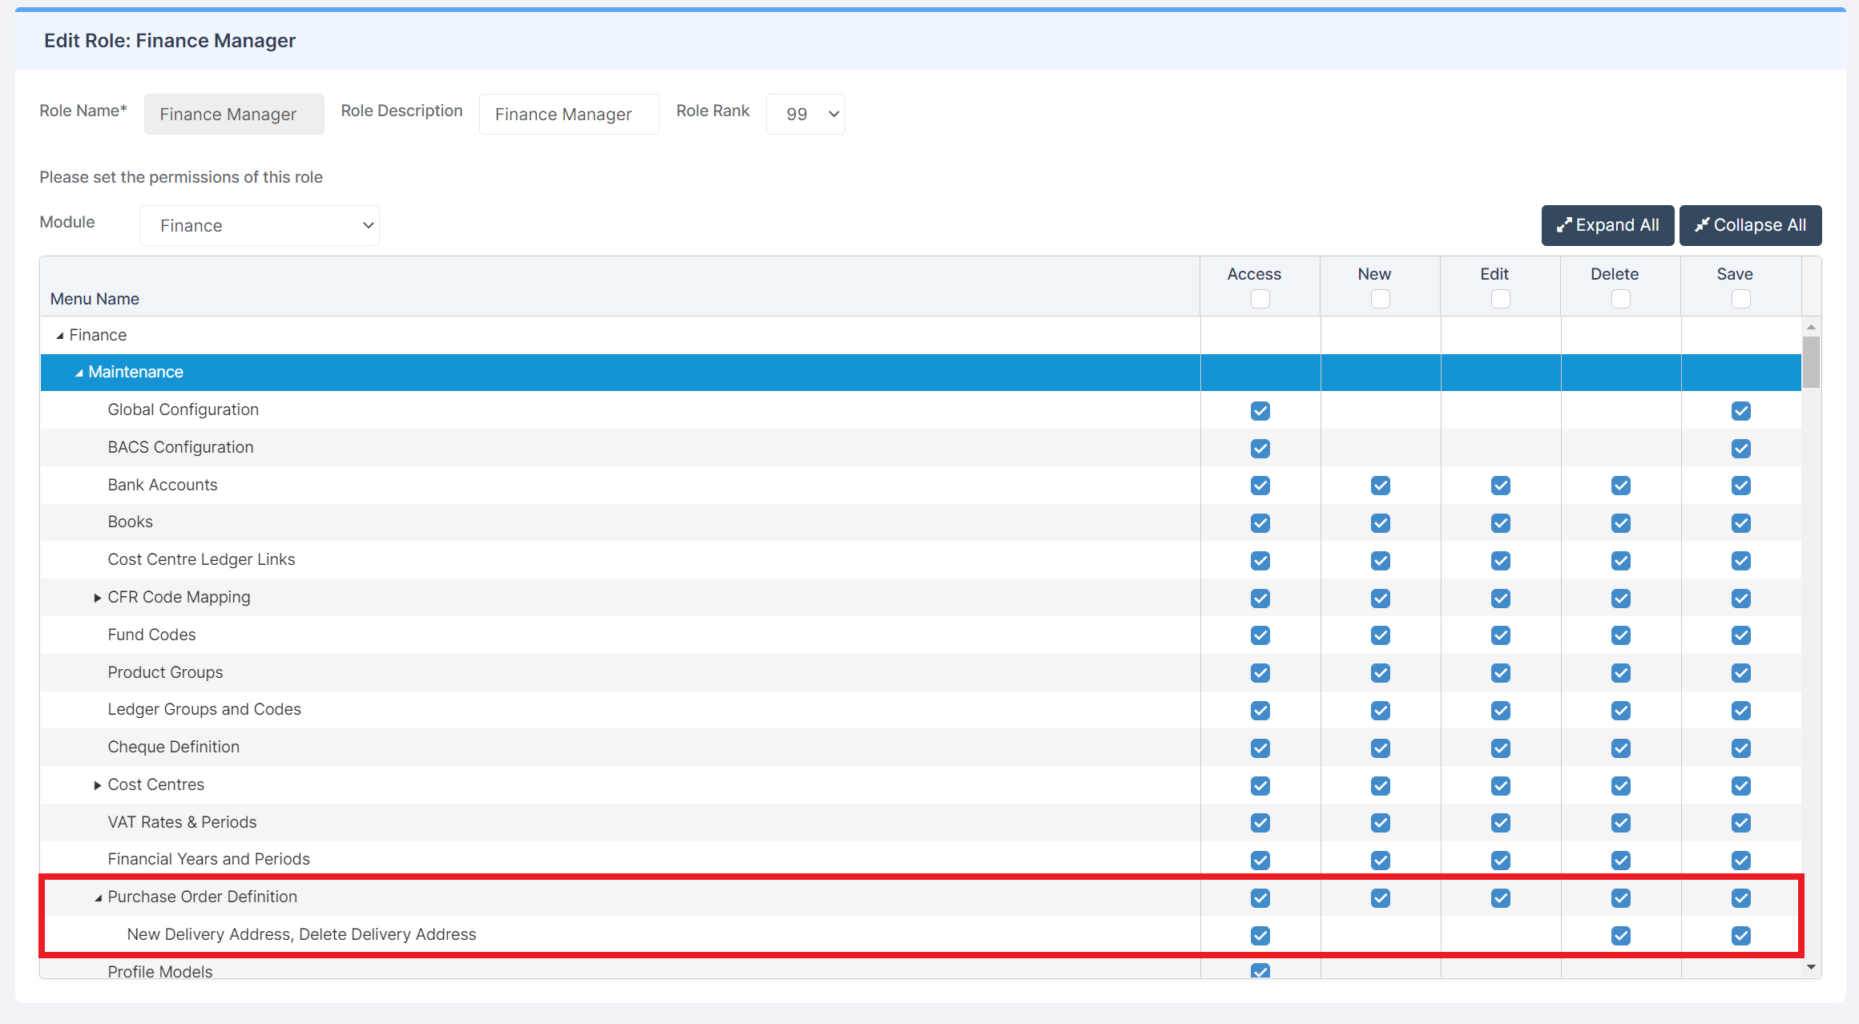
Access: The minimum permissions required to Configure Purchase Order Definition are found in the Finance Module section of Config > Setup > Roles & Permissions.
Related Guides:
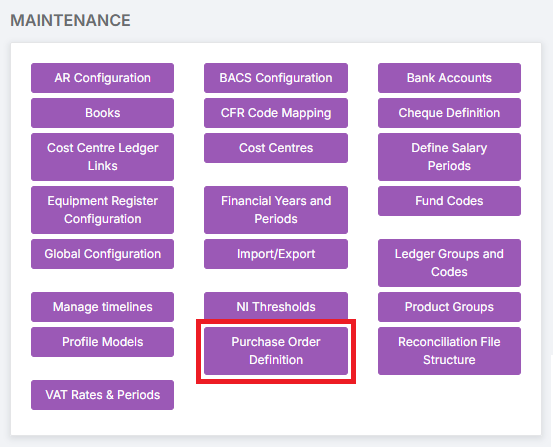
To begin, go to Modules > Finance > Finance Home Page > Maintenance > Purchase Order Definition.
The Purchase Order Definition page has 5 sections:
1. Purchase Order Definition – Header Section
2. Purchase Order Definition – Details Section
3. Purchase Order Definition – Footer Section
5. Footer Signatures for PDF Purchase Orders
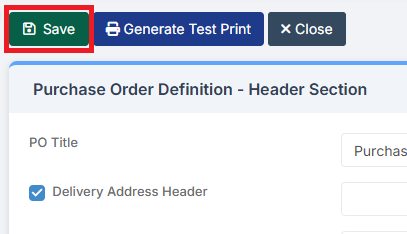
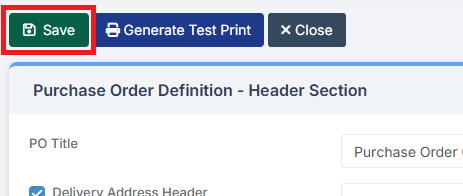
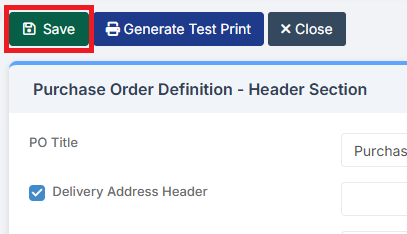
When making any changes, don’t forget to click Save at the top left of the page.
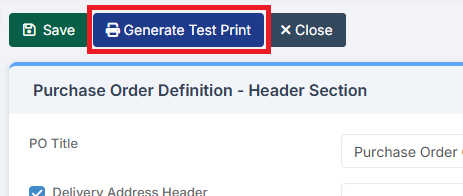
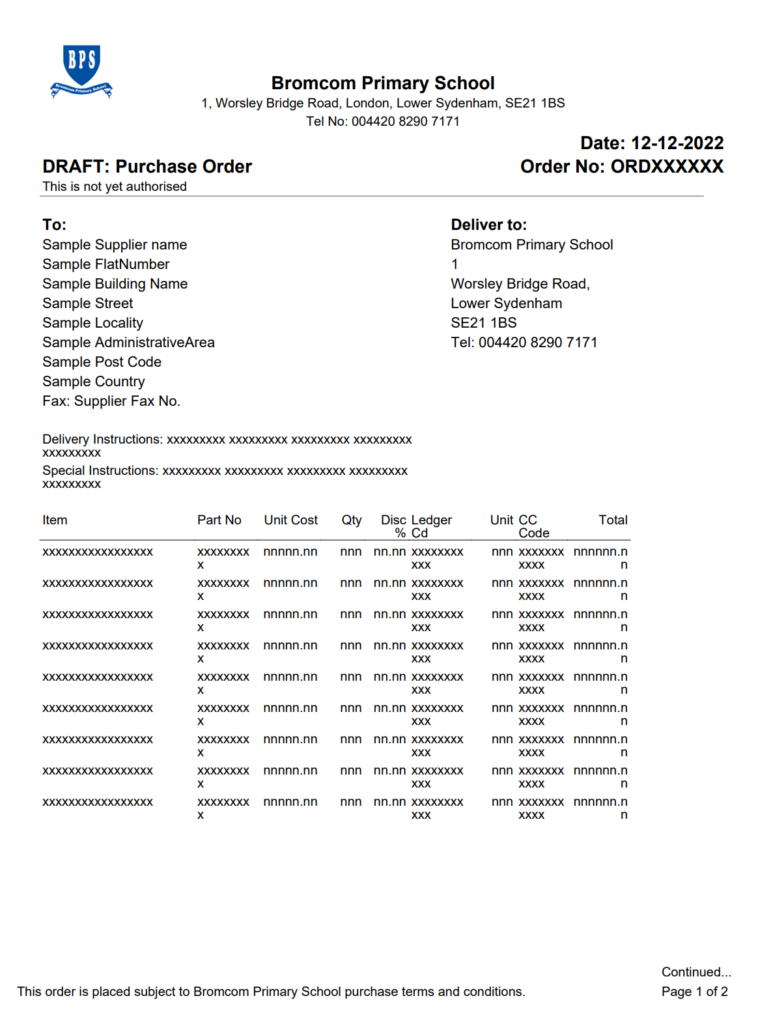
To check what the Purchase Order looks like, click Generate Test Print. An example Purchase Order using the parameters entered is sent to the Browser’s Downloads Folder for viewing.
An example Purchase Order Test Print could look like this:
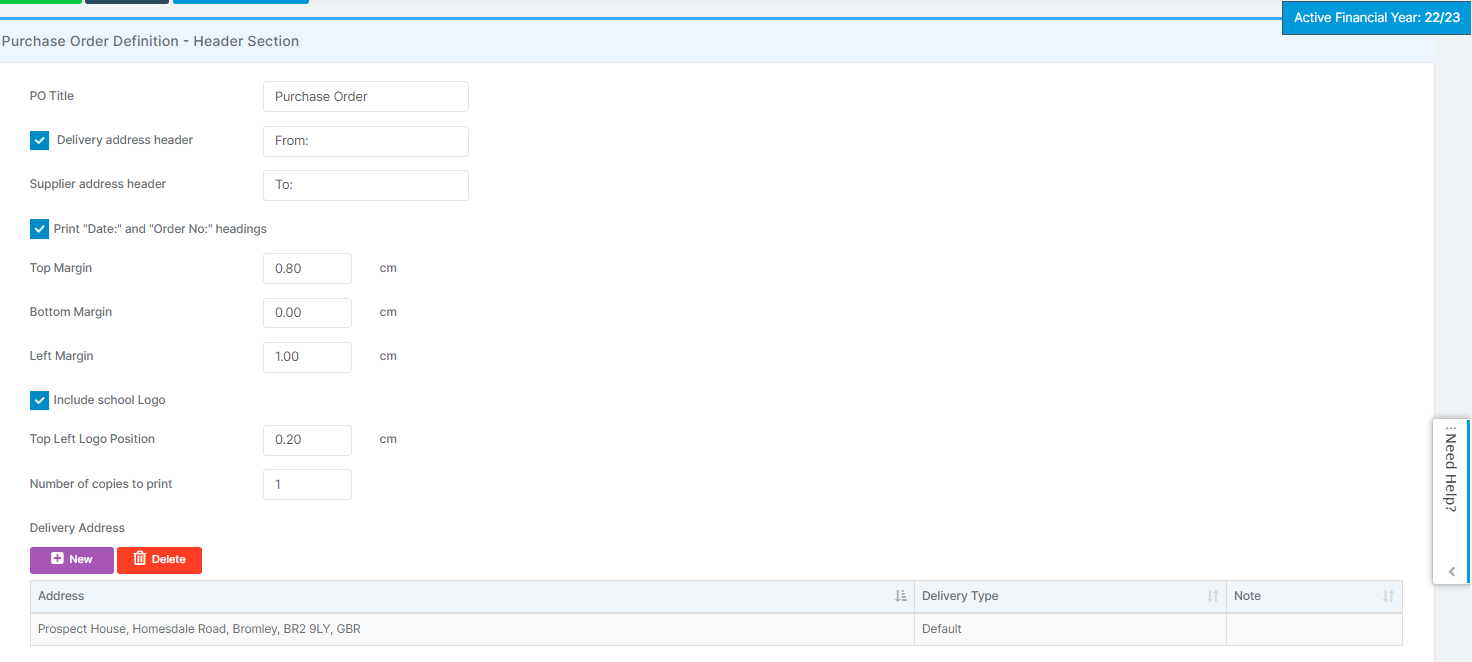
1. Purchase Order Definition – Header Section
This is where choices can be made about the general formatting of the Purchase Order and how it looks when printed.
Don’t forget to Save any changes.
2. Purchase Order Definition – Details Section
This is where choices can be made about what information is included in the Purchase Order.
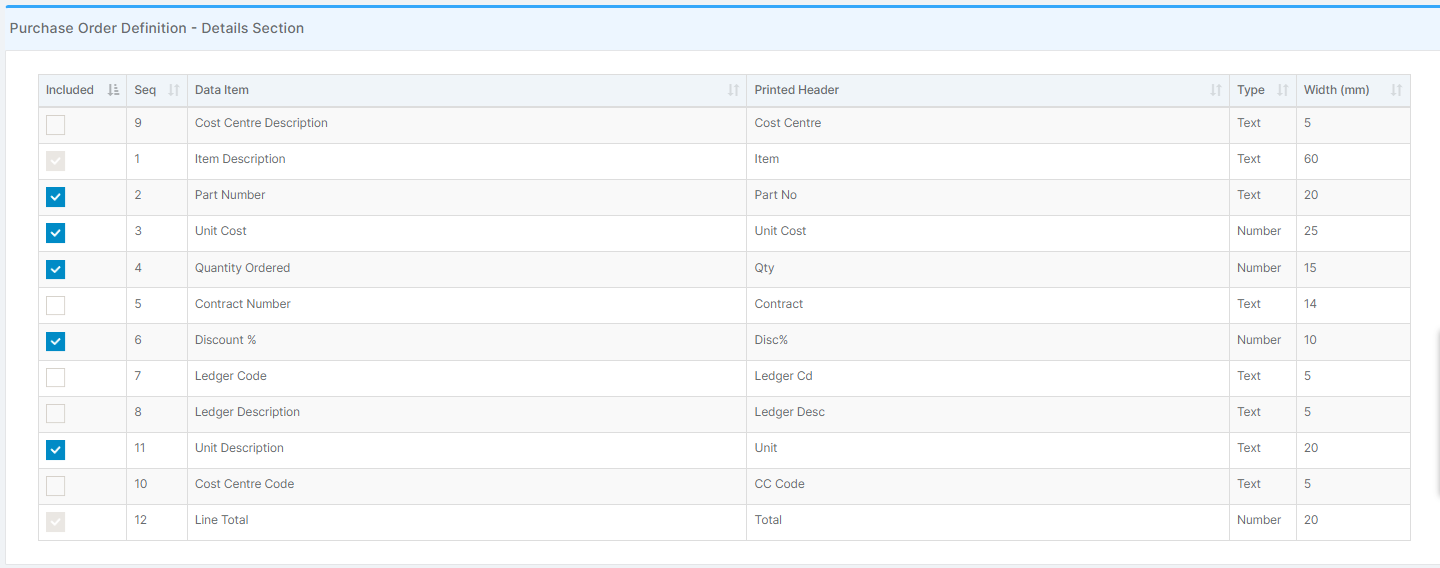
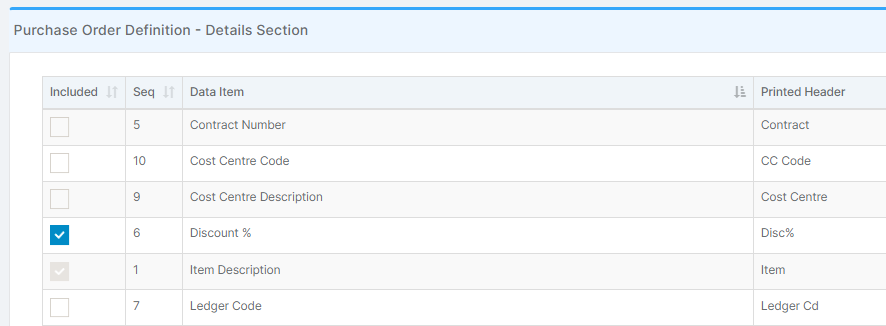
To include, exclude or edit a Detail Line, double click the line to edit.
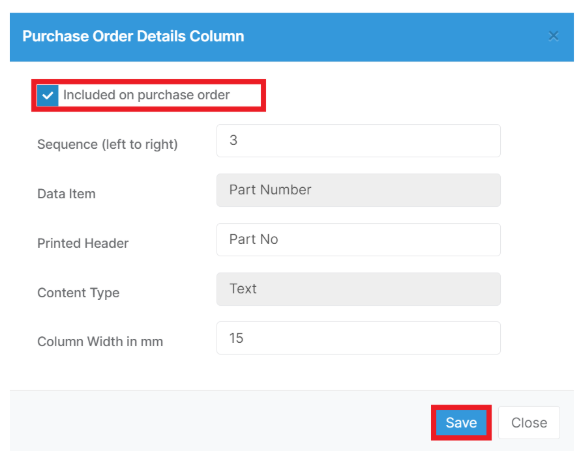
This will open the Purchase Order Details Column where you can amend the Sequence, Printed Header and Column Width.
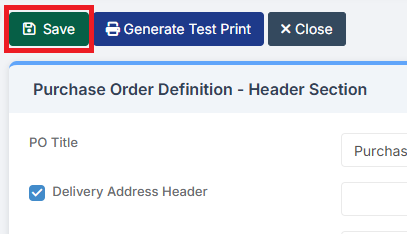
Don’t forget to Save any changes.
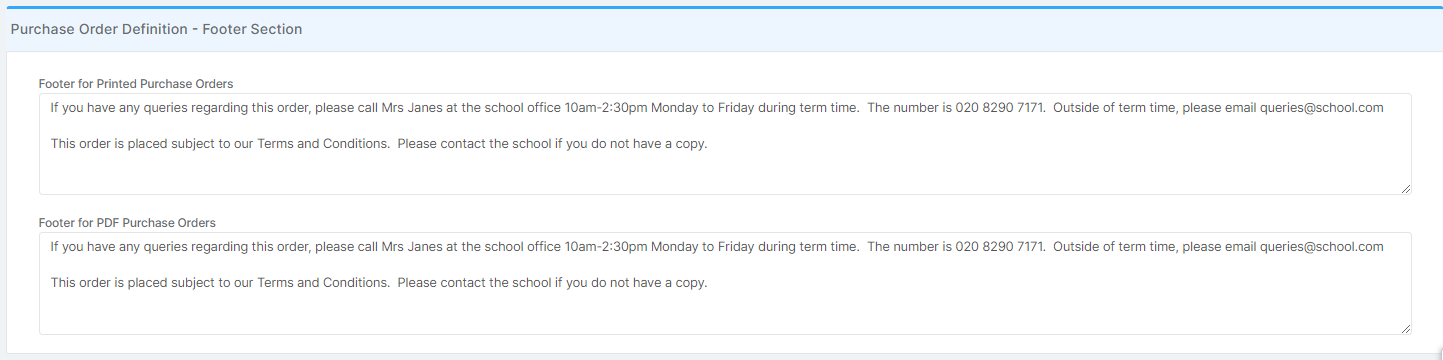
3. Purchase Order Definition – Footer Section
This is where text for the Footer can be added, deleted or amended.
Don’t forget to Save any changes.
4. Email Settings
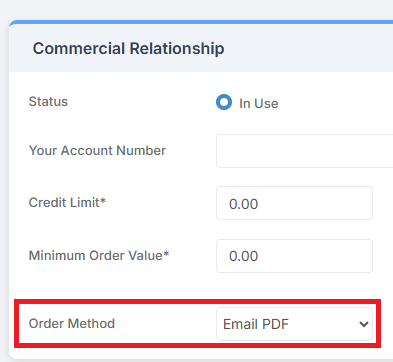
If Email PDF has been selected within the Commercial Relationship section of any individual Customer’s page (see: Modules > Finance > Finance Home Page > Accounts Payable > Customers), then the Email Settings section needs checking.
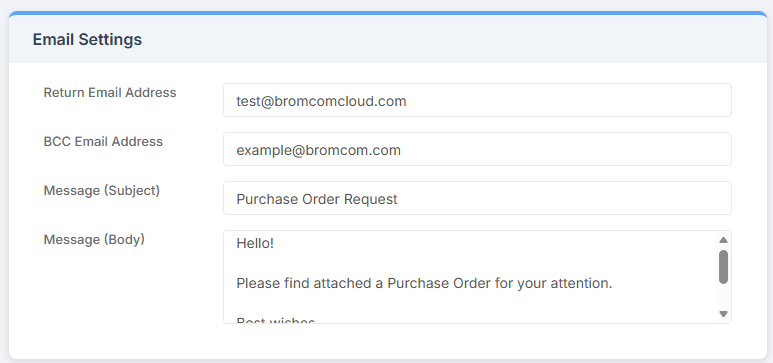
Add, check and / or amend the Email Settings section, as required.
- Return Email Address: This is the Email Address from which the Purchase Order is sent
- BCC Email Address: Complete this field with an Email Address to send a BCC to it when sending the Purchase Order
- Message (Subject): This is the Subject line of the Email that the Purchase Order PDF is attached to
- Message (Body): This is the Body of the Email that the Purchase Order is attached to
Don’t forget to Save any changes.
5. Footer Signatures for PDF Purchase Orders
This is where choices can be made about the Footer Signature.
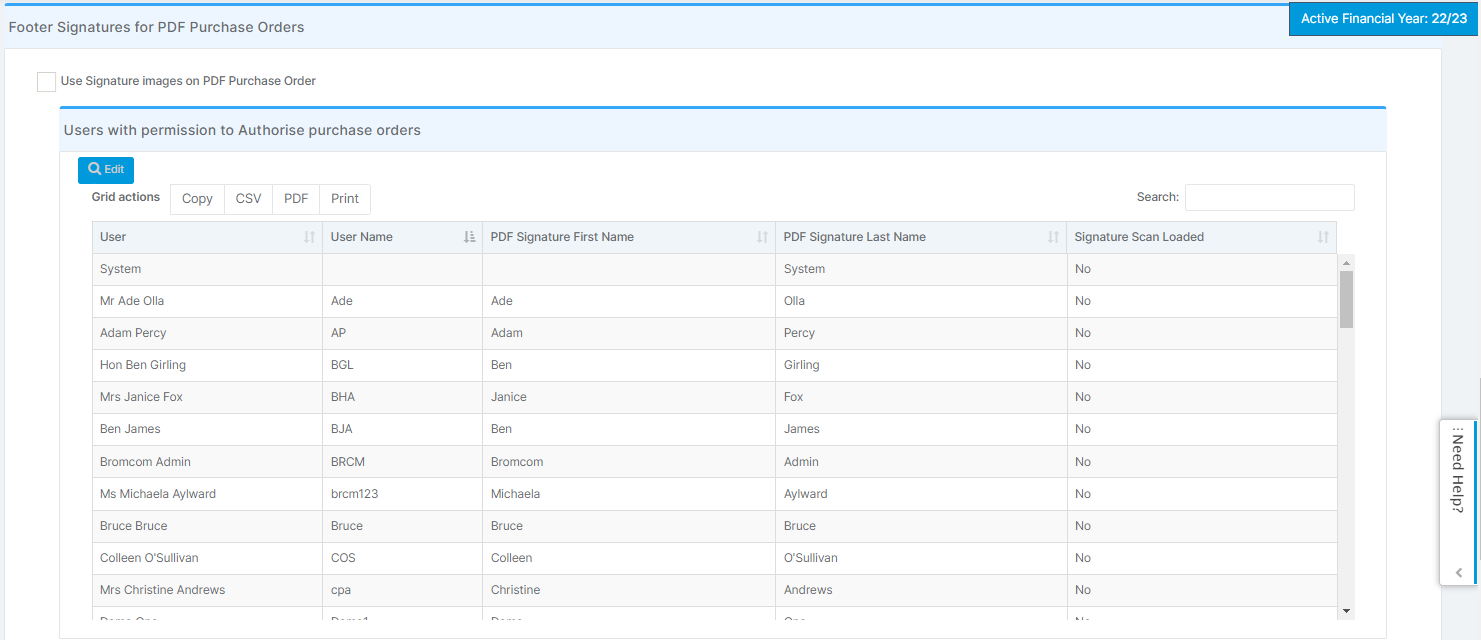
To add and use a Digital Signature for the Authorising User, tick the Use Signature images on PDF Purchase Order box shown in the Footer section.

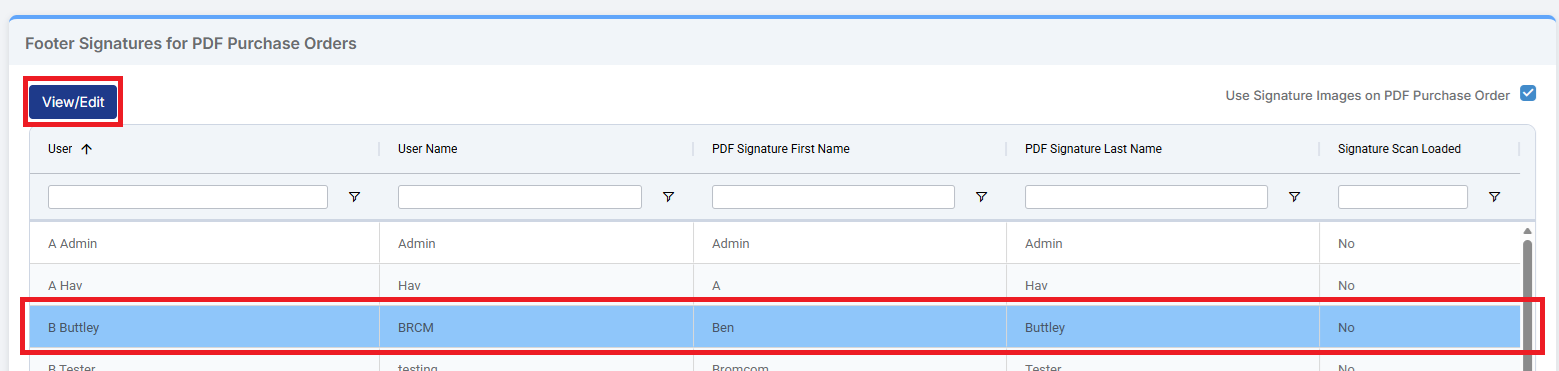
Select a Staff Member and click View/Edit.
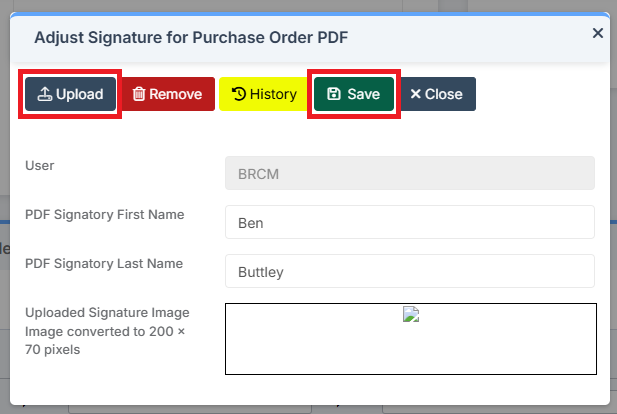
In the pop up, select Upload to Upload a Signature Image. Click Save when happy with the Uploaded Signature Image.
Don’t forget to Save any changes.