In this guide, we show How to Manage Write Offs in Accounts Receivable in the Finance Module.
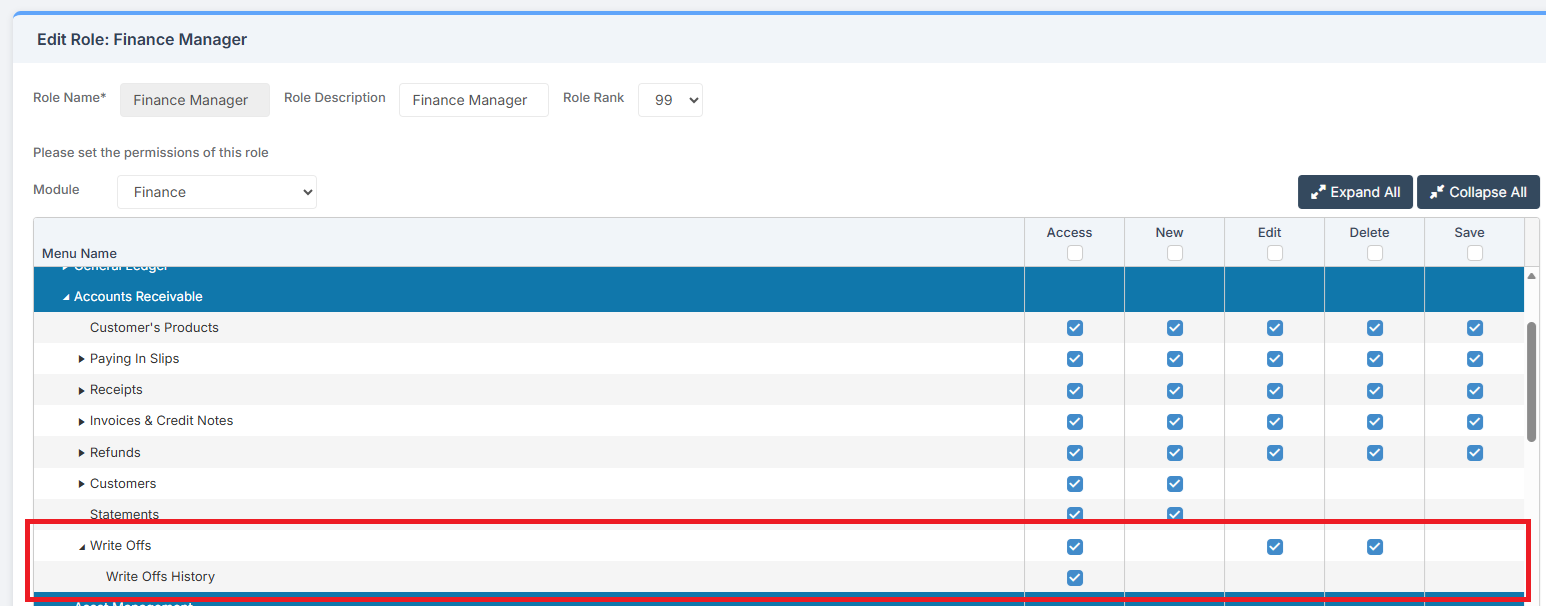
Access: The minimum permissions required to Manage Write Offs are found in the Finance Module section Config > Setup > Roles and Permissions.
This Guide forms part of the ACCOUNTS RECEIVABLE USER GUIDE. Click on the link to see Related Guides.
This guide is split into two sections:
How to Configure Write Offs
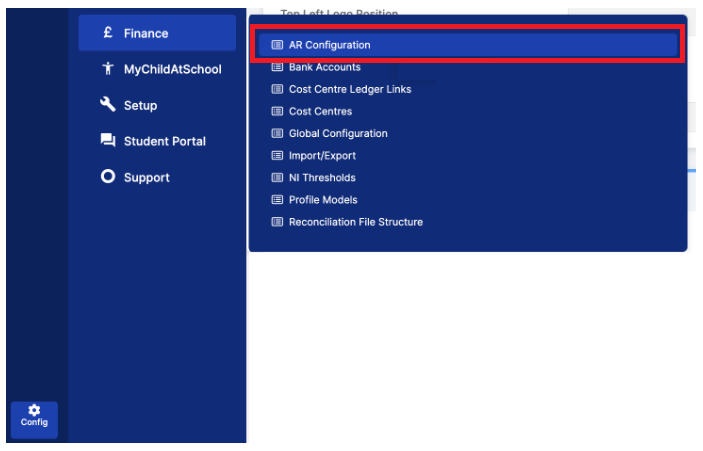
To begin, go to Config > Finance > AR Configuration.
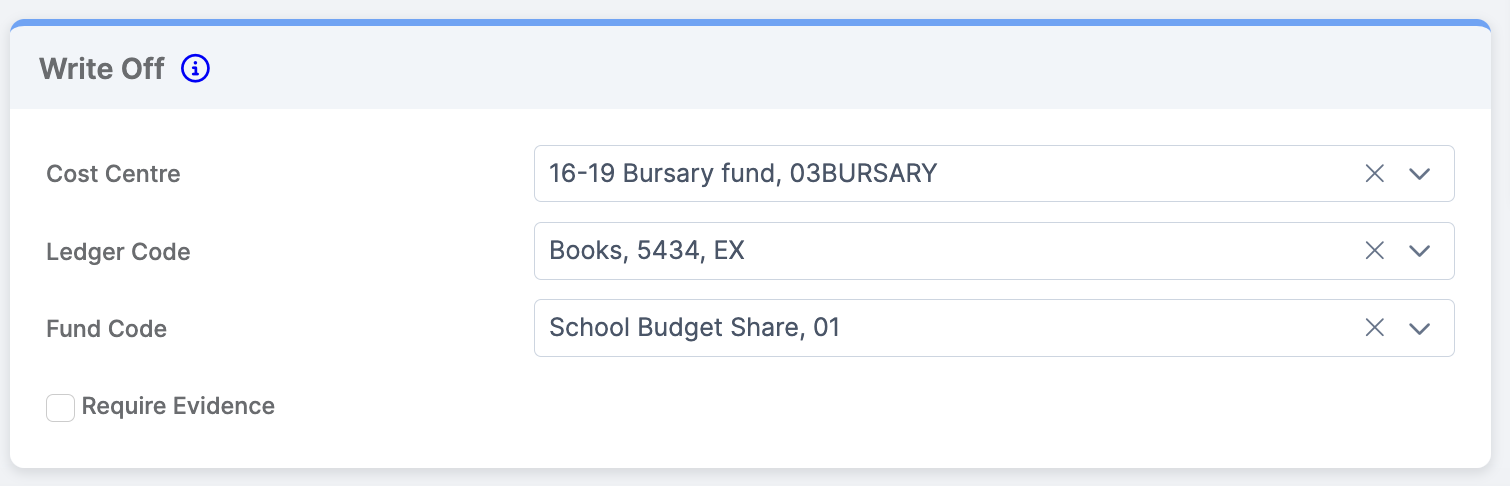
In the Write Off panel at the bottom left of the page, enter details of the Cost Centre, Ledger Code and Fund to use for writing off bad debt. Tick the Require Evidence checkbox to make it mandatory to upload evidence of the Write Off. Click Save. It is only required to enter this information once, as it will be used for every financial year going forward.
Note: The Ledger Code chosen should be an Expenditure Code, as writing off bad debt is treated as an expense / cost for the organisation.
How to Add a New Write Off
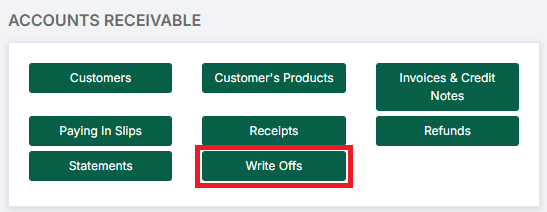
To begin, go to Modules > Finance > Finance Home Page > Accounts Receivable > Write Offs.
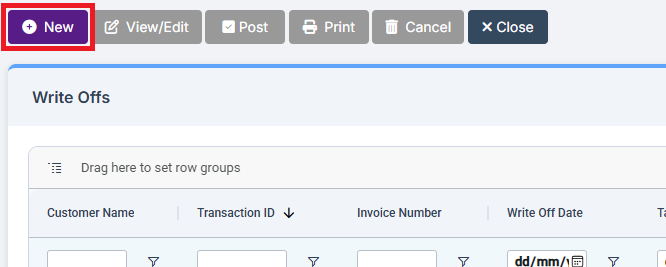
Click New to open the Write Off Details page.
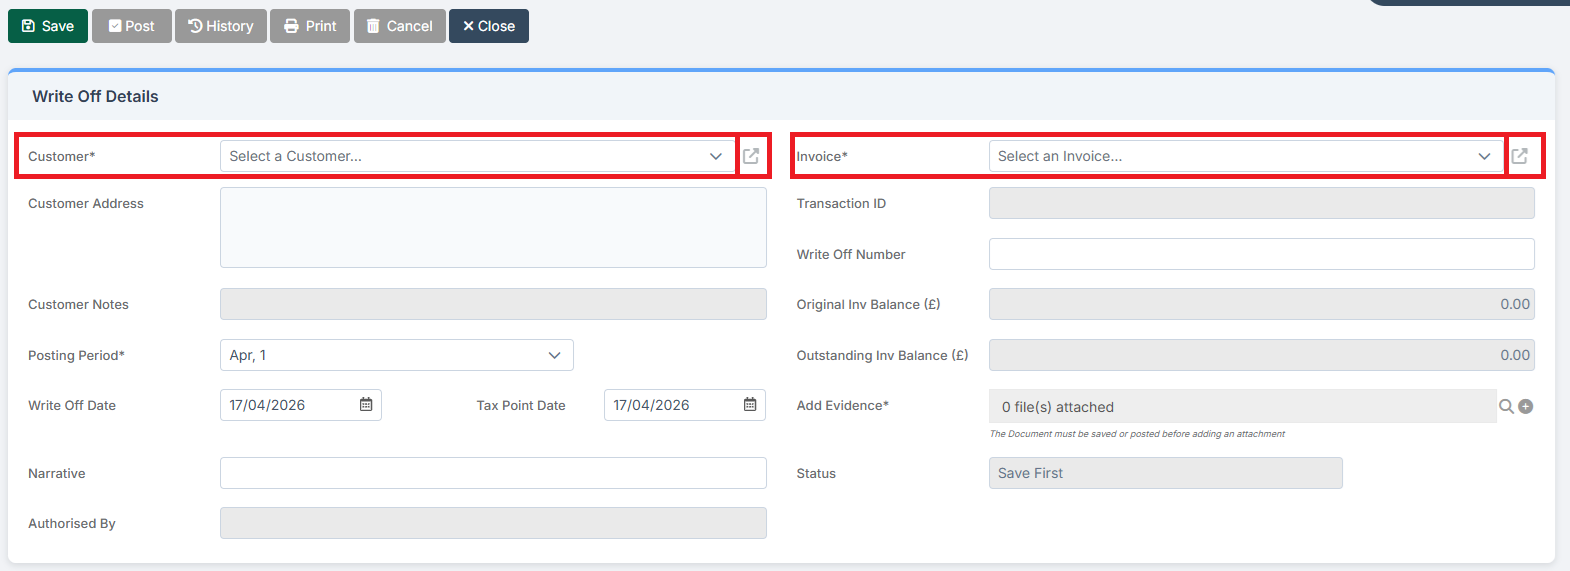
In the Write Of Details panel, it is mandatory to select Customer and the outstanding Invoice Number. Once selected, click on the symbols to the right of the fields to view either the Customer or the Invoice, if required.
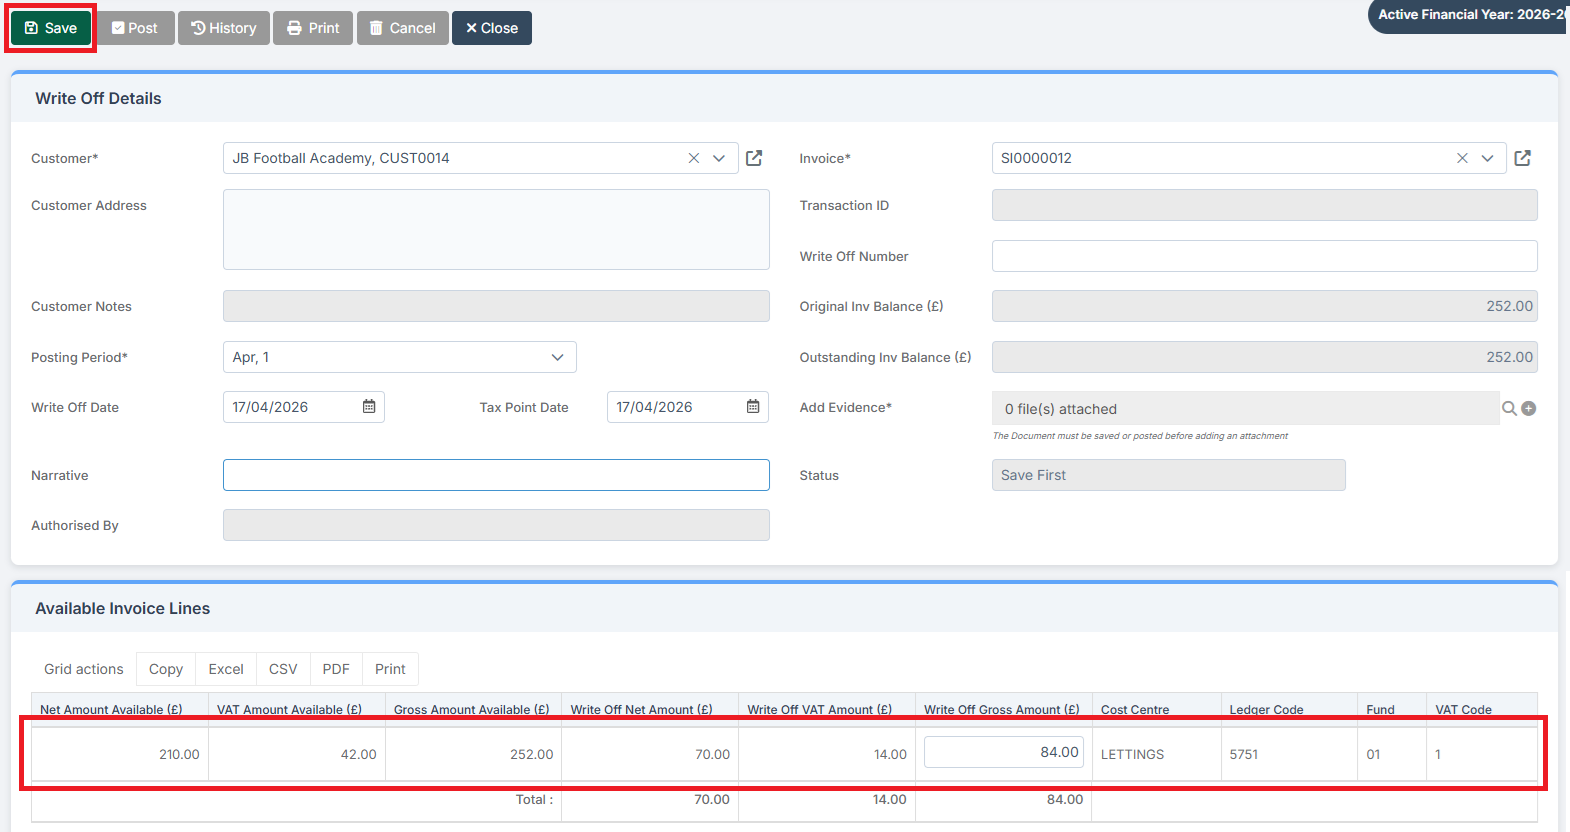
Next, in the Available Invoice Lines panel, enter the Write Off Gross Amount. Then click Save.
In the Write Off Details panel, click the blue ‘Plus‘ icon to Add Evidence by uploading attachments.
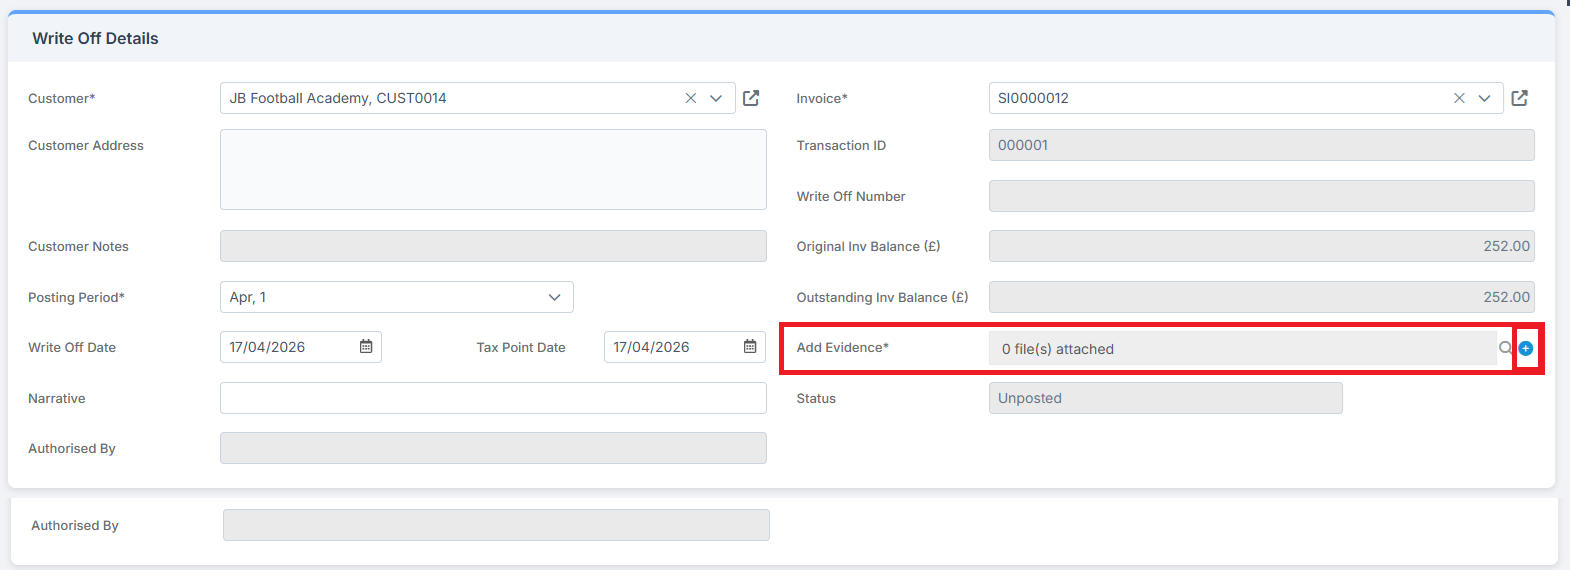
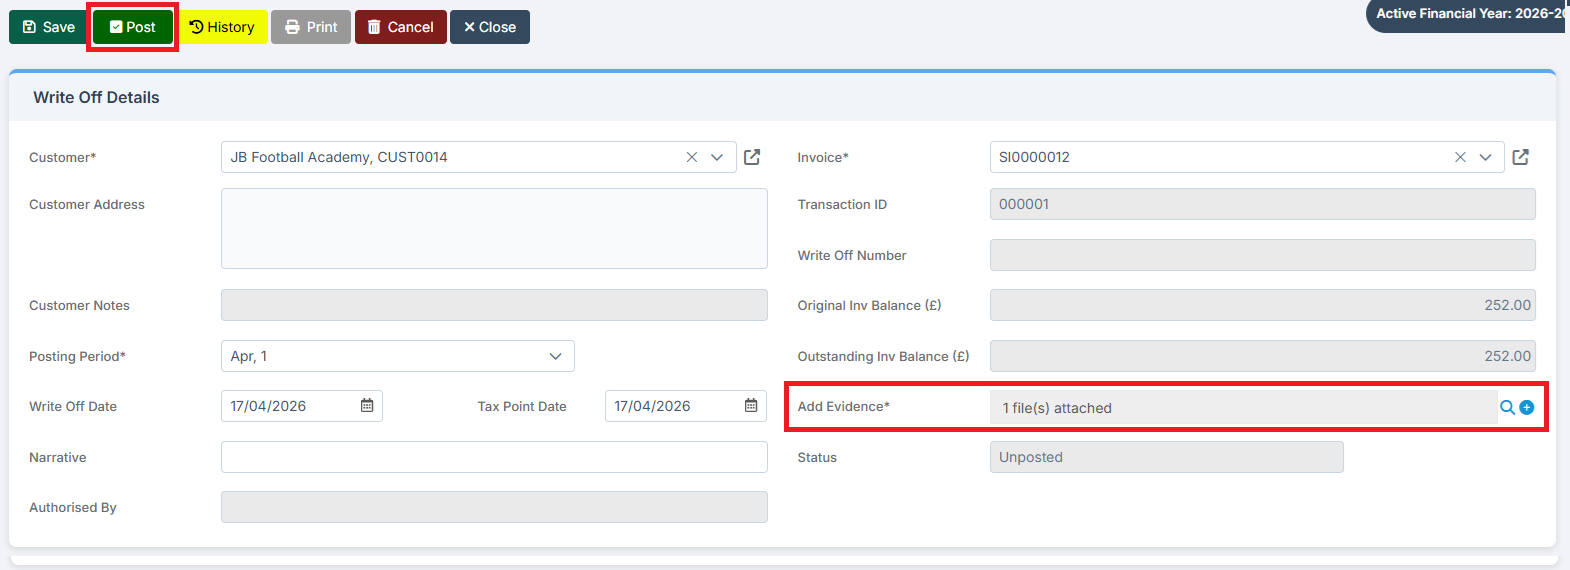
Once the Evidence has been attached, the Write Off can be Posted.
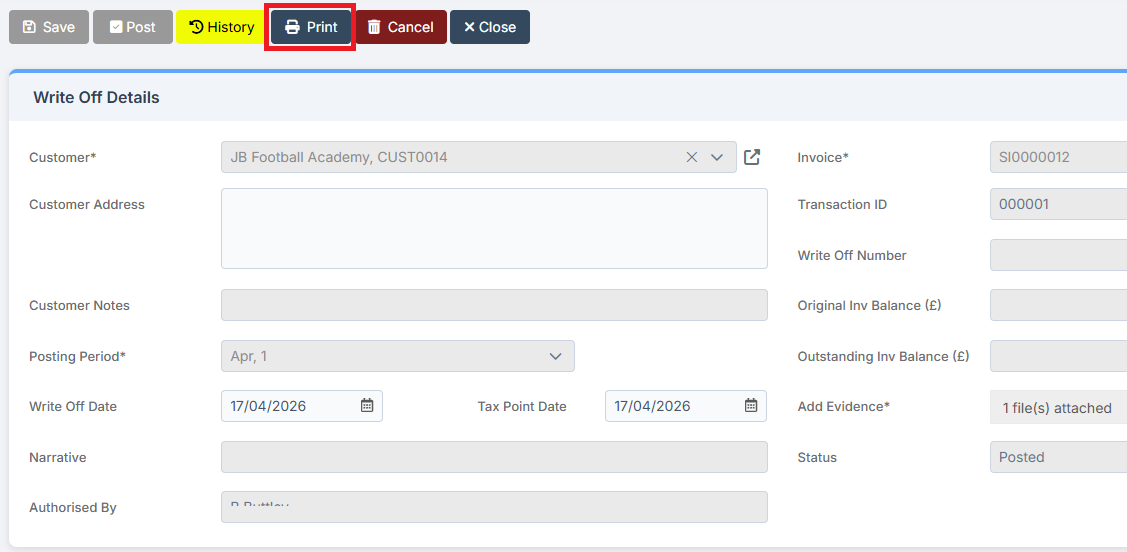
Once a Write Off has been Posted, it can be Printed.
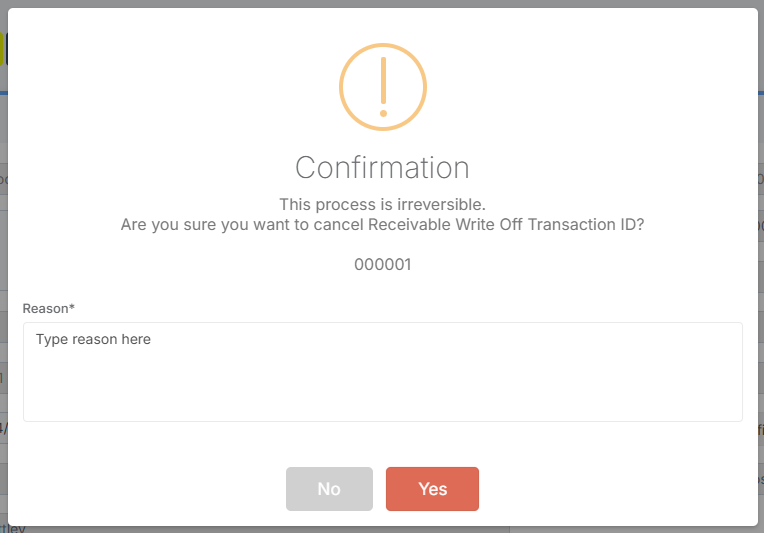
To Cancel the Write Off, click Cancel.
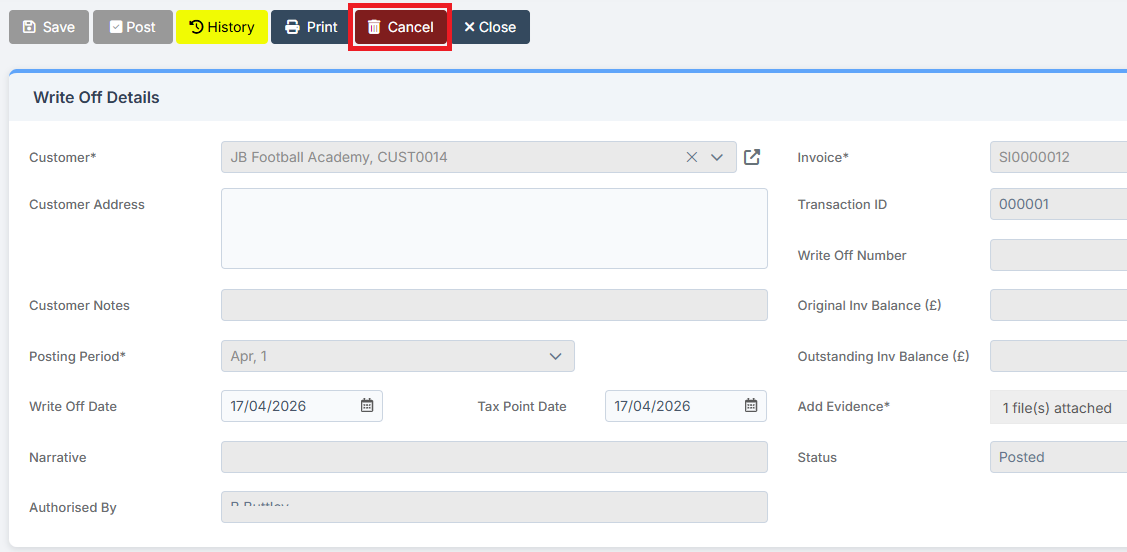
Confirm the Cancellation of the Write Off and give a Reason. The Status of the Write Off will update to Cancelled.