
In this guide, we will take you through the process of adding a new Supplier and their details in the MAT Finance Module.
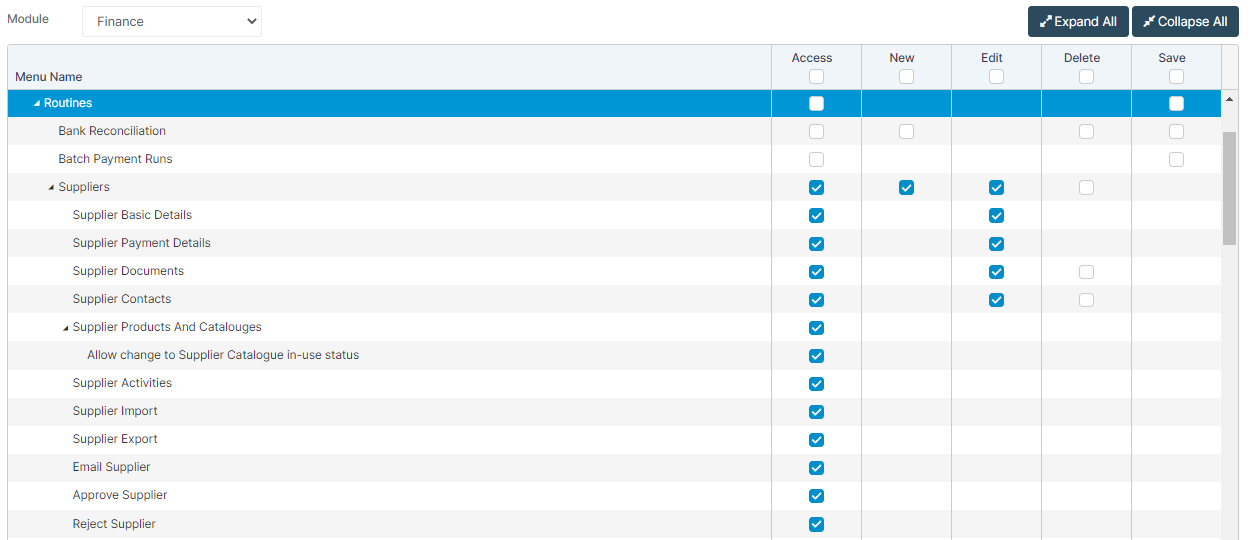
Access: To add a new Supplier, there are a lot of permissions you will need from within the Finance Module of Config>Setup>Roles & Permissions. They are listed below;
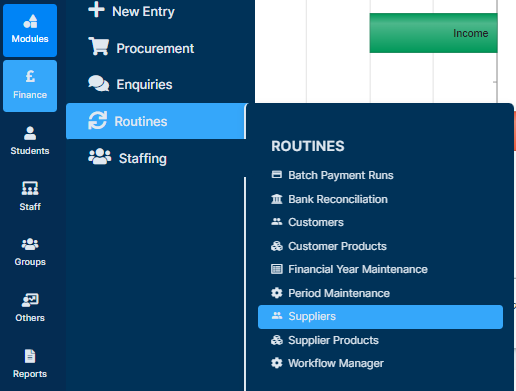
From the left Menu, go to Finance>Routines>Suppliers.
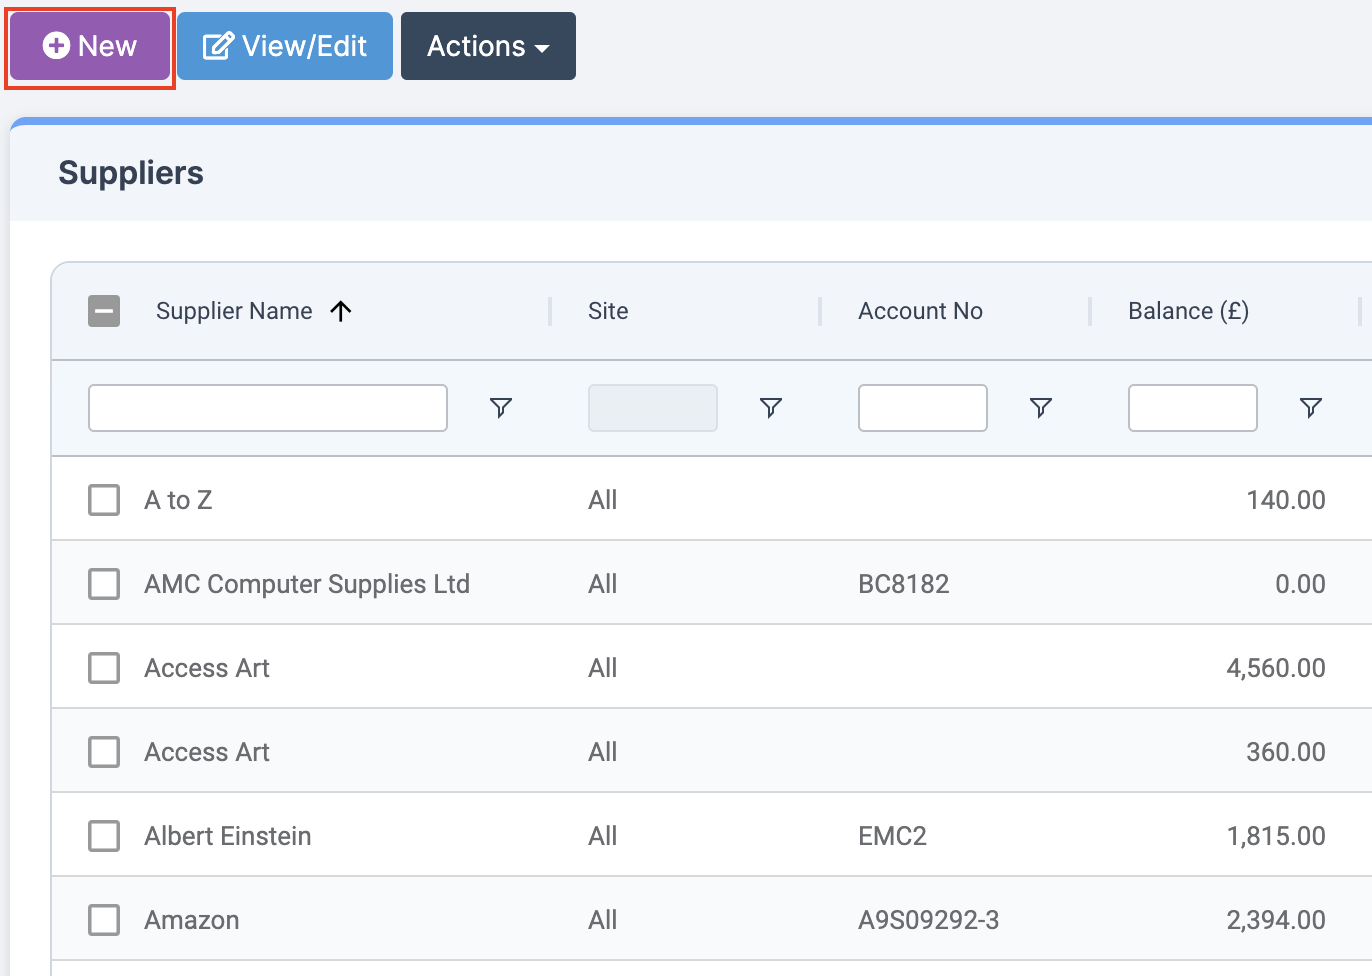
This will bring up a list of your Suppliers already in the system.
To add a new Supplier, press New.
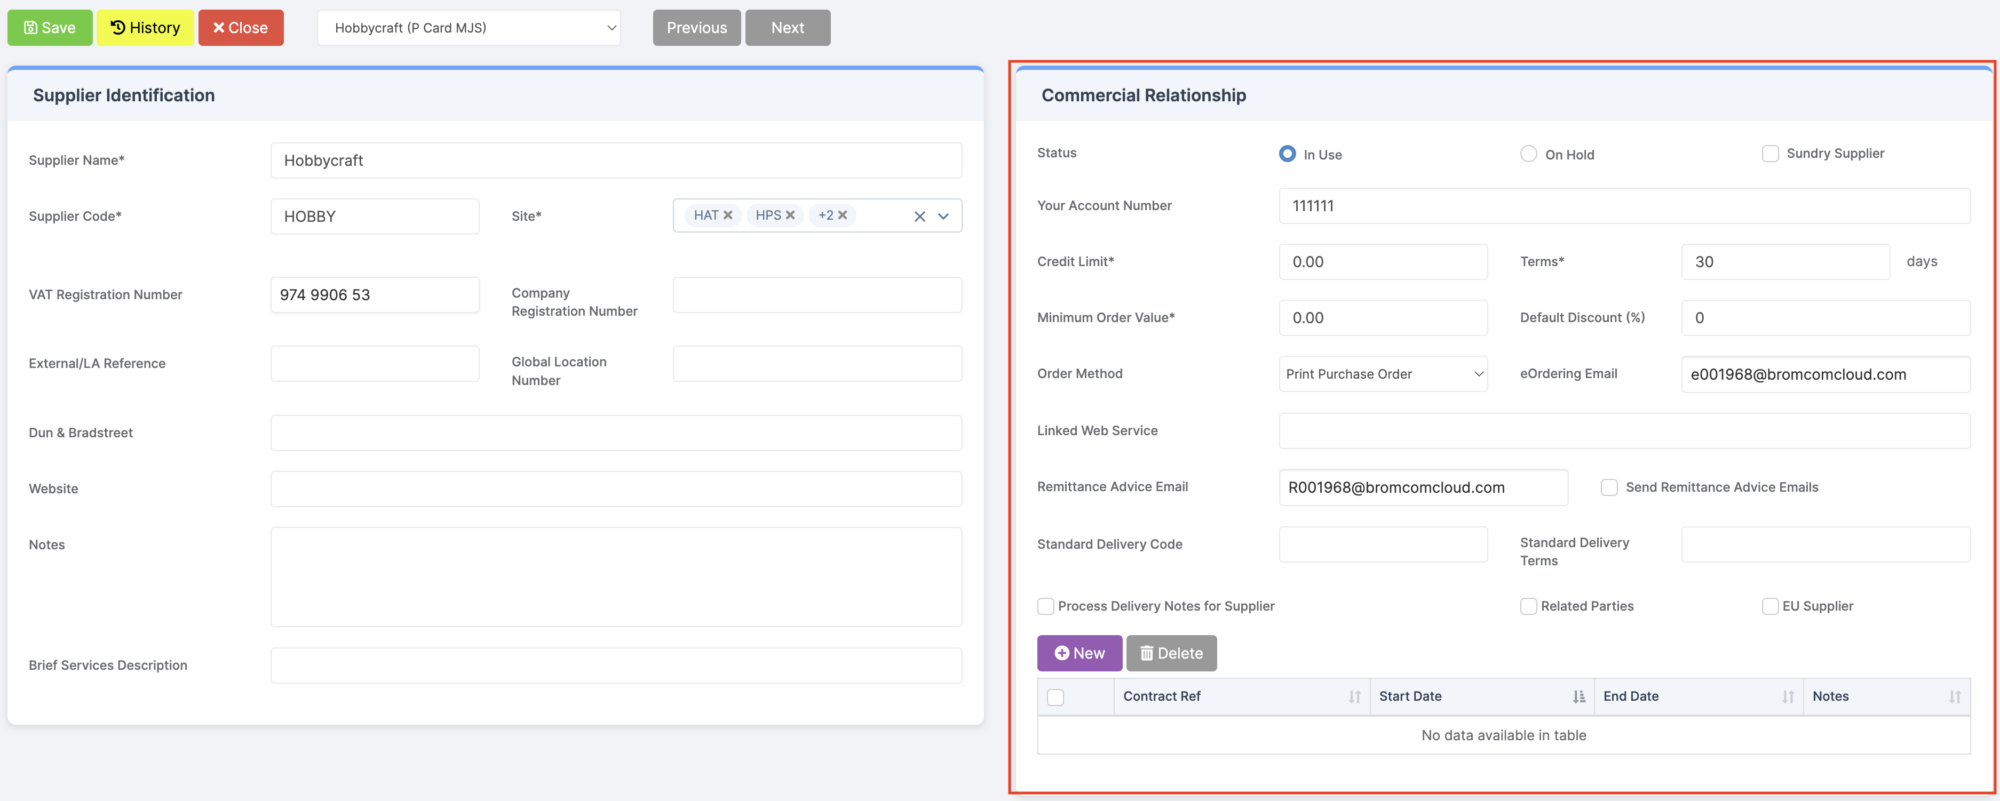
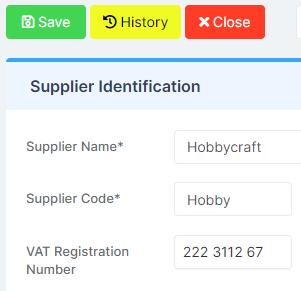
This will redirect you to a blank Supplier form which you need to complete, starting with the Supplier Identification section.
Please note that all fields with * next to them are mandatory.
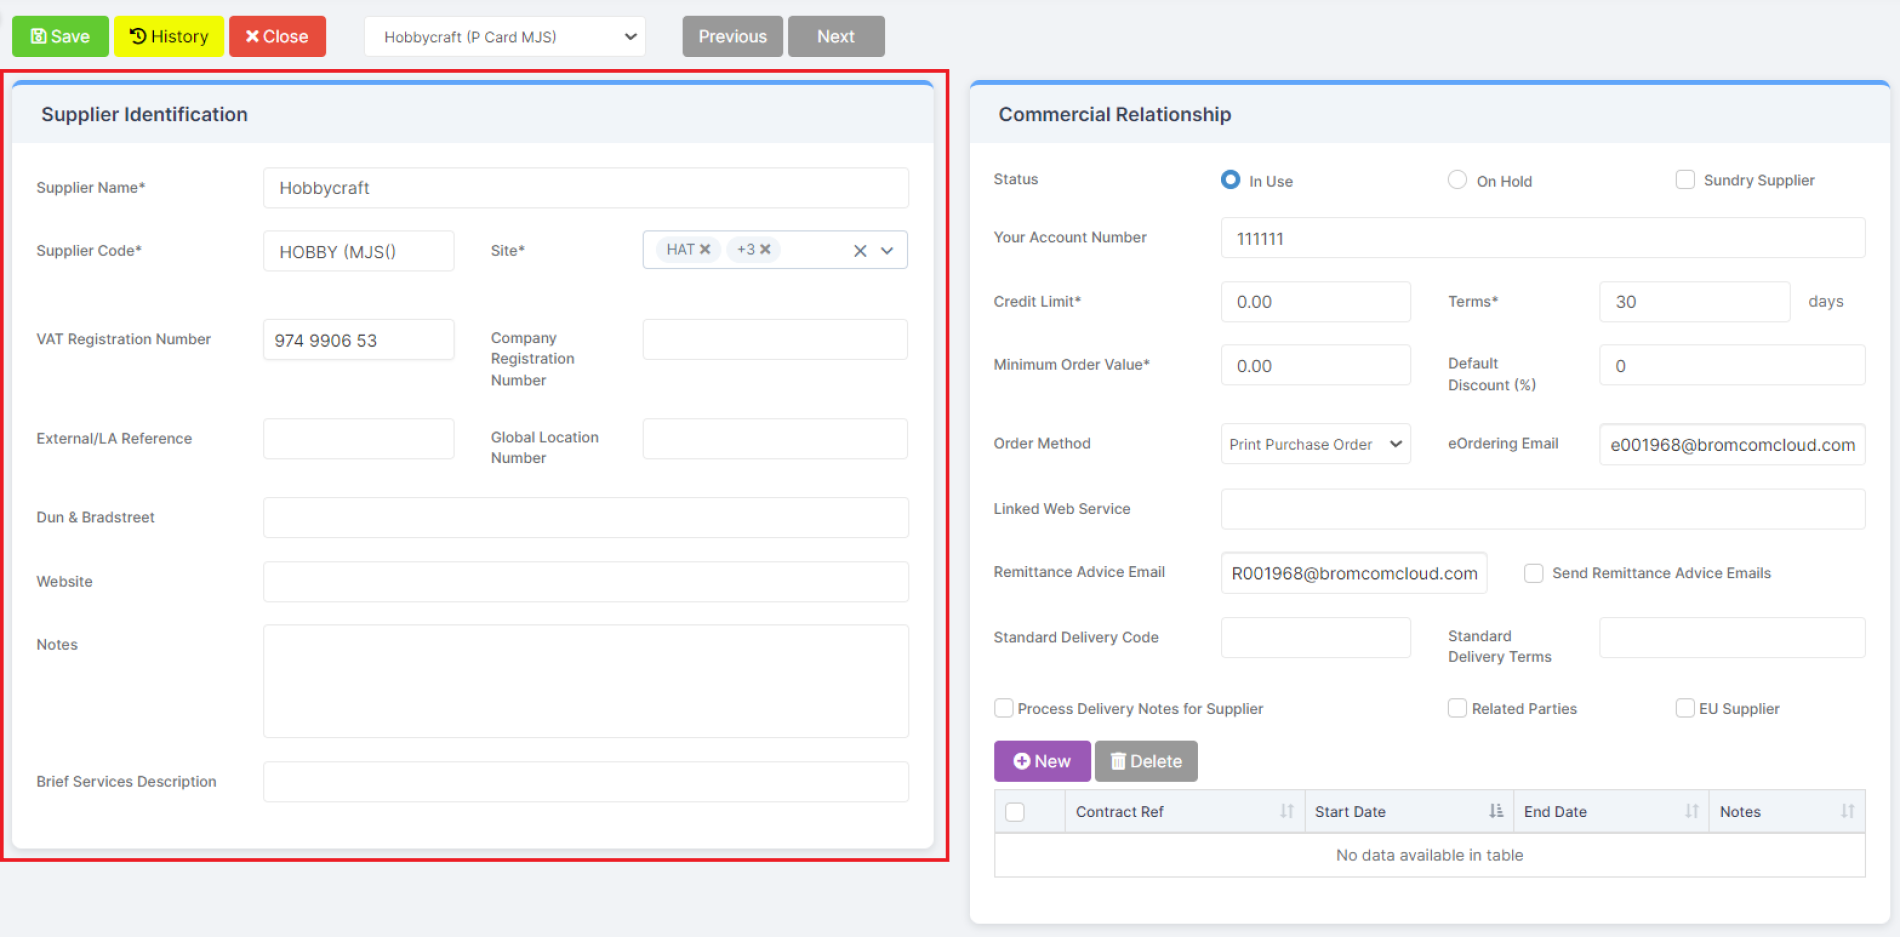
Next, fill in the information for the Commercial Relationship. Again, all fields marked with * are mandatory.
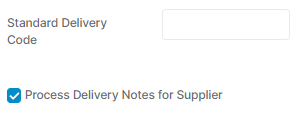
If you would like to process a Delivery Note in the Procurement process, tick the Process Delivery Notes for Supplier box. (If this is left unticked, you will not be able to process the Delivery Notes for this Supplier).
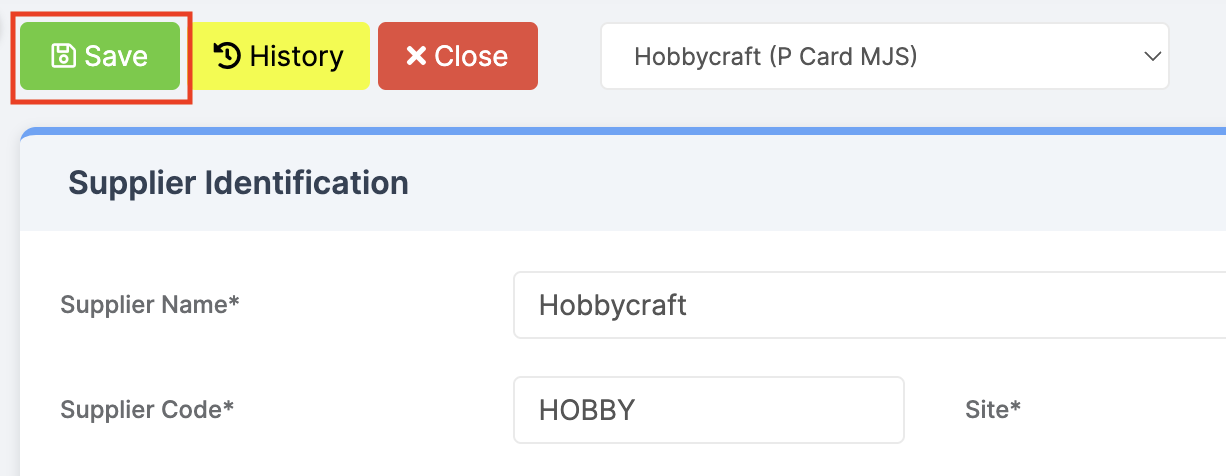
Once you have added all the information to the Supplier, press Save.
Some additional sections will open up at the bottom of the page which you can now fill in.
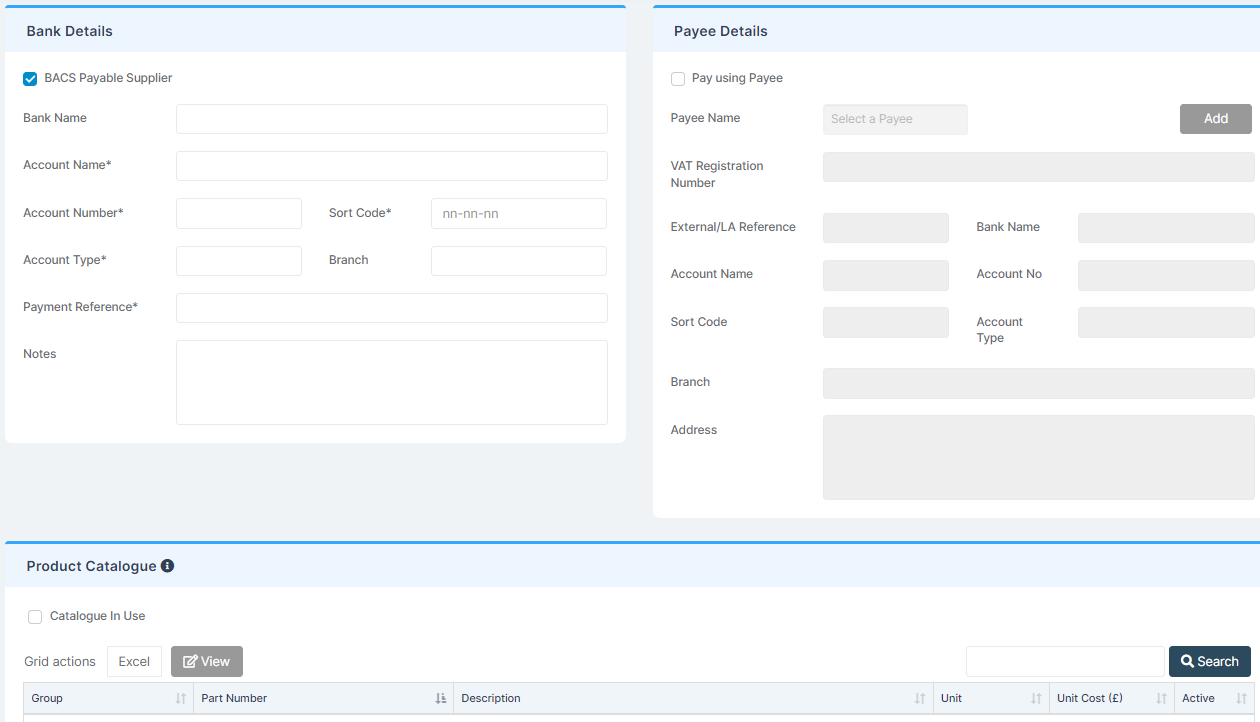
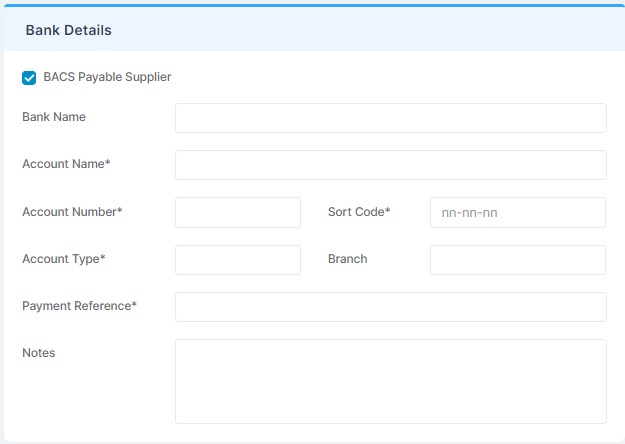
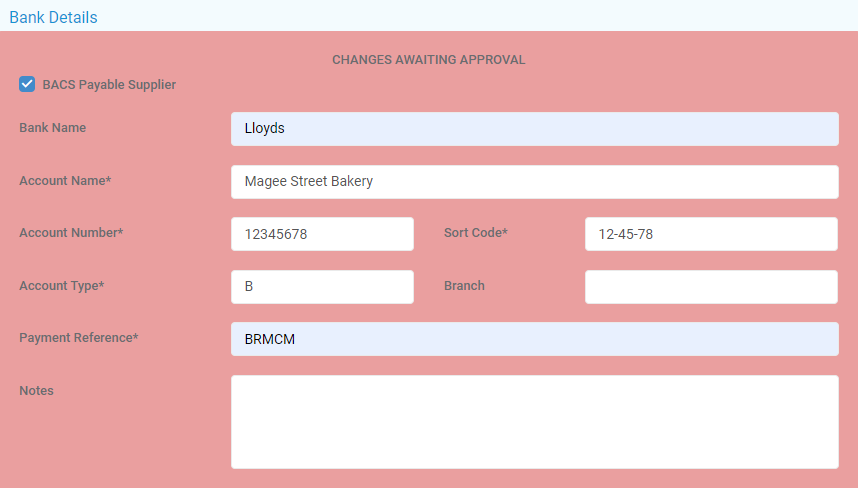
Bank Details
Complete if you have the information and will be making payment via BACS.
Complete the following fields – Bank Name, Account Name, Account Number, Sort Code, Account Type and Payment Reference.
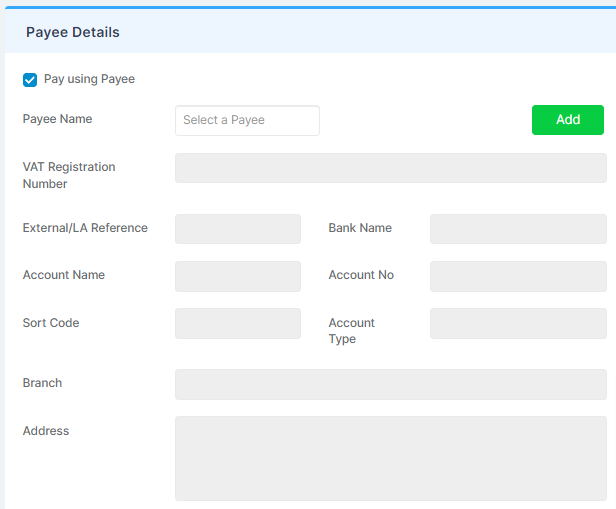
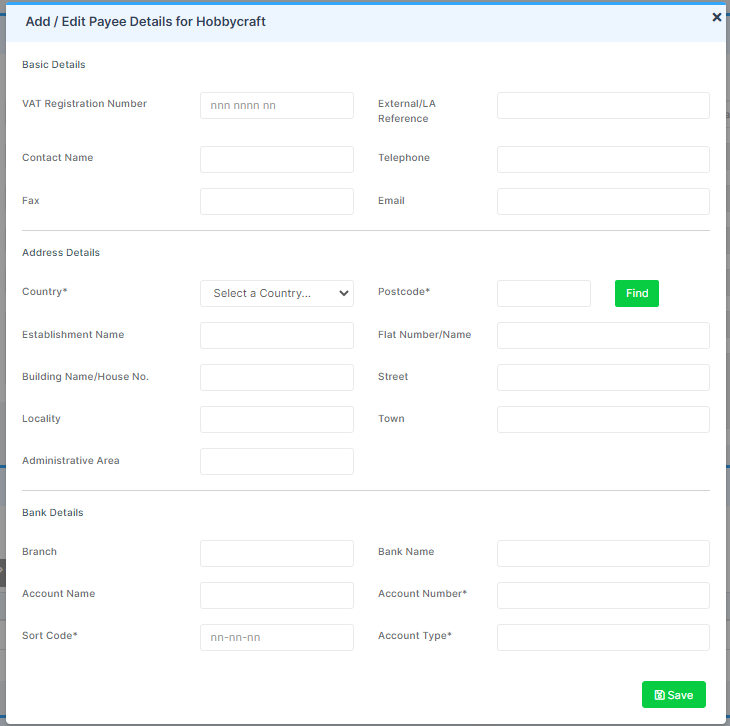
If the Supplier is a Payee account holder, press Add and complete the Payee Details Box.
Once complete, press Save.
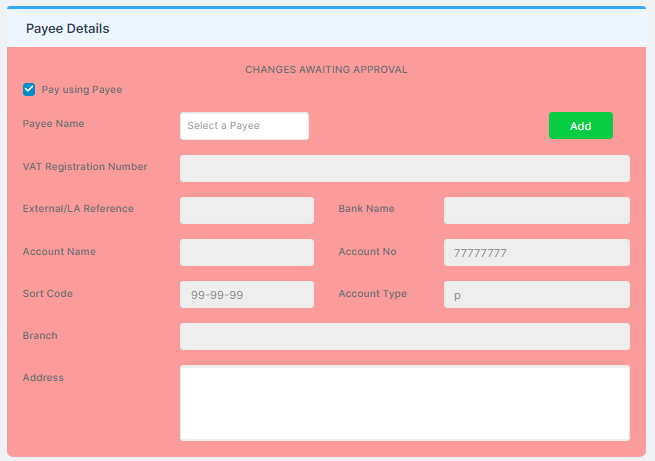
The Payee Box will turn red. This is due to awaiting authorisation of the details.
Once all fields are complete, scroll up and press Save.
The Bank Details box will also turn red as this information needs authorising.
Please note, you will not be able to process payments until the Payment Details have been authorised.
You can now see this Supplier in the Supplier list.
If you wish to amend the details of this or any other Supplier, simply select them from the list and press View/Edit.
