Important: The below guide refers to an older version of our Reports module, which not all schools will have access to. The pathways discussed in this guide therefore may not be relevant if you only have access to Quick Reports. This will typically apply to schools that are relatively new to Bromcom as well as Northern Ireland schools and they therefore should refer to Quick Reports guidance instead.
Note: All pages below are subject to having relevant Roles and Permissions.
A Mail Merge or Web Merge takes a file and creates letters to selected people, for example, an individual letter to parents. In this example we will create an Assessment report.
Note: Running a Web Merge report requires the user to create a Word Document in .dox format with Data Fields for mapping against system-selected Data Items.
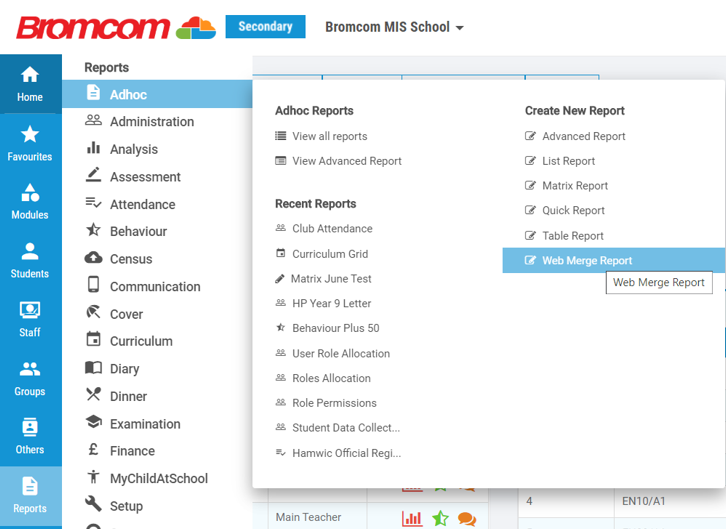
Start from Mail Merge from the Create New Report menu.
For any new schools being onboarded after Monday 30th January 2023 the Create New Report Menu will only show Quick Report.

Select the Results option from the Assessment Domain, is will open the Report Design page.


Find and drag and drop the data items from the Data Items tab into the Detail box.

For the example here, assessment mailmerge, we pick the following:
• Students – First name, Last name, Student tutor group, Student ID, AM/PM present percentage, Tutors
• Assessment Type – Assessment Type Name
• Term – Term name
• Year Group – Year Group Name
• Subject – Subject Name
• Result
Note: The Student ID must be selected as this is the identifier.

Click on the Report Filters and Intervals tab.

From the Report Intervals area select Show for Selected Dates for Students AM/PM Attendance Percentage. The page will refresh, now tick the Runtime box.

Now from the Report Filters area, select the following Filters:
• Students
• Assessment Type Name
• Term Name
• Year Group Name
• Subject Name.
Example below on how the Assessment Type Name is added. Simply drag and drop the field into the Drag Items here area.

Now set the Filter by ticking the Ask at runtime box and clicking Apply, each time you add the filter.

Set the Ask at Runtime for all Filters listed below.

Click on the Report Properties tab.

Give the report a Title and a Description, select the Folder in which the report will reside, give Access Permissions to others to View and Run this report, then click OK.
When you’re finished click Save.

