
Use this guide to create a report for a student(s) and then email the report(s) to the Student from within the DMS (Document Management System) You can also use this process to send reports to student contacts
- You could also choose the Results by Student (Reports>Exams>Results by Student) to Email Candidate Exam Results. Important : please refer to JCQ guidance regarding publication of exam results.
- You could also use this process for the Pupil Report to report on KS2 Reports from Reports>Assessment>Stage Assessment
Access: All pages below are subject to having the relevant Roles and Permissions. All users have access to the My Documents section in My Profile however, to see Documents for other Users you will need Administrator Rights.
Pre requisites: prior to sending the reports please ensure you have the Student and relevant Contact email in the Student Profile . See How to View the Student Details Page.
See also How to Send an SMS Message or Email from Bromcom and How to Set up SMTP to send Emails from Bromcom.
Begin by running the required reports, in this example we are running the Student Attendance Report for a group of selected students. Reports>Attendance>Student Attendance

In this example I have chosen 2 students to report on for a specified date range. You can click Find to open the full Student Selector List

Click Export.
If you wish to Preview the report(s) first click Preview and then Export.

In the Export Page choose the Format of Report in the Format drop down and ensure Multiple Documents is ticked – this will produce individual document files i.e. one for each Student in this example 2 files.
Click Done.

Please wait while the report is being prepared, this may take some time if a large number of students has been selected to report on.
When the reports are ready a red number will appear next to the notification bell on the top right of the screen.
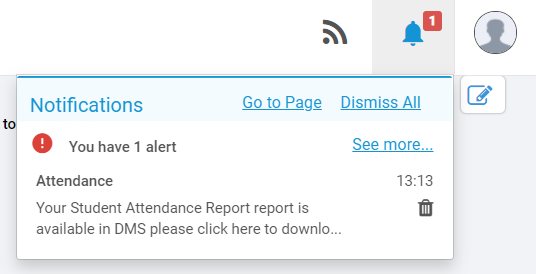
From the top right of the screen click on your picture and select My Documents.

From the My Documents list select the required document(s). Use the filter symbol ( burger stack) on each column header to filter if required.

In this example we have filtered on Document Title

Important: Ensure the Focus column is populated with the Student name, if this isn’t populated you will need to add the email address for the Student or Contact into the Student Profile. See How to View the Student Details Page
If the Focus column is not populated this means the student doesn’t have an email attached to his/her name.

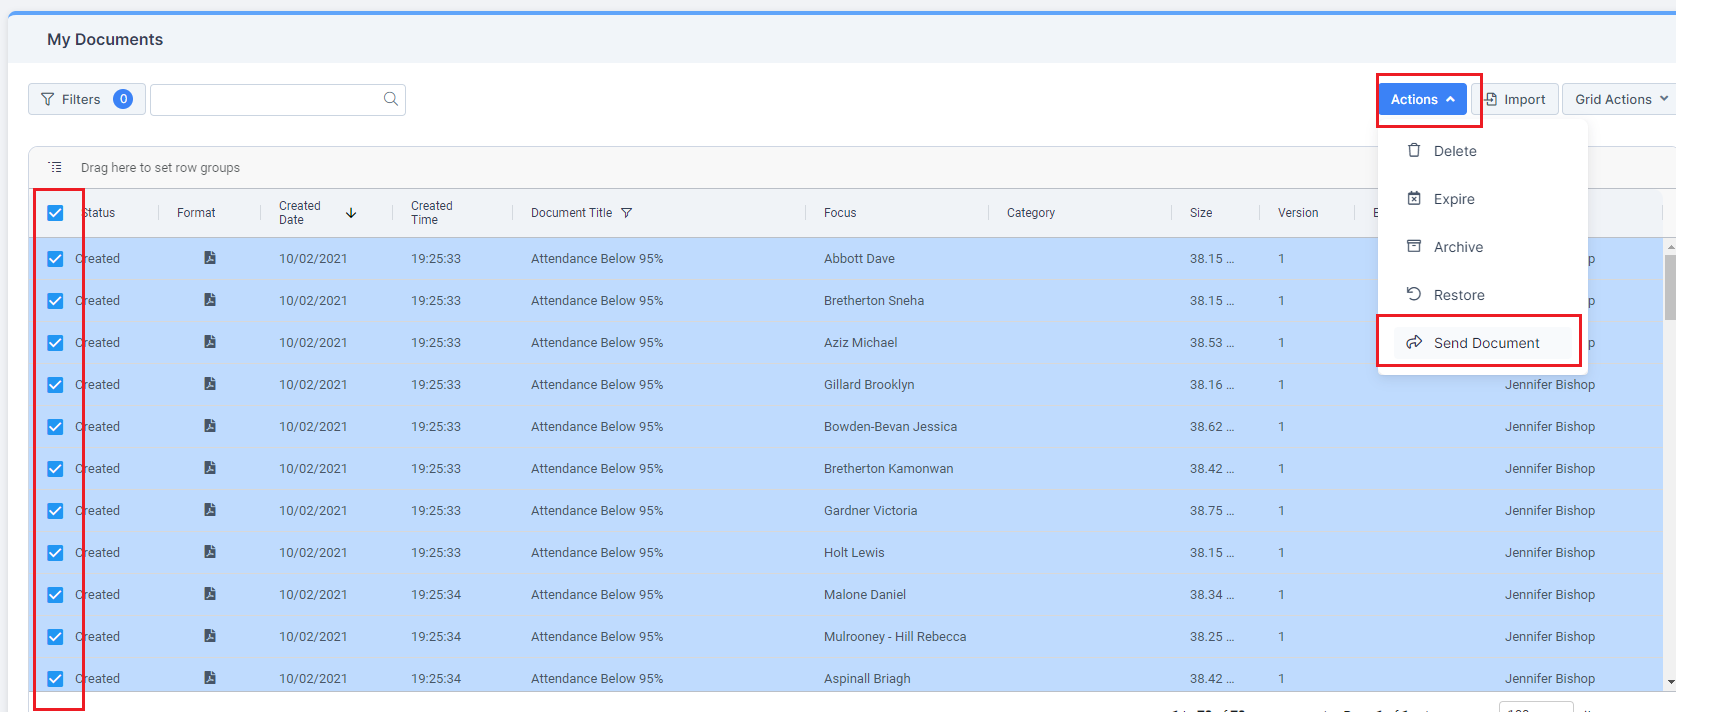
Once you have selected the Documents from the top right Actions drop down choose Send Document.
From the Send Document screen complete the Recipient, this defaults to Contact change to Student if required.
Enter the Subject of the Email.
Selected DMS Document(s): note there are 2 documents in here.
Complete the Message using the Dynamic Fields drop down to personalize the message if required.
Choose Send to Parental Responsibility contacts only if required.
Note: All Priorities are ticked by default. If required untick and select which priorities are to receive the email.

Click on Recipients to check the recipient list and click Send or Back to amend the message
The email and attached documents have now been sent..