
Note: All pages shown below are subject to having relevant Roles and Permissions.
In this guide, we are going to show you how to create a Support Document Template and use it to assign a Support Document to a Student.
See also: How to create custom Intervention Categories and Support Event Types and How to view the Student Details Profile page
Create a Document Template
To begin, you will need to create a Support Document by going to Config>Support>Document Templates.

This will load the Document Templates page with any pre-existing Templates already visible.
To create a New Template, press New.

The Add/Edit Template screen will pop out, providing you with the following options;
Note: All fields with * next to them are mandatory and must be completed.
- Template Type – Allows you to create a Template that is either Shared or Private. A Shared Template can be used by all Users, while a Private Template can only be seen/used by you.
- Start Date* – Determines when the Template will be available from.
- End Date – Determines when the Template will be available until.
- Template Name* – Allows you to give the Template a name so it is easier to identify.
- Support Area* – Determines which DfE defined Support Area the Template is based on/regarding. (Make a note of which one you select because it will be required to use the Template later).
- Template Text* – Allows you to enter Text into the Template to suit your needs.
- Data Fields – Allows you to add Fields of information that will automatically populate based on what the Student returns for it (i.e Ethnicity or Gender will return what the Student reflects for these Fields).

Once all of the required and desired information has been entered, press Save.

This Document Template will now appear in the list of available Templates.

Assigning a Support Document
Now that a Document Template has been created, it can be used to create a Support Document for a Student.
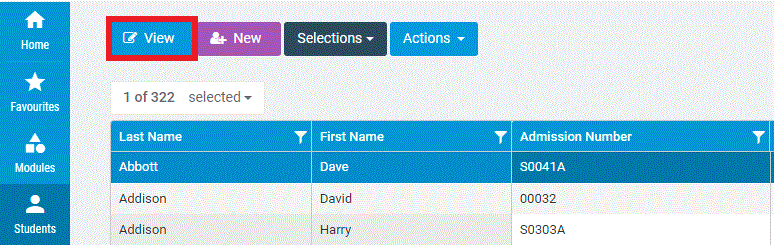
For this, you would need to open a Student’s Record via the Students List Page.
Once the Student’s Record is open, you can either use the Panel Selector to select Support Documents or scroll down to the Support Documents Panel.

Once you have the Support Documents Panel in front of you, press the + icon in the top right corner.

This will open the following pop out screen;

In order to select the Template that you created earlier, you need to select the same Support Area as the Template.

Once you set the correct Support Area, the Template drop down will display all Templates under that specific Support Area.

Selecting the Template will automatically populate the text for you, as it was in the Template.
This includes any Data Fields which will now display the Student’s Data, as you can see with his Name and Admission Number below;
Once you are happy with the information included in the Document, press Save.

You will now be able to see the Document within the Support Documents Panel on the Profile tab of the Student’s Record.

Note: While a Document Template can be set to Private, this does not prevent other Staff from seeing the final Support Document on the Student’s Record.
Private means that the Template is accessible to you alone so please bear this in mind.