
In this guide, we will show you how to post a Sales Income Receipt once payment has been received in the bank.
Access: The minimum permissions required to carry this out are found in the Finance Module of Config>Setup>Roles & Permissions.
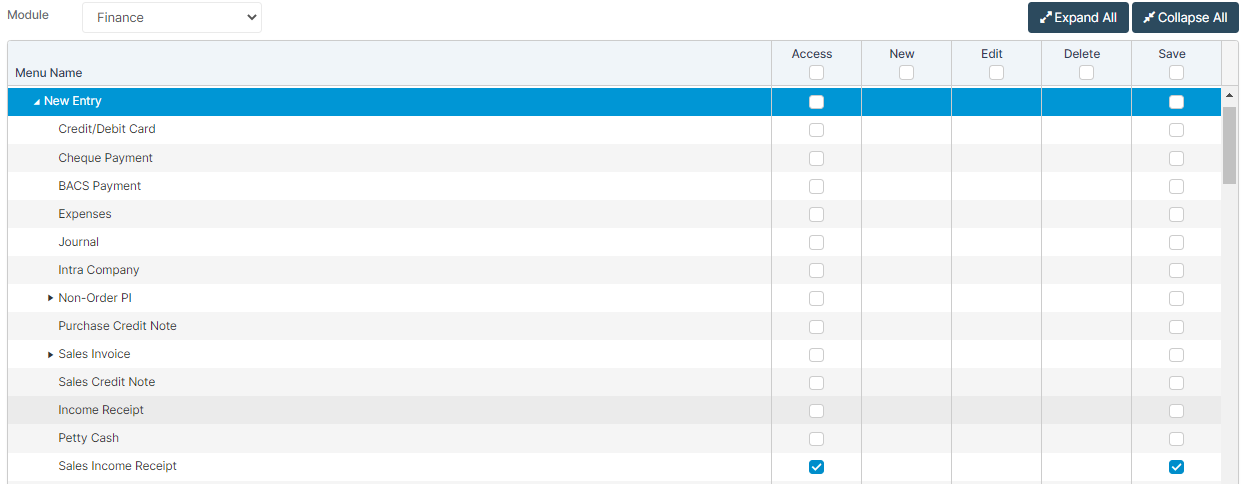
From the left Menu, go to Finance>New Entry>Sales Income Receipt.

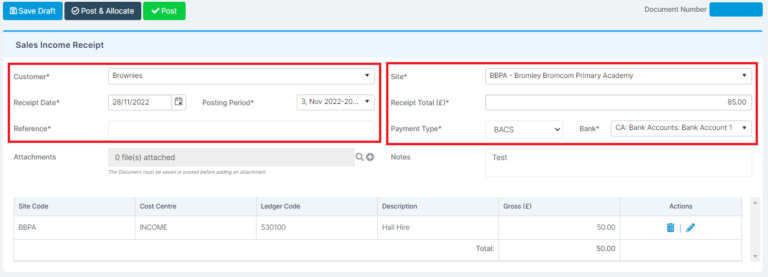
Once the page loads, complete the following fields – Customer, Site, Date, Receipt Total, Payment Type and Bank (BACS and Bank Transfer Payment Types only).
Once fields are complete, your Sales Invoices will appear in the table underneath.
If your Income matches all the lines, simply press Post & Allocate.
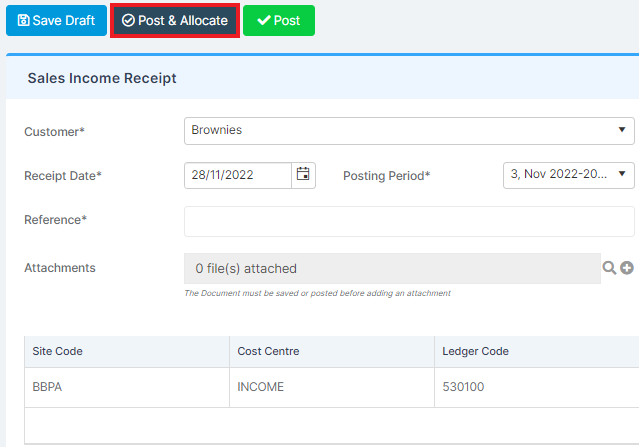
If one has not been paid, delete the line by clicking the rubbish bin icon at the end of the row.

A Print / Dispatch Sales Receipt notification will pop up, as well as a success notification.
Dispatch – Here you can email the document straight to the customer
Print – Print a copy to had to customer or send is no email address is available.
Press the x to close the Print / Dispatch box.

Your Allocations Box will then appear.
Select the Allocation, select the required item(s) and press Allocate.
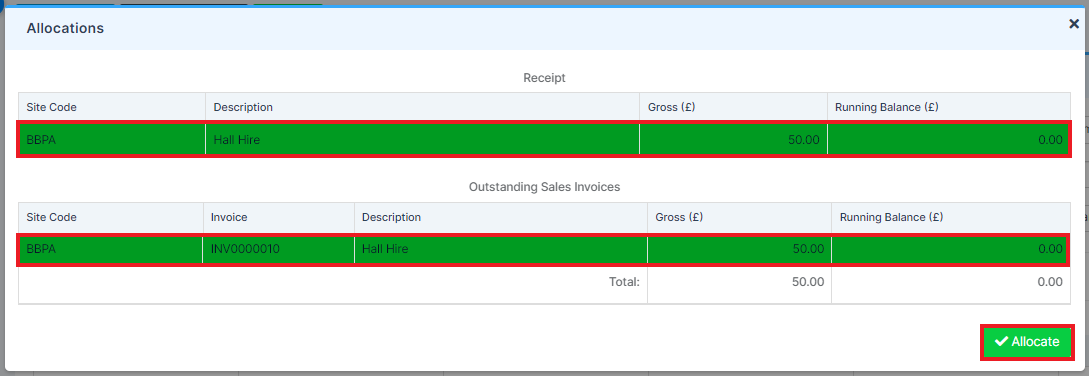
Once you are done, close the Allocations box.
This will bring back to the Sales Income Receipt page for the next transaction.