
Use this guide to produce an Excel spreadsheet on selected data for example Single Central Record.
Also see: How-to-install-Excel-Add-In
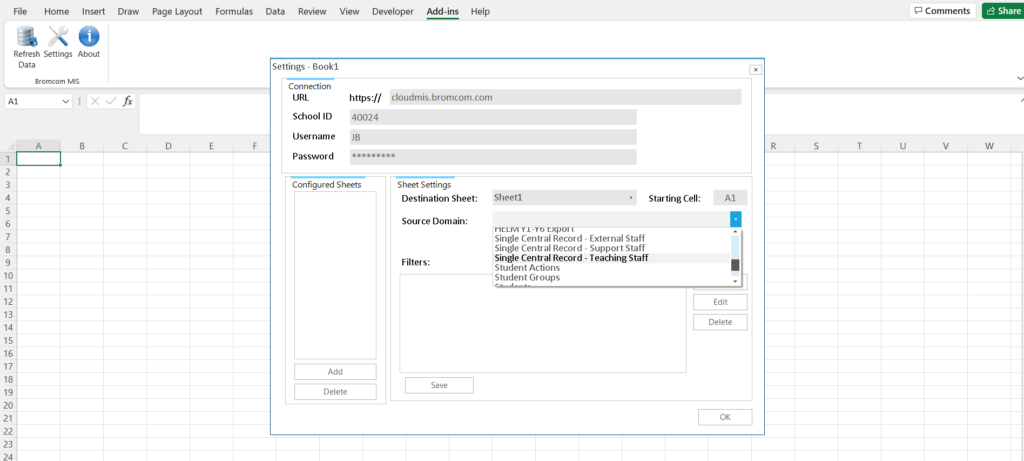
In this example from the Source Domain dropdown Single Central Record – Teaching Staff has been selected
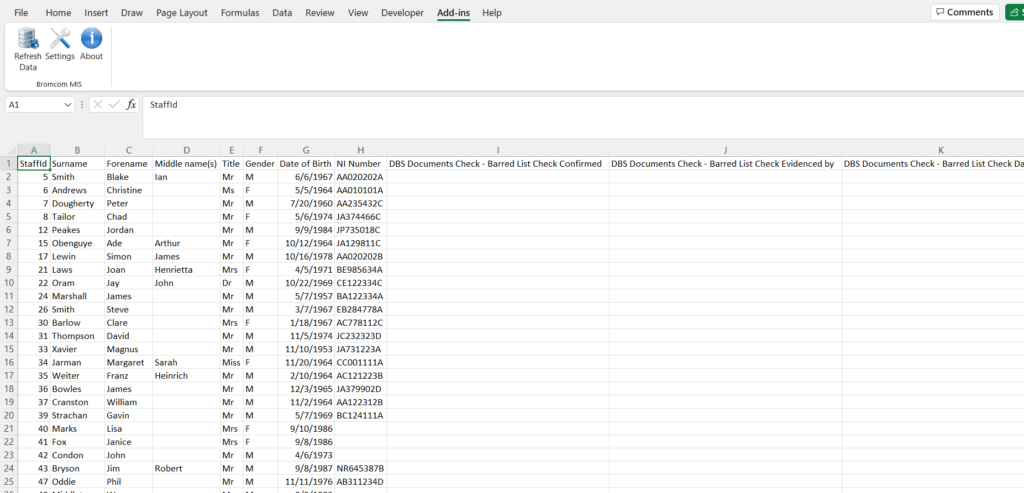
Click Save and Ok and then when the spreadsheet opens click Refresh Data from the top left.
Adding filters
In the example below we are going to add some filters to the excel spreadsheet
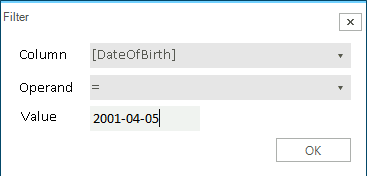
Date Filter: for any dates the format of the date cell is YYYY-MM–DD so if the date is 19th June 2023 then you would type in 2023-06-19
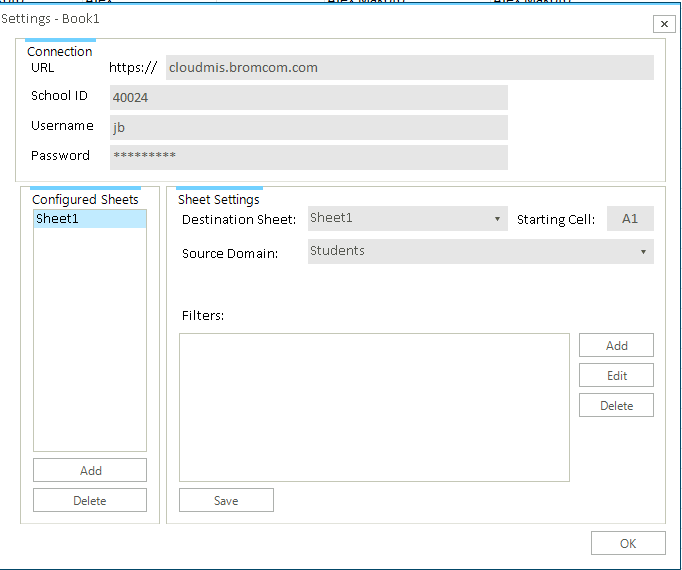
In the example below we have the Students Source Domain selected
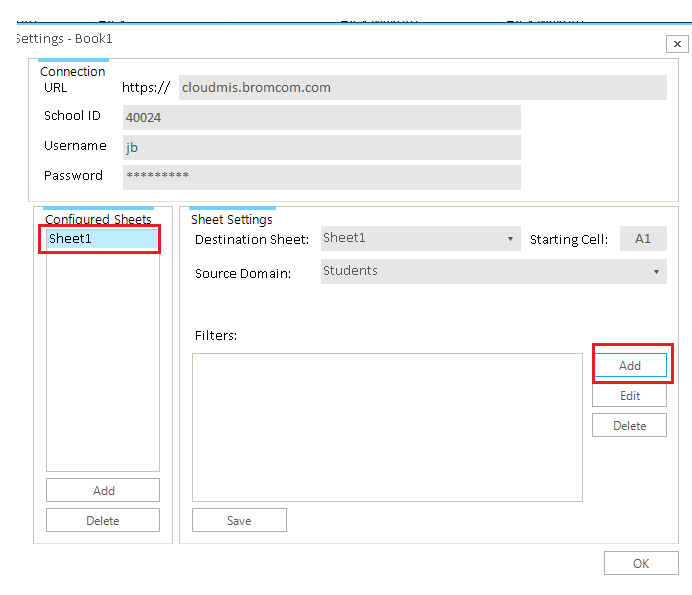
With the Configured Sheet highlighted click on Add
We’ve then chosen the Date of Birth column and the = for EQUALS and then typed in 2001-04-05
Click OK
Click Save
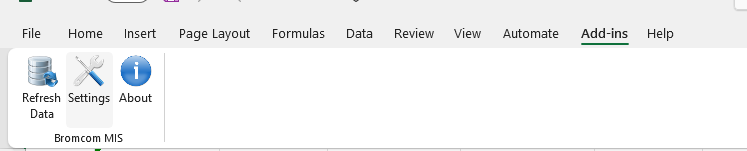
Then we need to refresh the data from Add Ins – Refresh Data
Now the spreadsheet has refreshed to just show the Date of Birth selected
