
In this guide, we will cover the following processes:
- Assign Roles to multiple members of staff – for example, providing Safeguarding User role to so they can add concerns to students; and
- Assign multiple Roles to the same user account, for example, a member of the School Admin Team who needs to be able to input both Attendance and Behaviour data.
Below is a brief description of how Roles and Permissions work within the MIS;
- Each User requires a User Account to log in to Bromcom.
- Each User Account needs a Role or Roles to see data in Bromcom.
- Each Role has specific permissions that dictate what data they can see.
- The data that a User can/can’t see is explicitly controlled by which Roles they have and which permissions are enabled within those Roles.
Pre requisites:
- Assigning Roles and Permission’s is only available to Users with Administrator permissions.
- Bromcom have pre-created Roles in the system for Users to support you with this process. You can edit and make these bespoke to your setting using this guide.
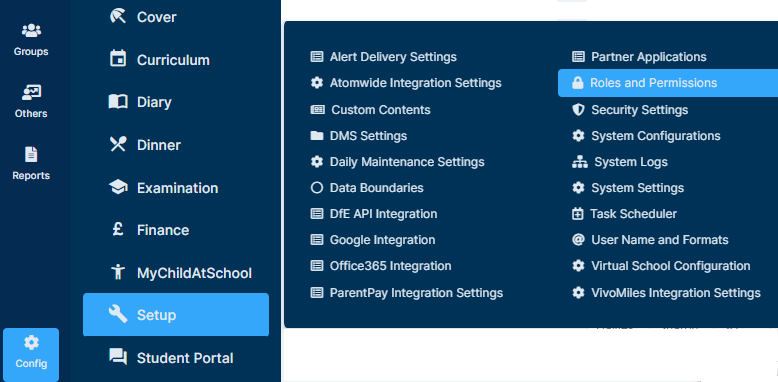
Access: As there are two processes/pathways shown in this guide, you will need two sets of permissions. Both of them are found in the Setup Module of Config>Setup>Roles & Permissions.

Assign Roles to multiple members of staff
Start from Config>Setup>Roles and Permissions.
Next, select a Role from the Roles dropdown that you wish to assign Users to and click Edit.

Scroll down on the Role until you get to the area called Allocate Users.
Click Add New User.

From the User dropdown, select the desired User or Users that you wish to assign this Role to.
Once the User/s have been added, press Ok.

You will now see the additional Users in the Allocated Users section.

After you have updated the Users, please go to the top of the page and click Save.

To assign multiple permissions to a single user
Above you were shown how to assign multiple Users to a Role.
In this section you will be shown how to assign multiple Roles to one User.
To begin, either navigate to Modules>Setup>System Users or navigate to Others and change the Type from Contacts to User Accounts.
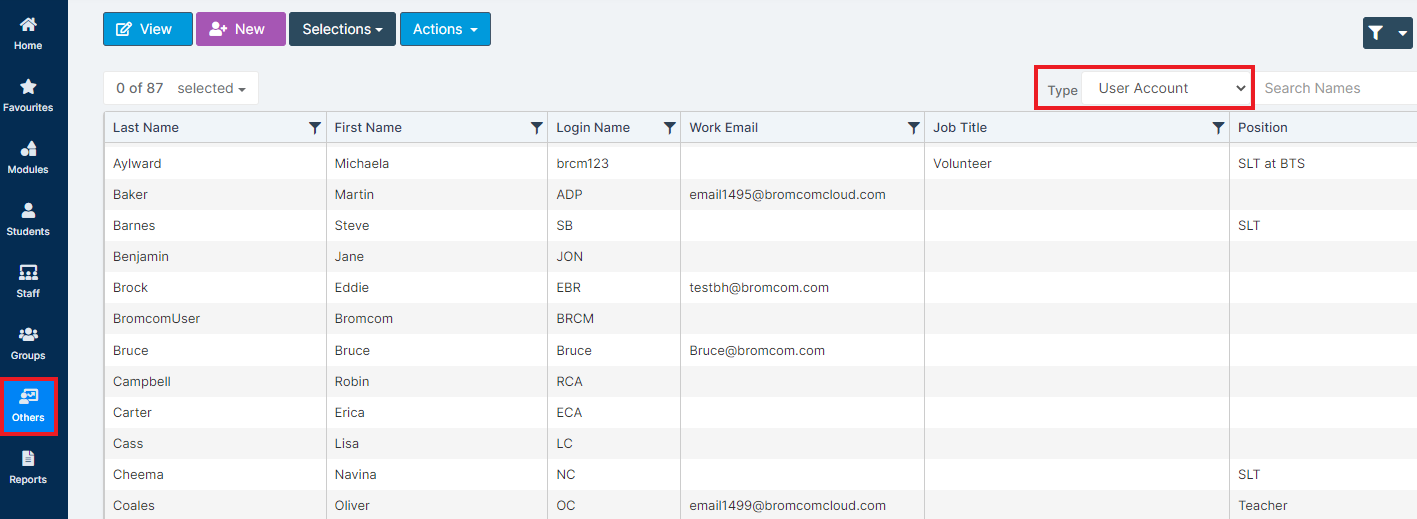
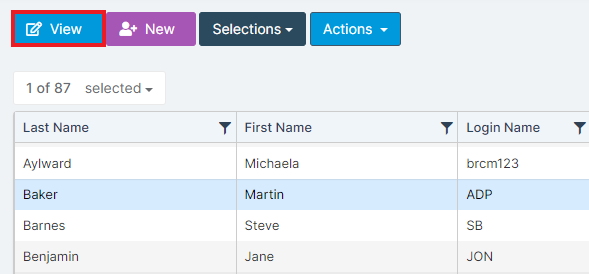
Select the User you wish to update and click View.
Once their User Account loads, you will notice a Roles section at the bottom of the page.
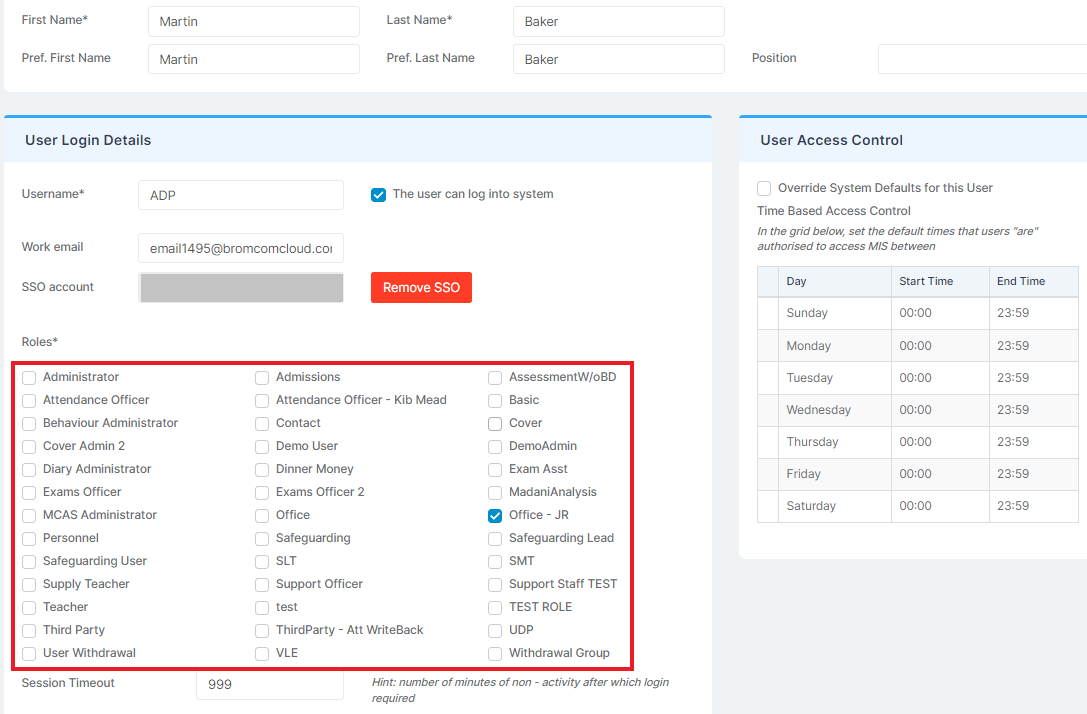
Use this section to assign Roles to the User by ticking them.

Once you are done, scroll up and press Save.
The User will now have multiple Roles, each of which contain specific permissions.