In this guide, we show How to Use Finance Reports.
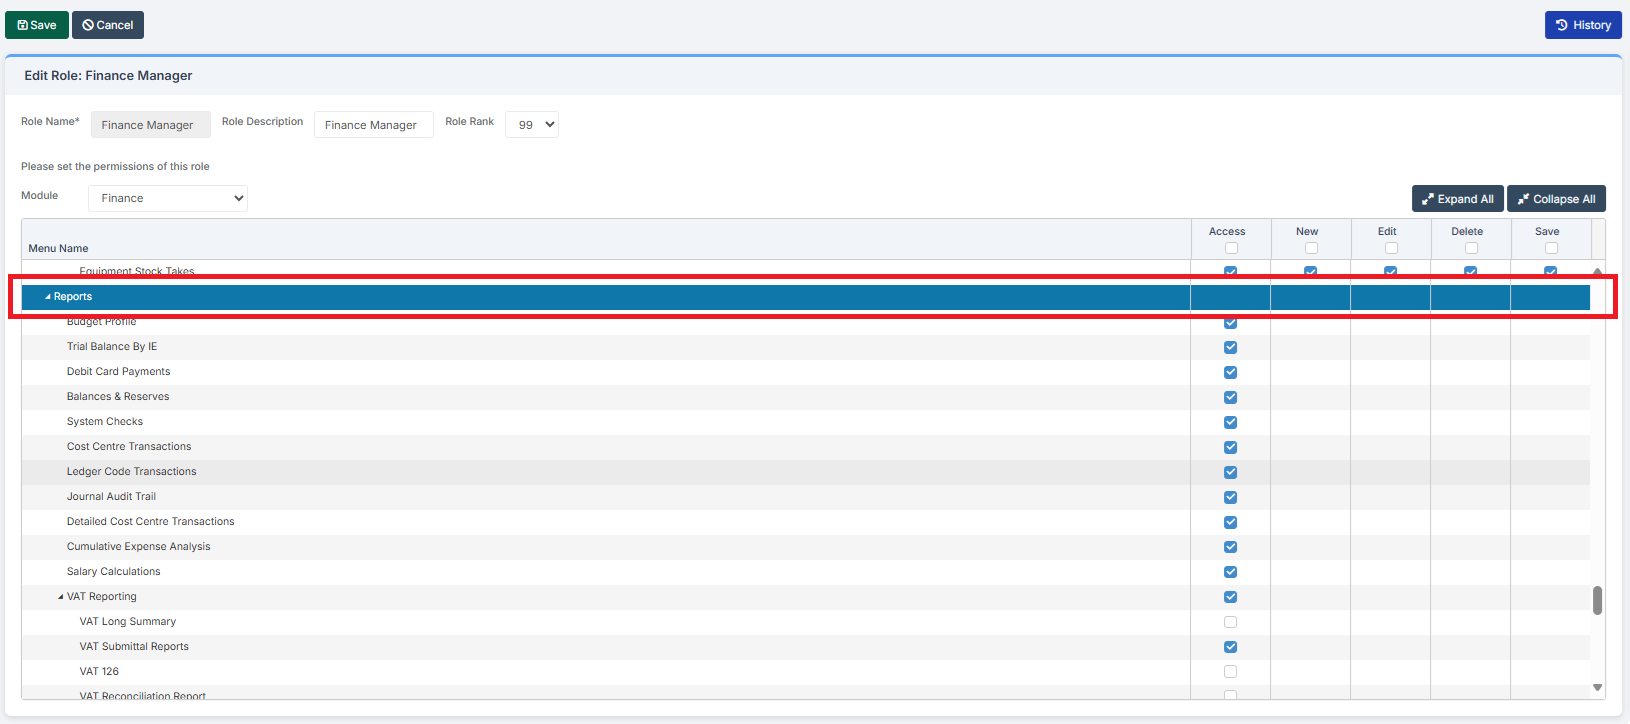
Access: The minimum permissions required to Use Finance Reports are found in the Finance Module section of Config > Setup > Roles & Permissions.
Related Guides:
To begin, go to Modules > Finance > Finance Home Page > Reports. There are many Finance Reports.

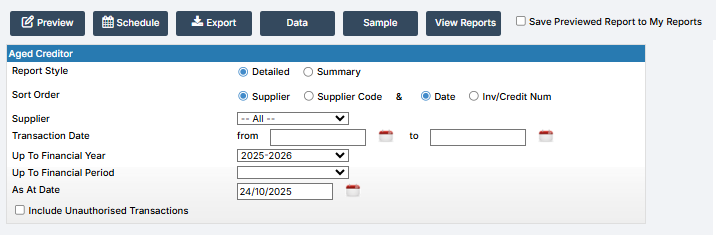
All of the Reports, except VAT Reporting, have uniform configuration pages, with a Top Row of Buttons and Report Specific Parameters below. The Bank Claim report has an initial page before the uniform configuration page is displayed.
Note: This page explores the Functionality of the Top Row of Buttons, not Report Specific Parameters
As an example, this is what the Aged Creditor Report looks like. Other Reports will vary in their appearance due to their Report Specific Parameters, but all have the same Top Row of Buttons.
Preview
Preview produces an On-Screen Preview of the Report, according to the selected parameters.

Selecting Save Previewed Report to My Reports saves the Previewed Report to My Reports.

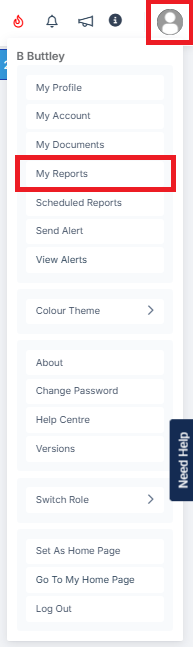
My Reports is accessed by clicking on the Person Icon at the Top Right of the screen.
Schedule
Schedule gives Three Options for the Scheduling of the Report.

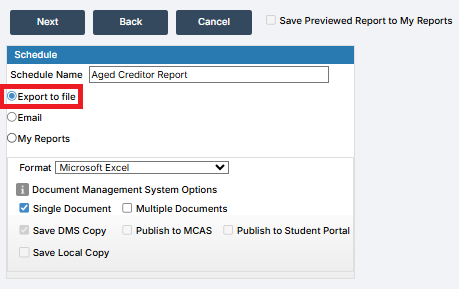
Option 1. The Report can be Scheduled to Export to file. The Format of the Report and Where it is Exported To can be selected.
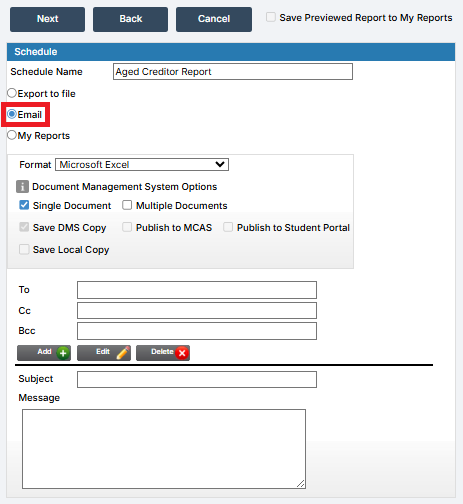
Option 2. The Report can be Scheduled to be Emailed to Recipients. The Format of the Report and Where it is Exported To can be selected. A Subject and Message can be added.
Option 3. The Report can be Added to My Reports.
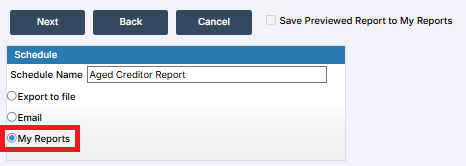
My Reports is accessed by clicking on the Person Icon at the Top Right of the screen.
Clicking Next in the Three Options for the Scheduling of Reports opens the Scheduling pop-up. The Frequency and Timing of the Scheduling can be chosen. Once complete, click Done.
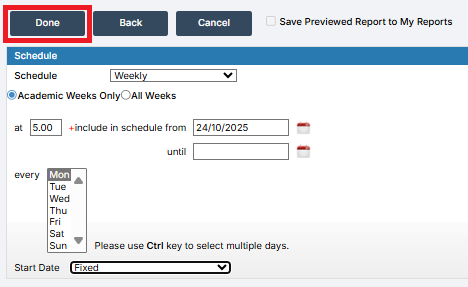
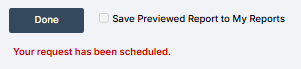
Scheduling is confirmed. Clicking Done returns to the Report page.
Note: When selecting the Time, please make sure that it is not set to run at the same Time as any other Scheduled Reports, as this can prevent the Report from running as intended. We recommend ensuring that there is at least a few minutes in between each Scheduled Report.
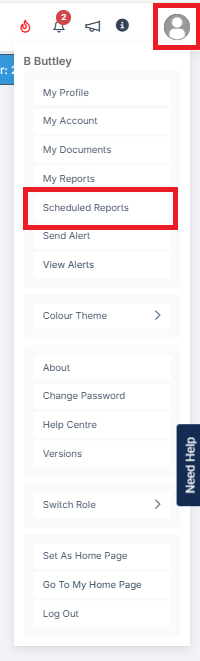
Scheduled Reports can be accessed by clicking on the Person Icon at the Top Right of the screen.
Export
Export allows for the Exporting of the Report.

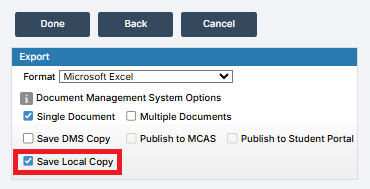
The Format of the Report and Where it is Exported To can be selected. Selecting Save Local Copy sends the Report to the Browser’s Downloads Folder. The Downloads Folder can be accessed by pressing the Ctrl and J keys simultaneously.
Data
Data opens a page where the Raw Data that makes up the Report can be viewed and manipulated. This page is for Advanced Users Only.
It is not recommend to make any changes to the Data from this page, as this can have unintended consequences that are complicated to investigate and reverse.

Sample
Sample exports a Sample Report to the Browser’s Downloads Folder. The Sample Report uses Dummy Data. The Downloads Folder can be accessed by pressing the Ctrl and J keys simultaneously.

View Reports
View Reports opens the My Reports page.

Blue Pencil
The Blue Pencil at the top right of the page allows for the Defined Parameters set within a Report to be saved. Then, each time the Report page is visited, those Defined Parameters are loaded as a default.
Note: The use of this function is available to Full Administration Rights Roles only. In addition, any changes made apply to all users of the system.
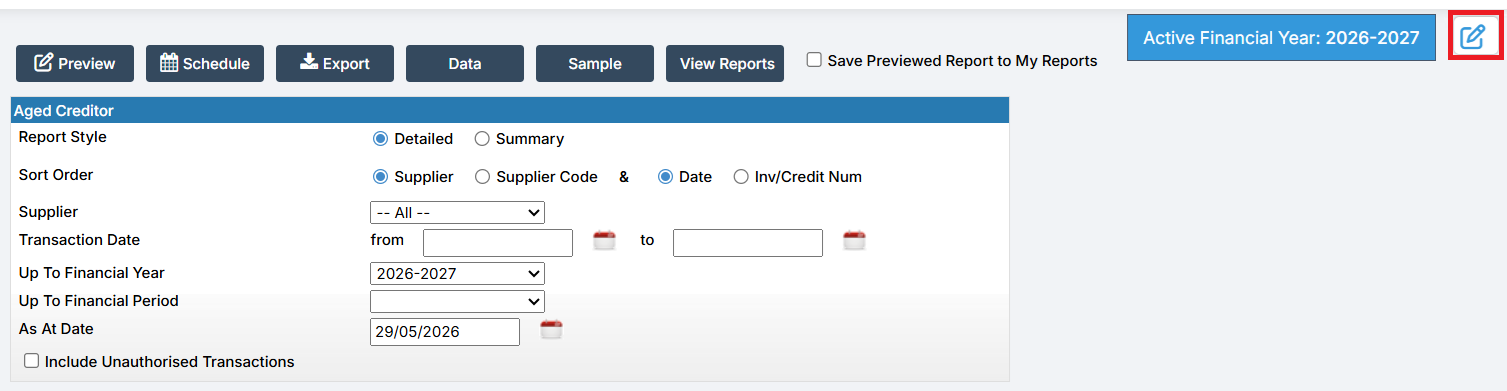
Clicking on the Blue Pencil shows the following options:
The Green Save button Saves the Parameters of the Report. These are then loaded each time the Report page is opened.
With Saved Defined Parameters, the Parameters page loads with the following information bar displayed:

The Red Reset button Resets the parameters of the Report.
Clicking on the Black Cross closes the Blue Pencil options box.