In this guide, we show How to Use the Bank Claim Report.
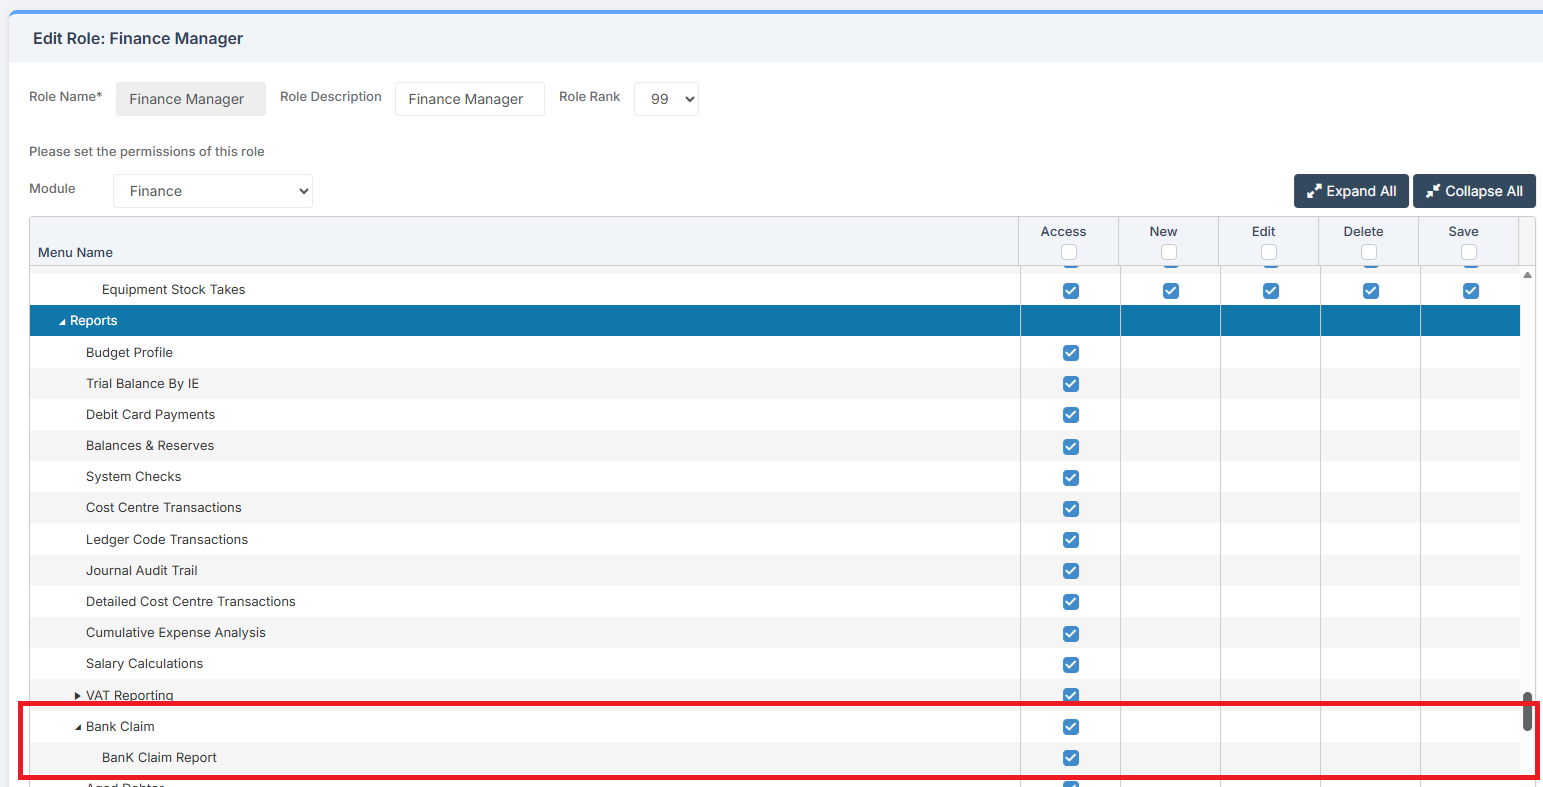
Access: The minimum permissions required to Use the Bank Claim Report are found in the Finance Module section Config > Setup > Roles & Permissions.
Pre-requisites: In order to Use the Bank Claim Report for a current period, previous Bank Claim Reports need to have been created.
Related guides:
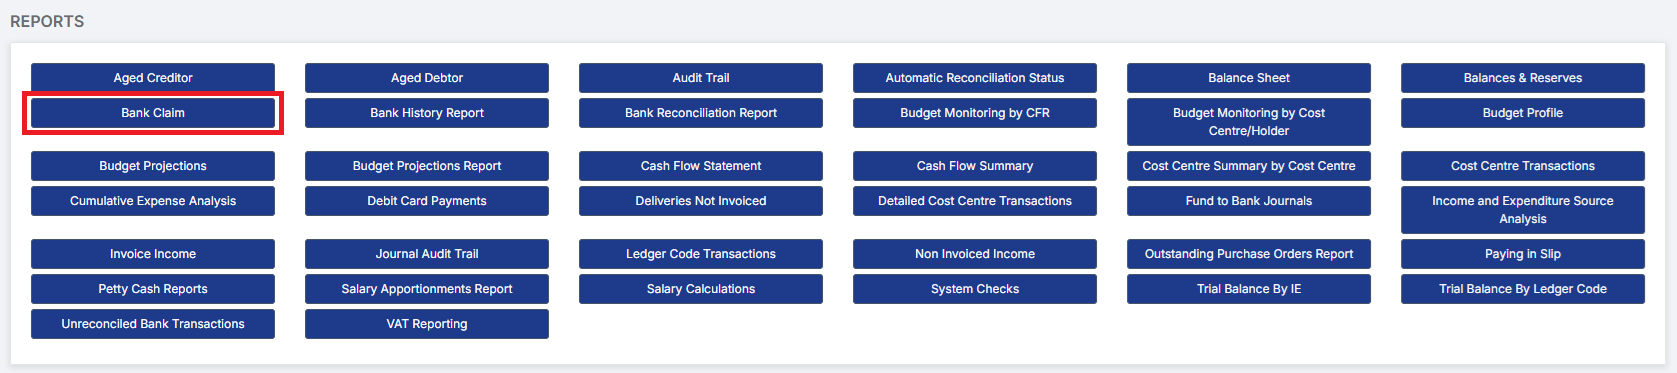
To begin, go to Modules > Finance > Finance Home Page > Reports > Bank Claim Report.
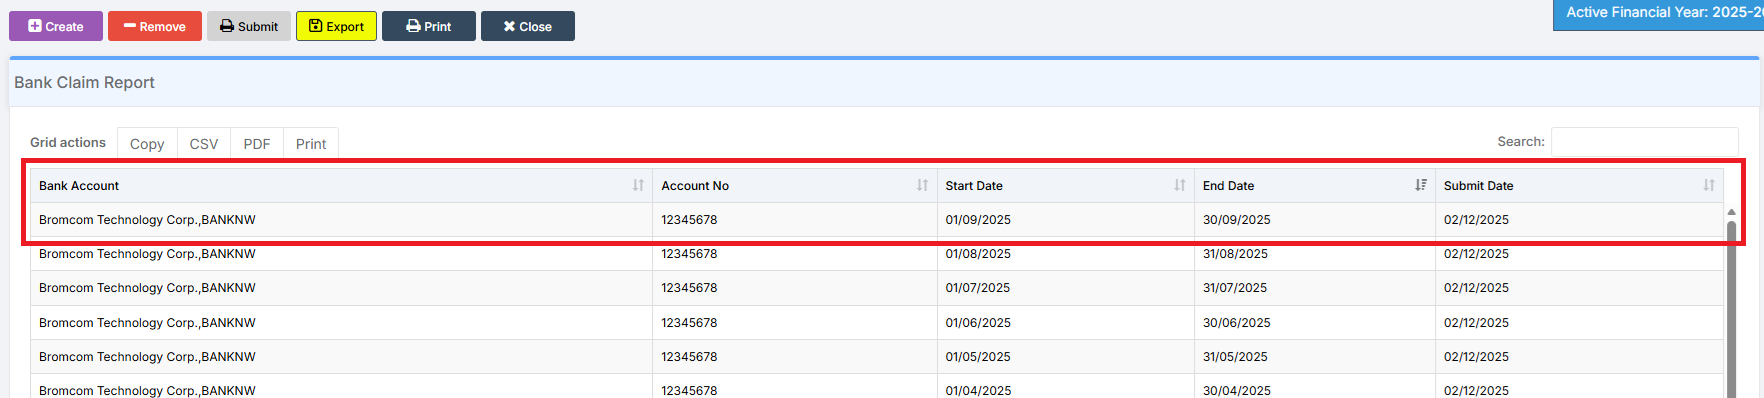
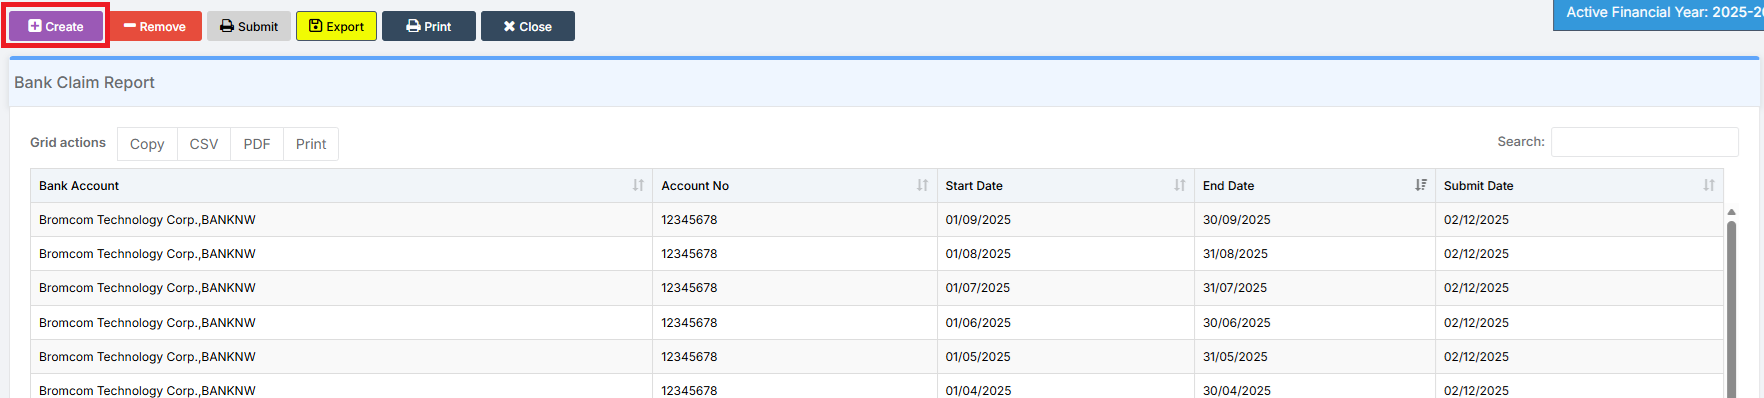
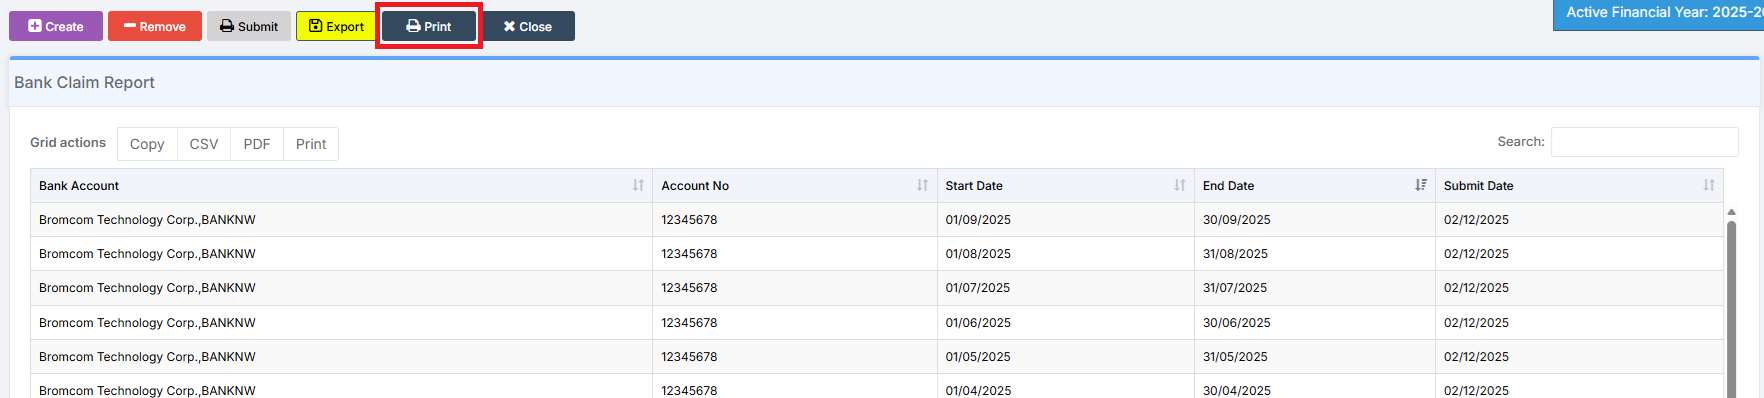
Opening the Bank Claim Report page shows any previous Bank Claim Reports that have been made. The Bank Account andAccount Number they pertain to are shown, alongside the Start Date and End Date of the period the Report covers. If the Report has been Submitted, a Submit Date is also shown.
The Create button creates a new report.
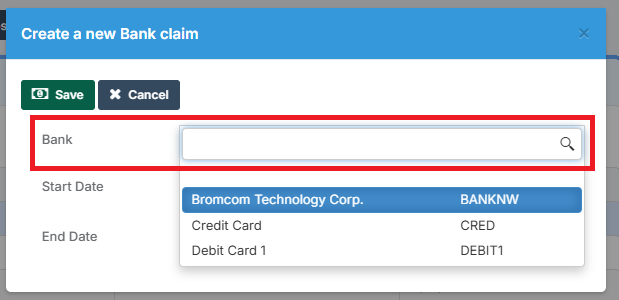
Select or search for the Bank Account for the report.
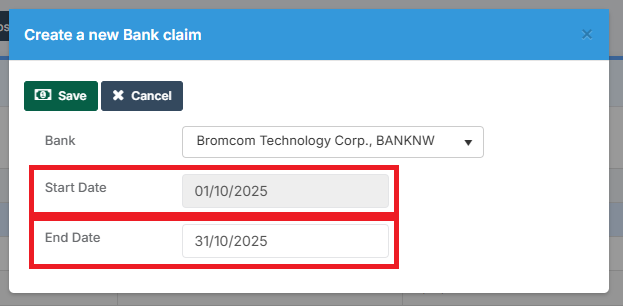
An Uneditable Start Date for the new report is automatically created, which follows on from the end date of the previous report. An Editable End Date for the new report is automatically created. It is auto-filled for the last day of the month of the report, although this can be changed. Both dates must be within the same Financial Year.
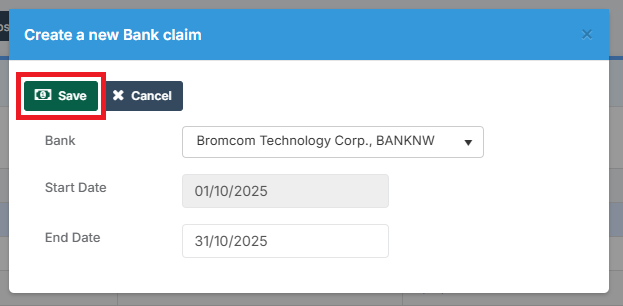
Clicking Save saves the report.
Clicking Remove removes the newly created report from the system. A report that has been Submitted cannot be removed from the system.

Clicking Submit locks the report and gives it a date stamp, which is then displayed in the Submit Date column.
Note: The Submit function acts as an indicator that the report is deemed ready for submittal to the required authority; it is not an automated feature.

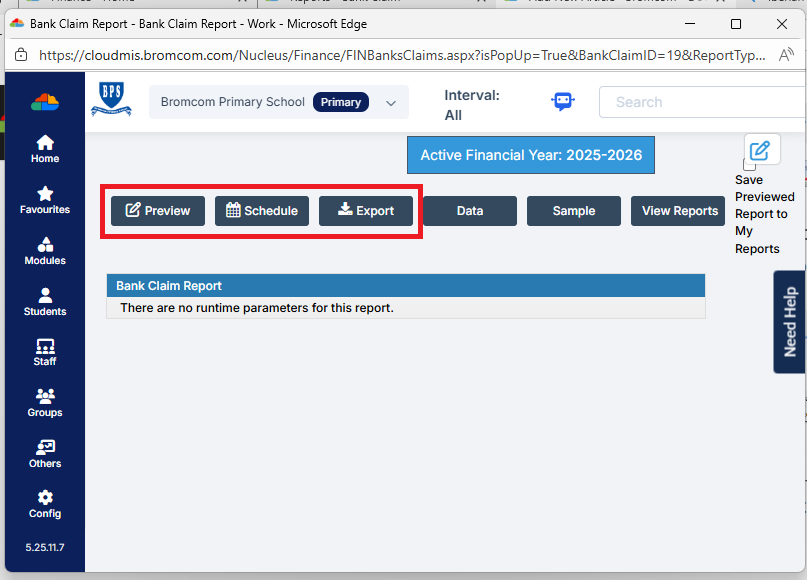
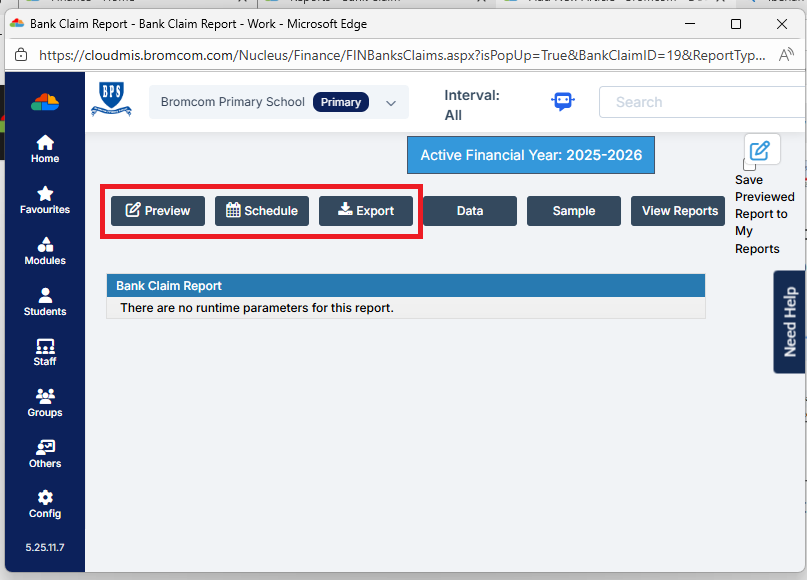
Clicking Submit also opens a new window where the useful functions of Previewing, Scheduling, or Exporting the report can be selected. For further information on these functions, see How to Use Finance Reports.
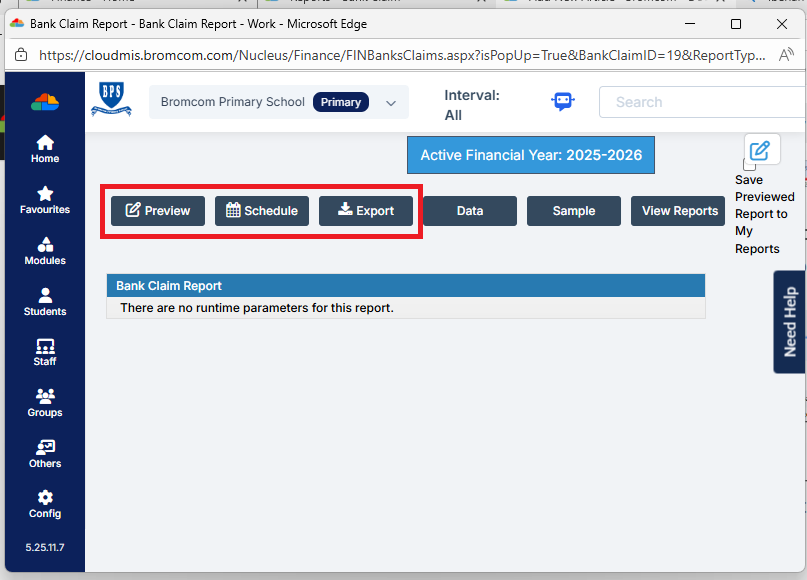
Clicking Preview shows a Preview of the report. The report has a number of sections.
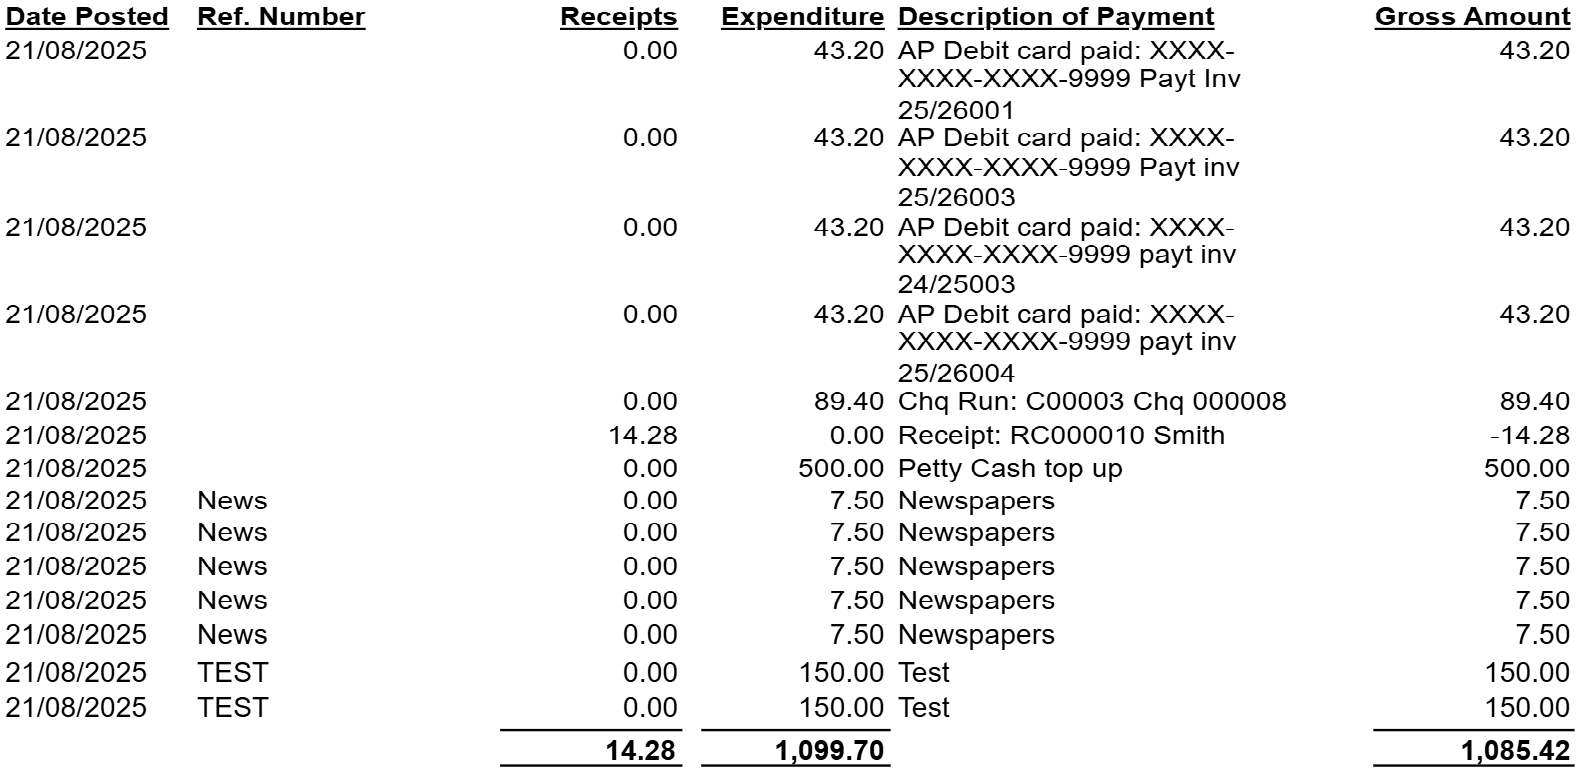
The first part of the report details Receipts and Expenditure.
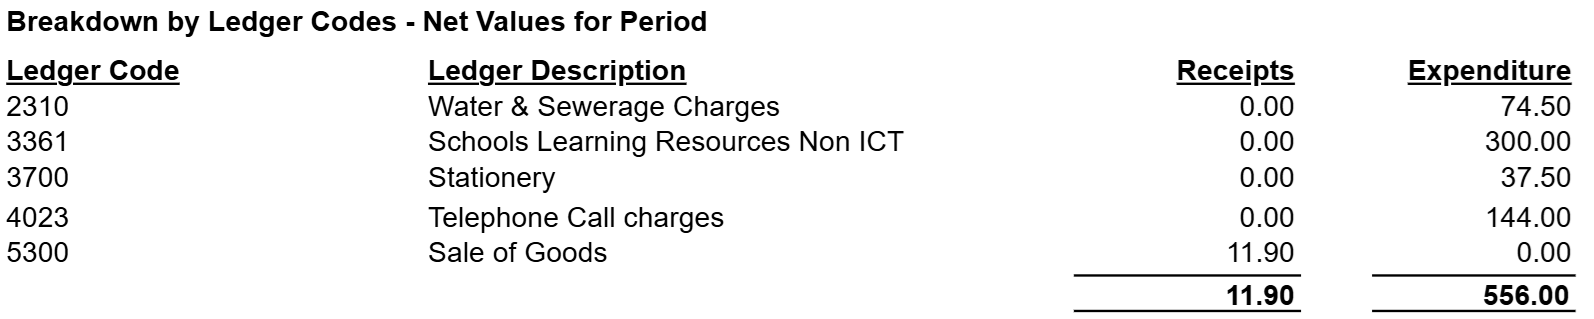
The second part of the report gives a Breakdown by Ledger Codes.
The third part of the report shows the VAT Ledger Codes.

The fourth part of the report details Total Invoiced Income (in this instance there was none).

The fifth part of the report shows the Bank Ledger Code.

The final part of the report shows Nominal Ledger Code Analysis for Period – Transfer Journal Analysis.

Clicking Export allows for the potential Exporting of the report.
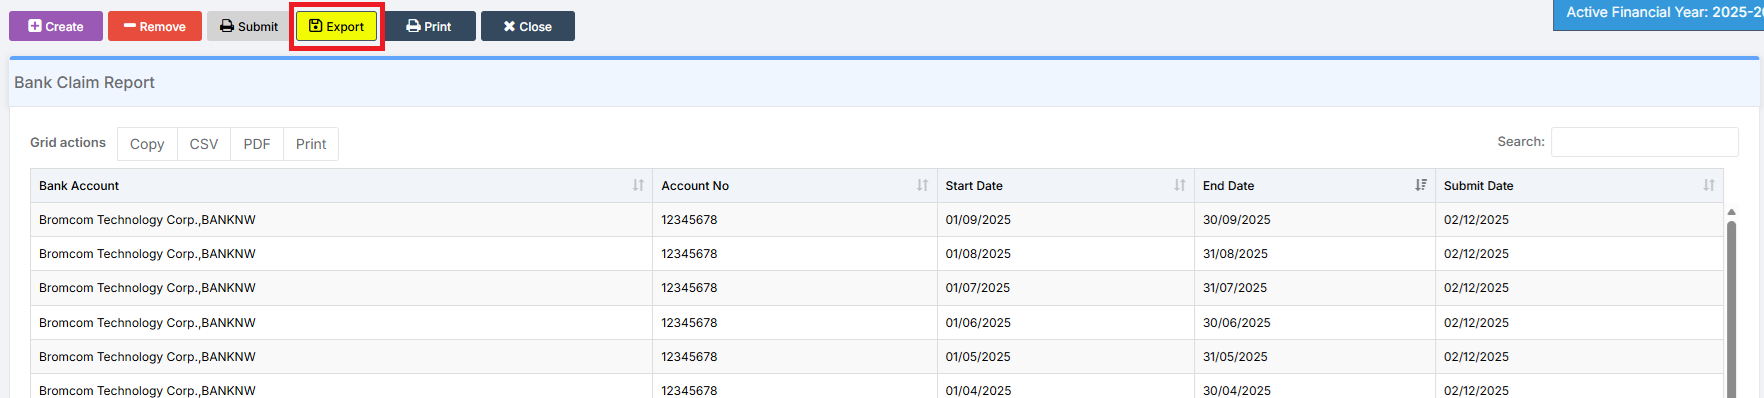
A number of options are given on what parts of the report are to be exported.
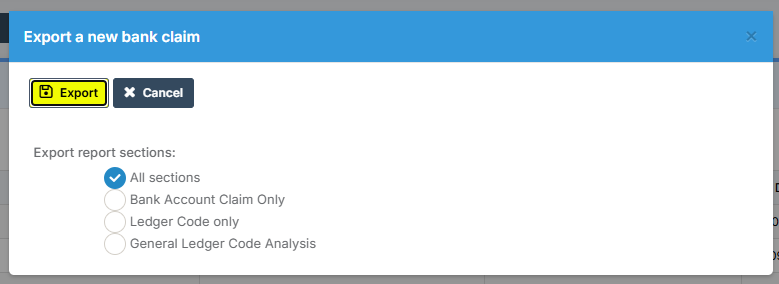
Clicking Export in the pop-up opens the new window where the useful functions of Previewing, Scheduling, or Exporting the report can be selected. For further information on these functions, see How to Use Finance Reports.
Clicking Print gives the option of Printing the report.
The new window opens where the useful functions of Previewing, Scheduling, or Exporting the report can be selected. For further information on these functions, see How to Use Finance Reports.
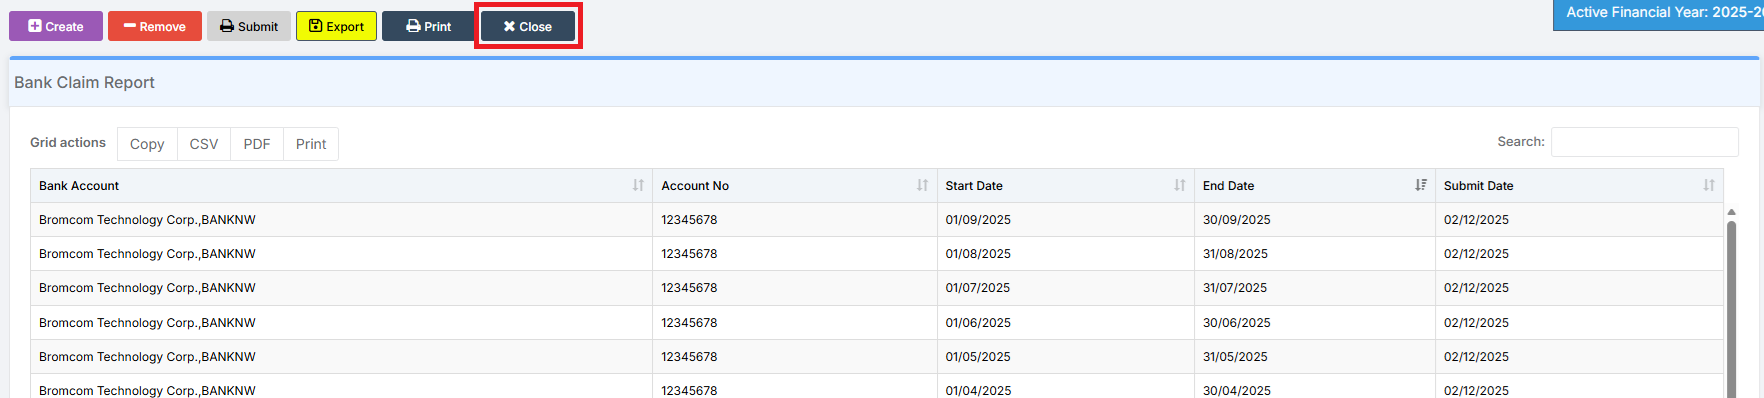
Clicking Close returns the user to the Finance Home Page.