
In this guide, we show How to Add a Sales Invoice in the MAT Finance Module. This is used for all sales through the school, such as Nursery Fees for example.
Pre-requisite: The Customer must be set up prior to creating a Sales Invoice.
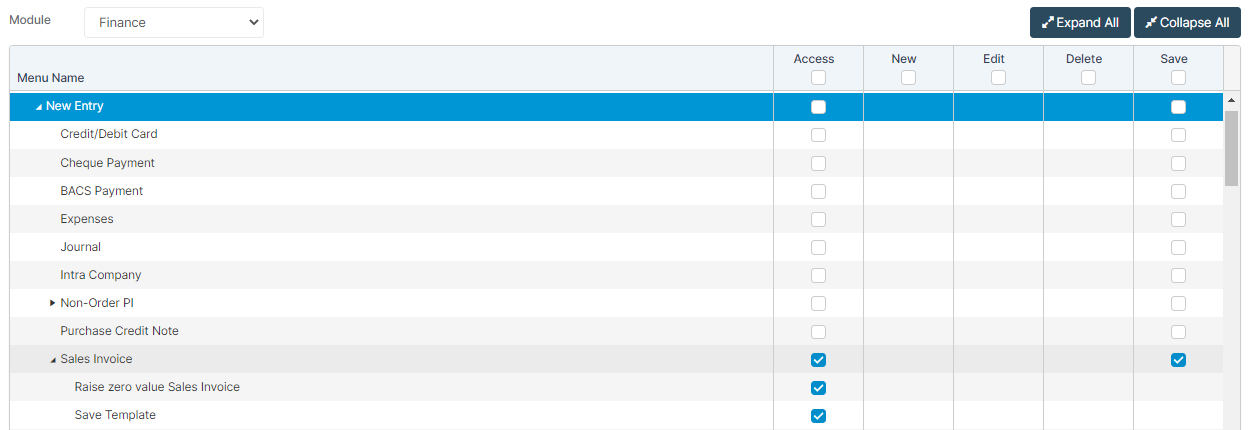
Access: The minimum permissions required to Add a Sales Invoice are found in the MAT Finance Module section of Config > Setup > Roles & Permissions.
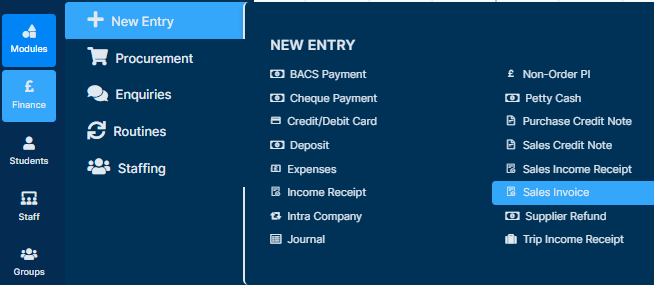
To begin, from the left Menu, go to Finance > New Entry > Sales Invoice.
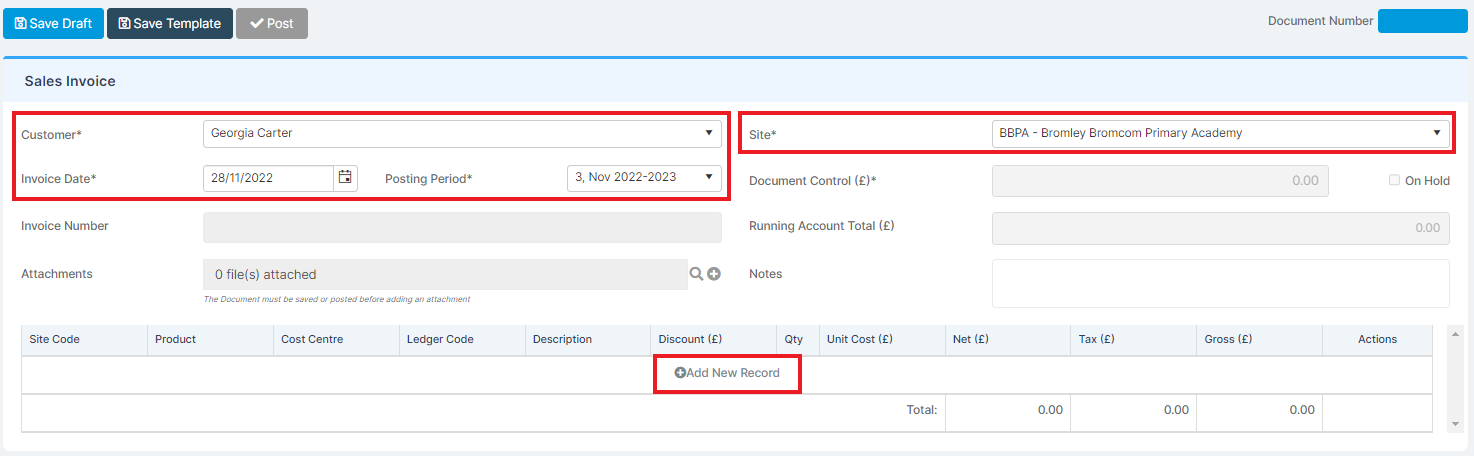
Once the page loads, complete fields: Customer, Site and Dates.
Once the fields are complete, press Add New Record.
From there, select a Product by either typing in the name of one or pressing the Magnifying Glass and selecting one from the list.
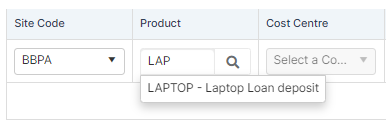
Select the Customer Product to invoice.
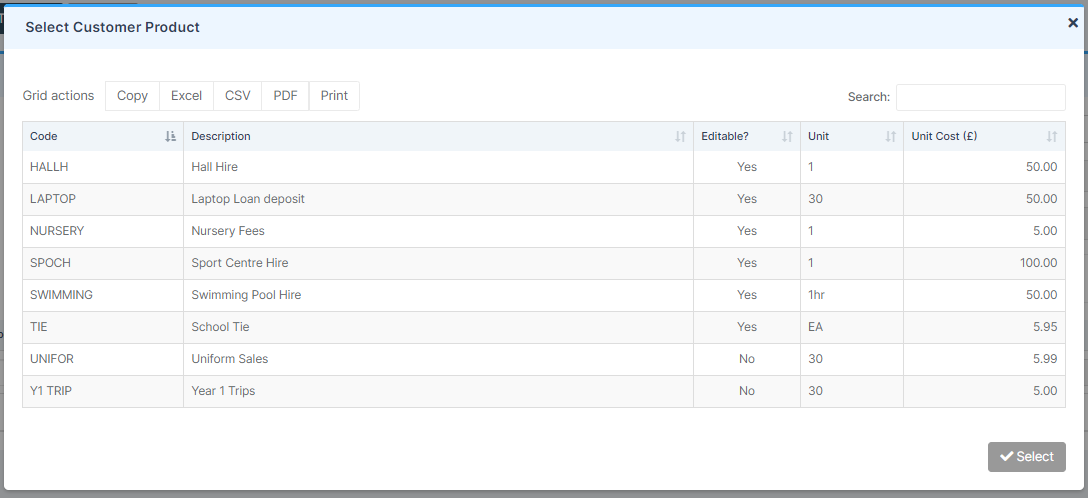
Once the Customer Product is chosen, this pre-populates the Cost Centre and Ledger Codes, which are linked.
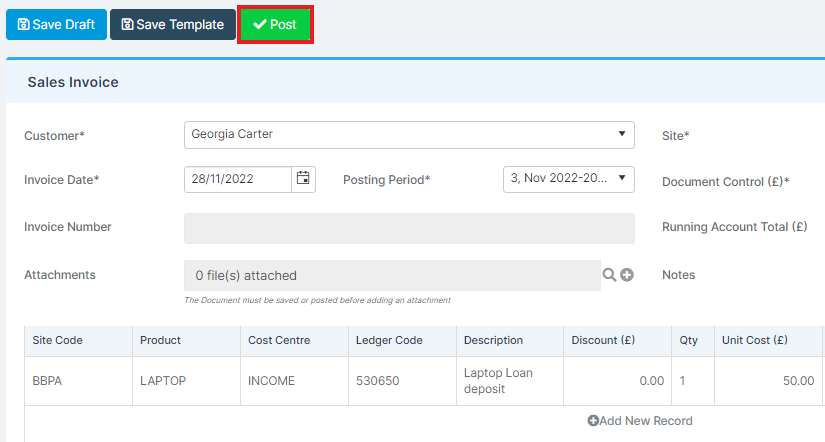
Complete the line and tick at the end. This then automatically adds the invoice value in the Document Control field at the top. The Running Amount Total shows the customer’s running balance.

If all lines are complete, press Post.
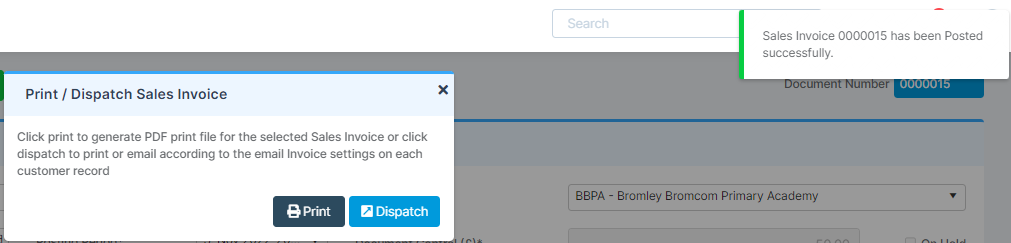
A Print/Dispatch Sales Invoice notification is displayed, as well as a Success Notification.
Dispatch: Here the document can be emailed straight to the customer.
Print: Print a copy to had to the Customer or post if no email address is available.
Note: Remittance Advice at the bottom of the Invoice can be amended in Config > Finance > Sales Configuration > Remittance Advice Parameters using the following radio buttons: Payable By Cheque and Payable By Bank.
- Payable By Cheque: If selected, the Cheque Payable Details box is populated with the school name and address. These details are then used when printing Sales Invoices.
- Payable By Bank: If selected, choose from the list of bank accounts in the Bank Name dropdown, this includes bank accounts that are linked to all sites – using the Trust name, or linked to a single Site only – using the single Site name.