In this guide, we show How to Add a New Customer in the MAT Finance Module, specifically:
- How to Create a Prefix to Link Customers to Sites when Creating a New Customer
- How to Create a New Customer
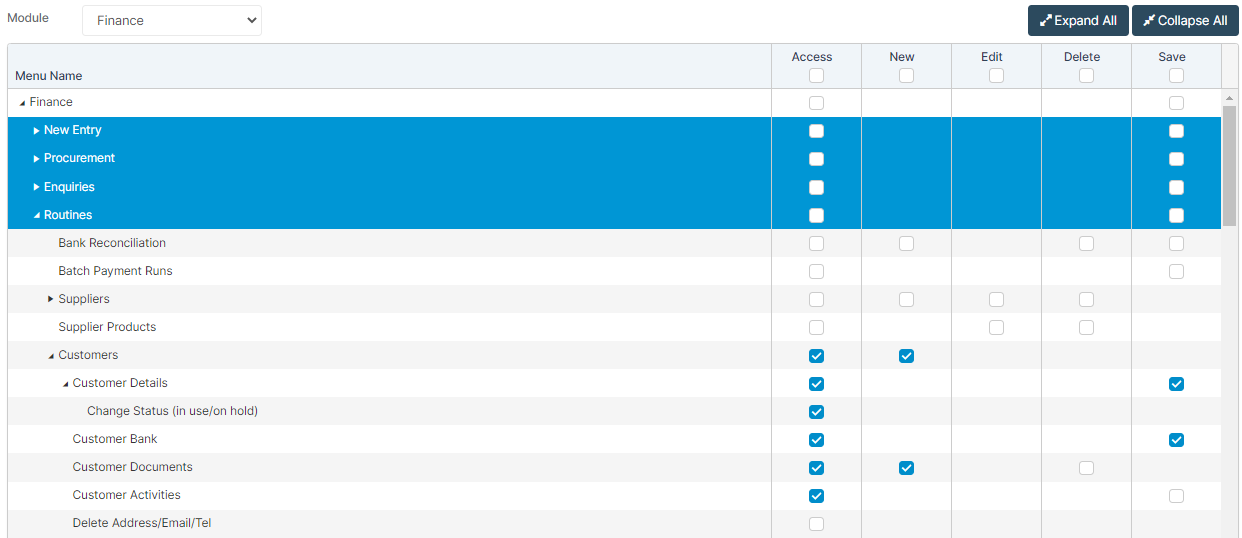
Access: The minimum permissions required to Add a New Customer are found in the Finance Module section of Config > Setup > Roles & Permissions.
How to Create a Prefix to Link Customers to Sites when Creating a New Customer
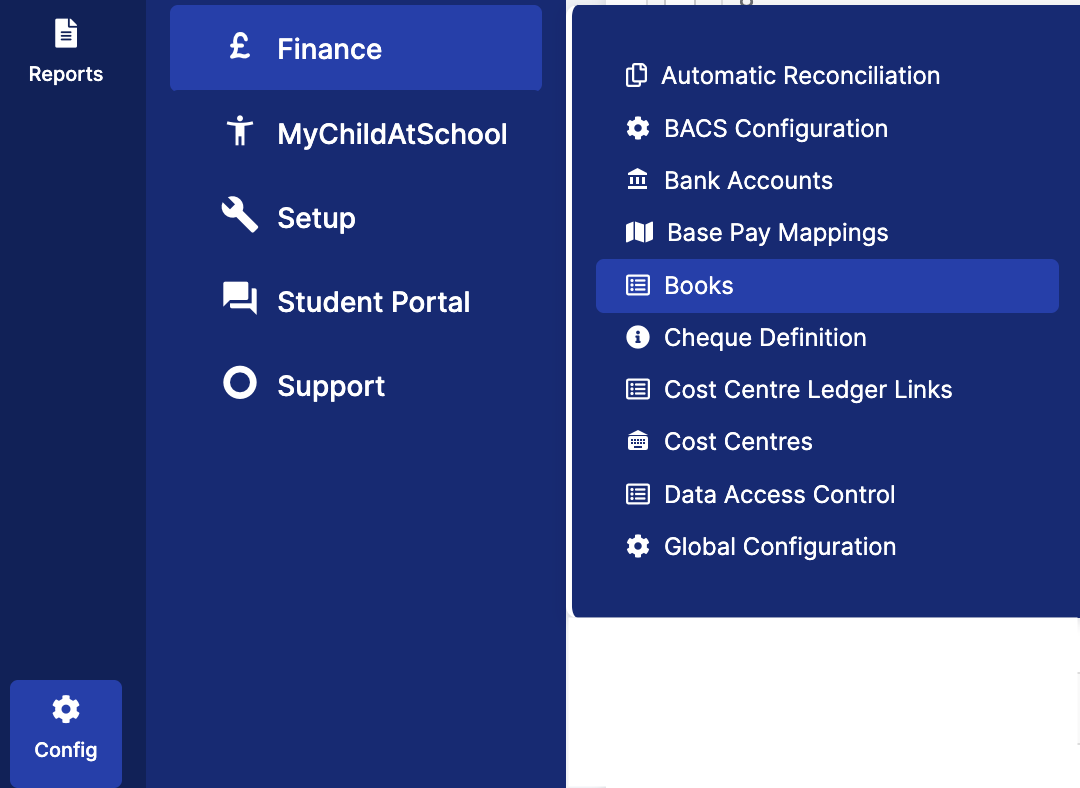
To begin, from the left Menu, go to Config > Finance > Books.
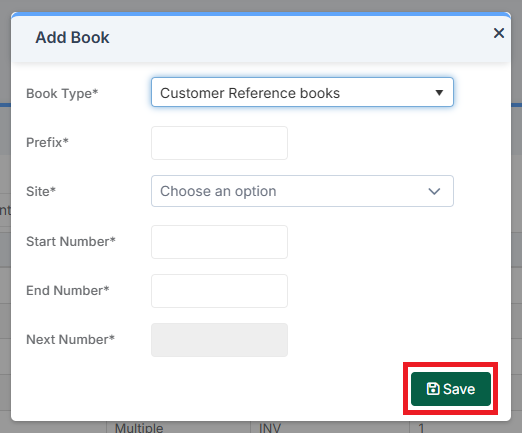
To create a Prefix that will be appear in the Customer Reference and be used to identify Customers that are linked to a Site(s), use the Book Type: Customer Reference books.
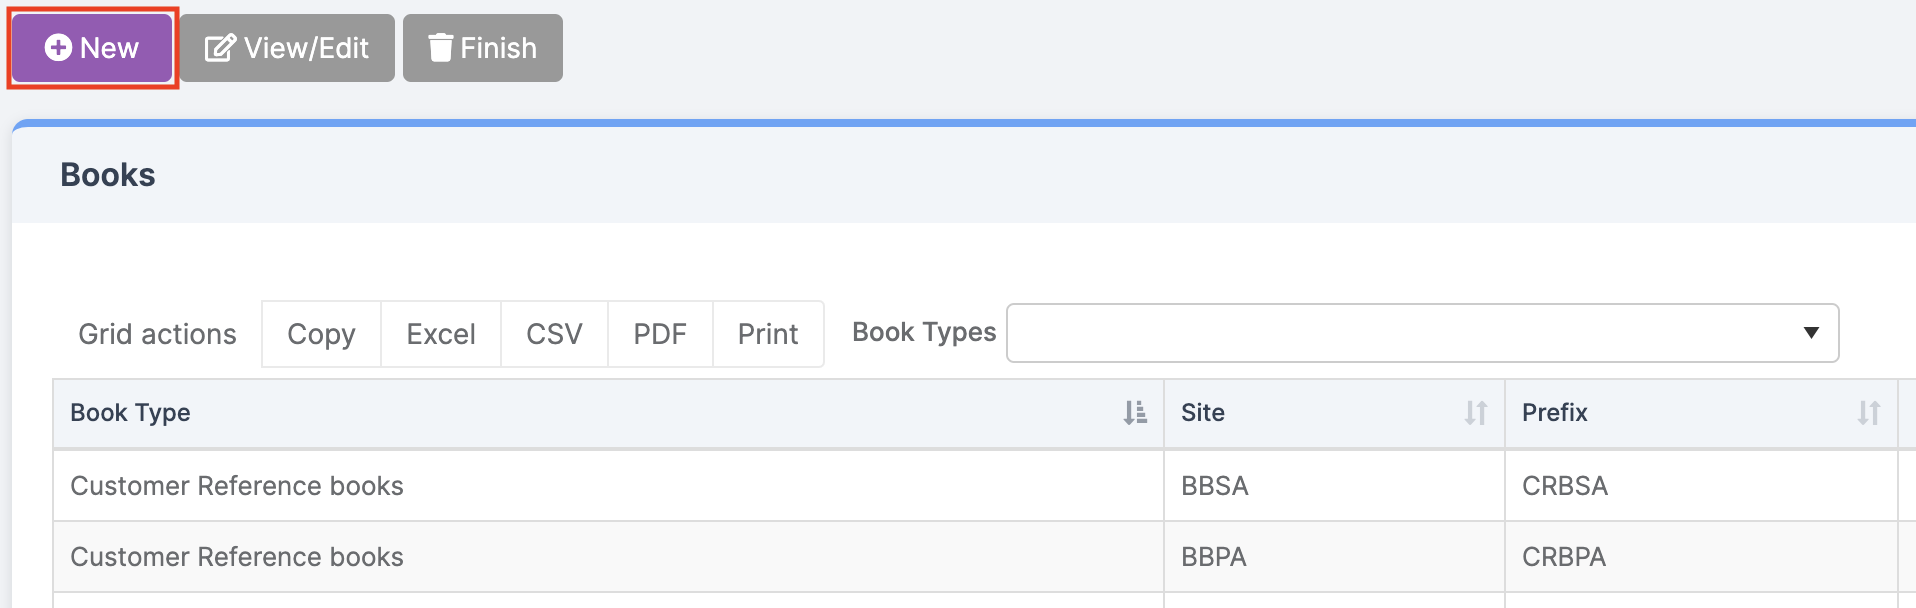
Select New to create a new Customer Reference book.
Select Customer Reference books in the dropdown Book Type, type the Prefix for the selected Site(s). Label the Prefix accordingly, as it will help identify which Site the Customer is linked to. Click Save.
Note: Users can edit and extend the End Number for all Book Types if they wish.
How to Create a New Customer
To begin, from the left Menu, go to Finance > Routines > Customers.
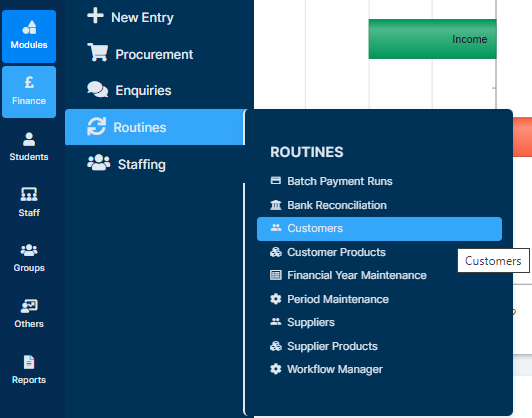
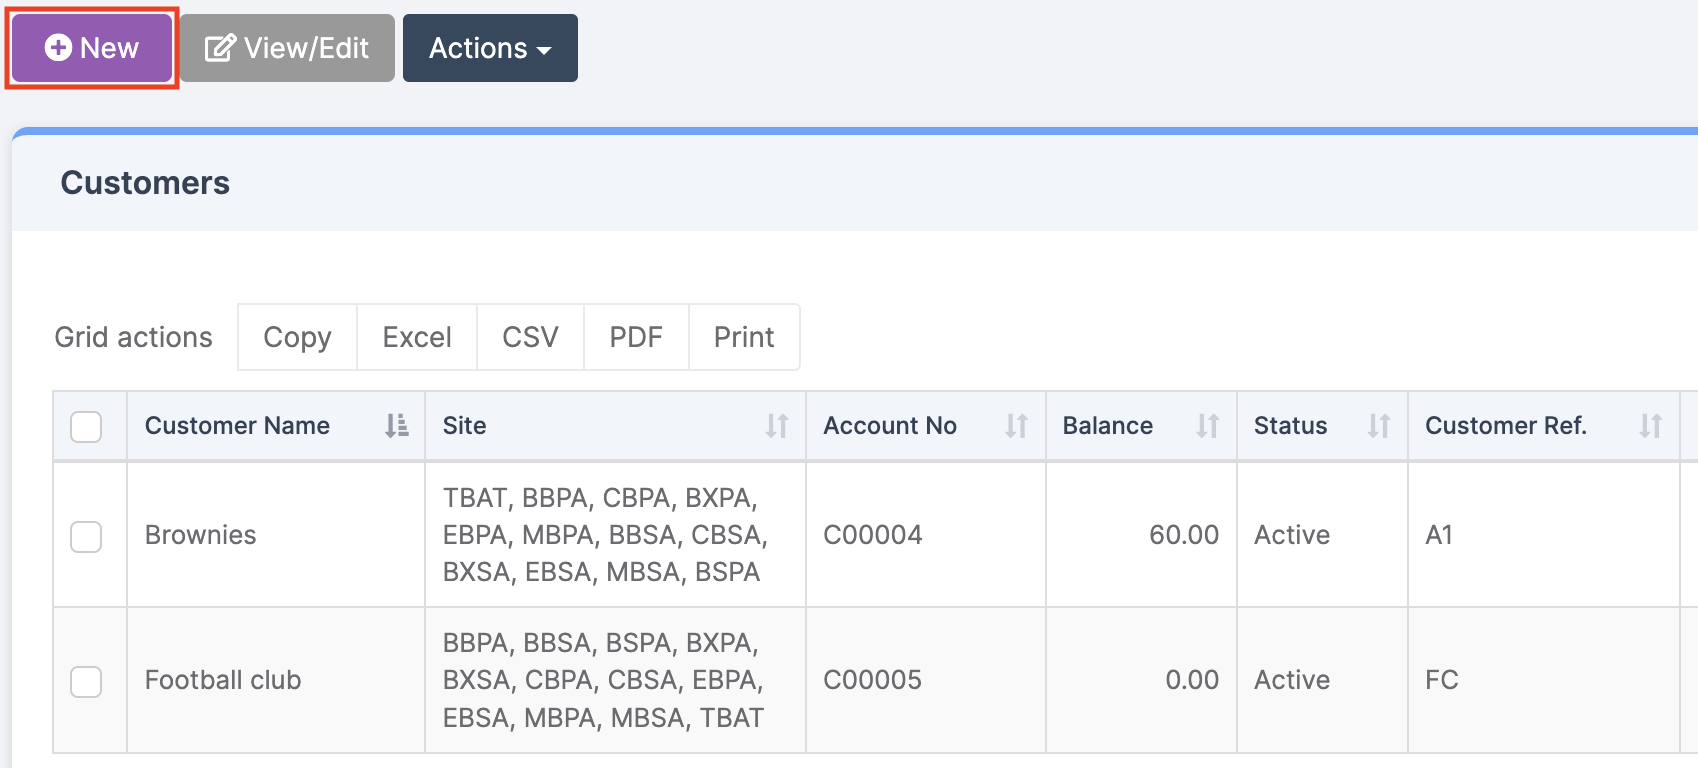
This brings up a list of Customers already in the system.
To add a new Customer, click New.
This brings up a blank Customer page for completion.
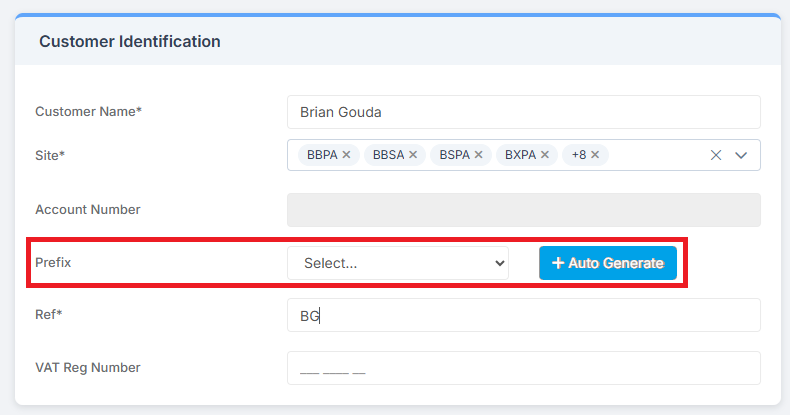
Complete the following fields in the Customer Identification box: Customer Name, Site, Prefix (optional), and VAT Registration Number. Asterisked fields are mandatory.
Note: Use Config > Finance > Data Access Control to view or edit which Sites Users have access to. Users can only edit Sites in the Customer Identification panel that they have access to.
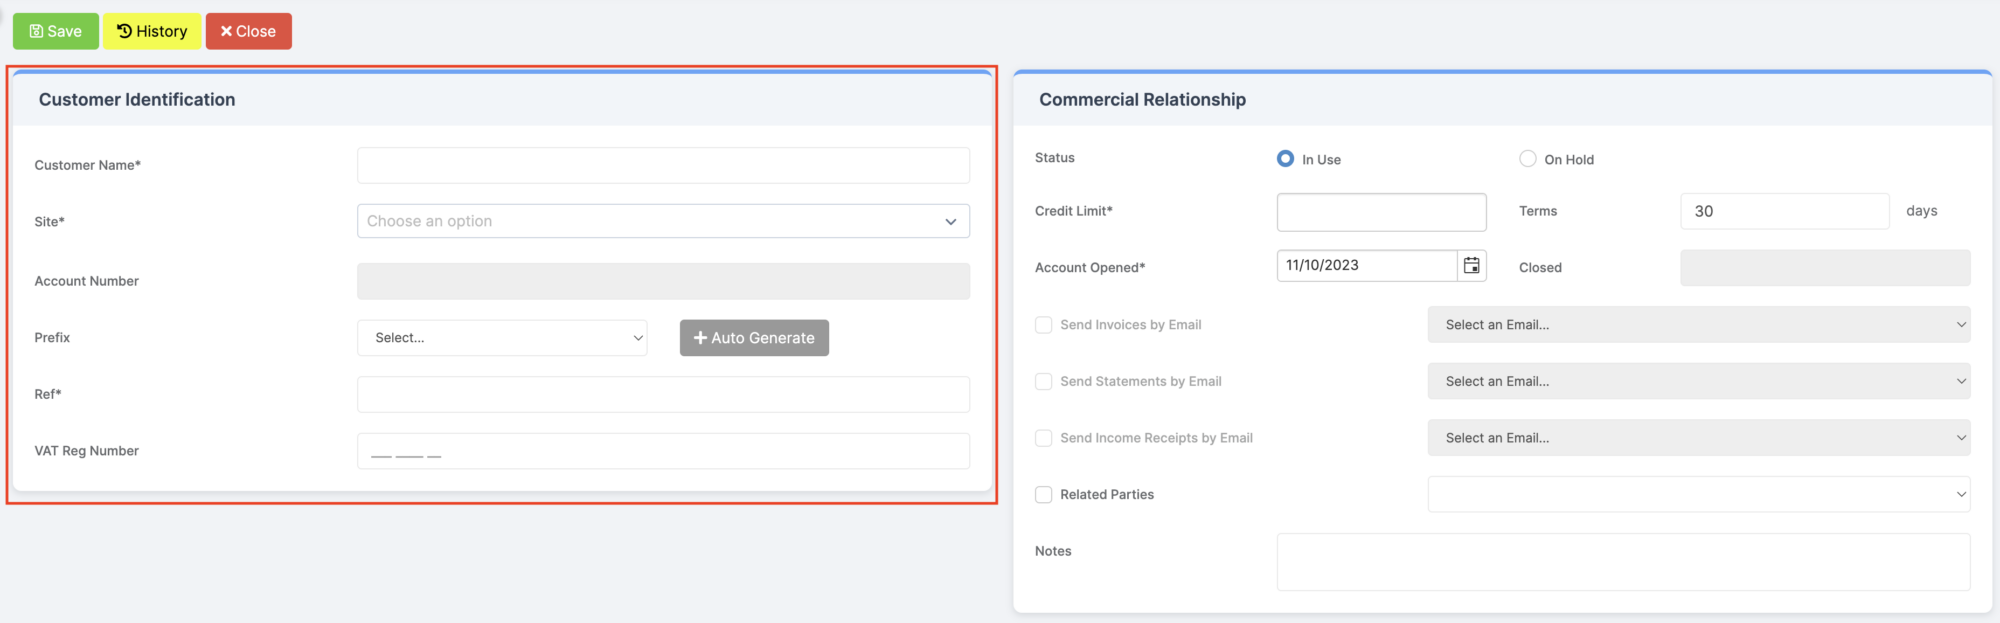
Reference: If a Prefix has been selected, Users should use the Auto Generate button to generate the Reference. Otherwise, enter a Reference manually.
Click Save.
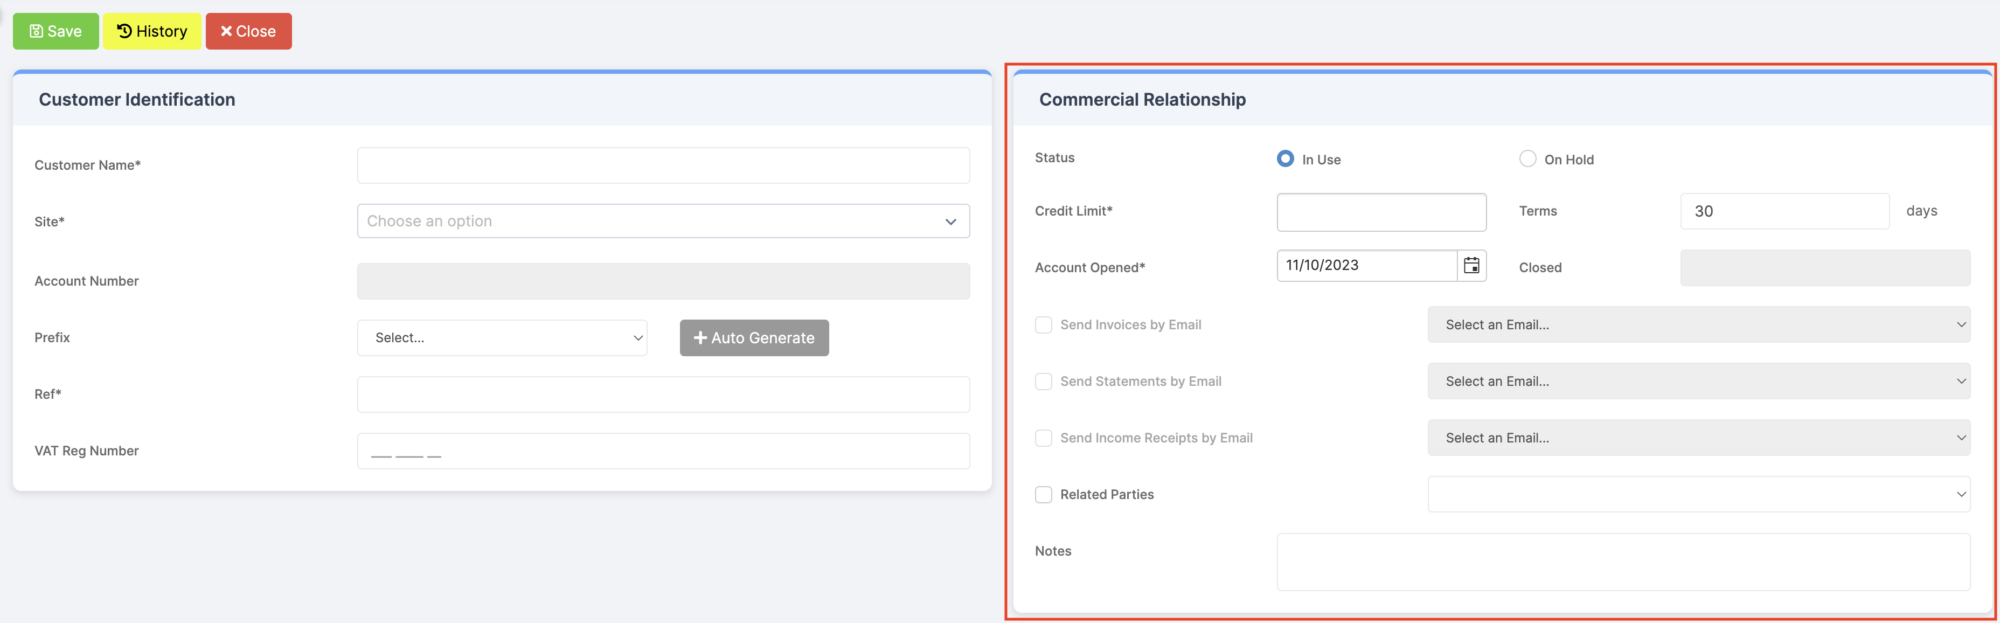
Next, enter the Credit Limit and Terms from within the Commercial Relationship section.
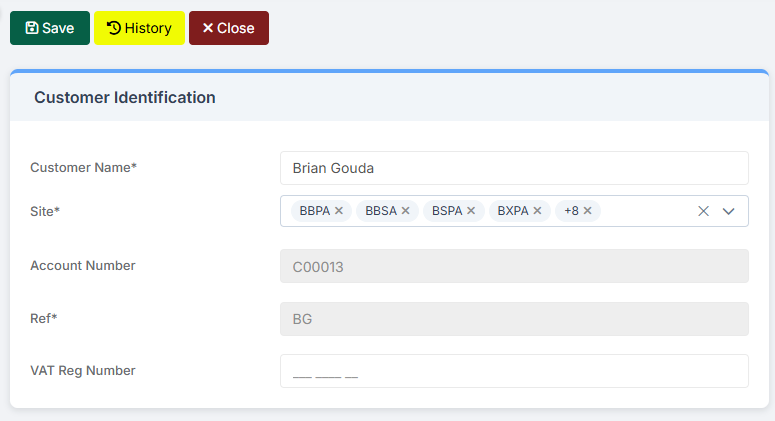
Once the details have been entered, press Save. The Account Number is generated at this stage.
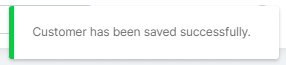
A notification is displayed saying that the Customer has been saved successfully.
After pressing Save, some additional sections open up at the bottom of the page.
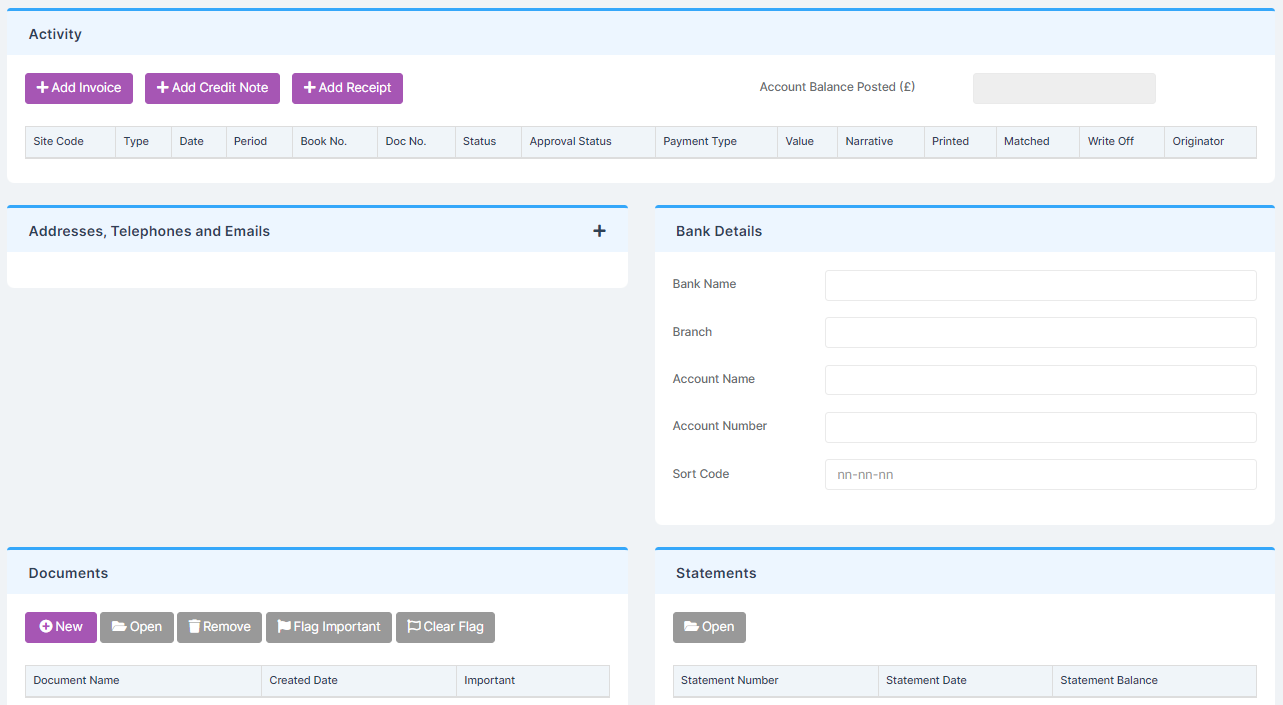
If these are not required, simply press Close. Otherwise, complete these sections using the following guidance.
Activity shows all Activity associated with the Customer and offers handy shortcuts to Adding an Invoice, Adding a Credit Note, and Adding a Receipt.
Addresses, Telephones and Emails allows for the addition of Customer contact details.
To add Customer contact details, click on the +.

Choose from the headings and then Click to add details.

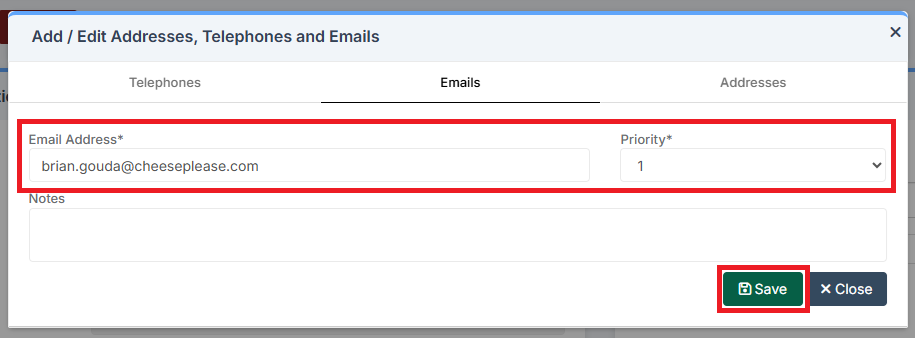
Complete the required information. Priority determines the order in which the system uses the contact details. Click Save.
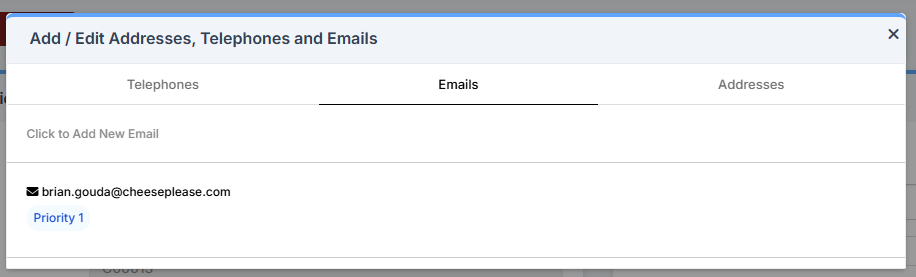
The Saved information is shown.
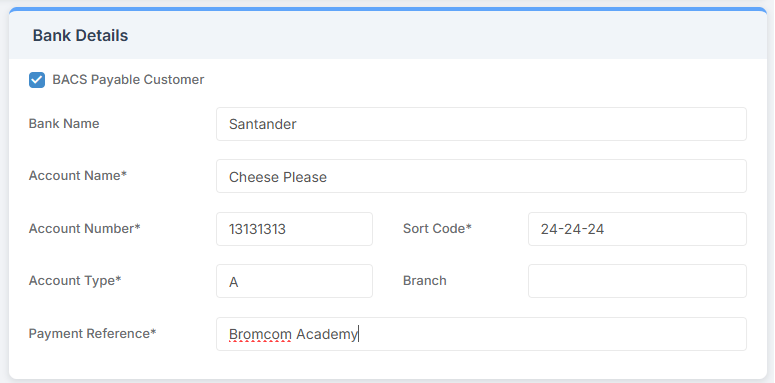
Tick BACS Payable Customer if BACS transaction are to be used with the Customer and complete the Customer’s Bank Details. Click Save at the top of the page.
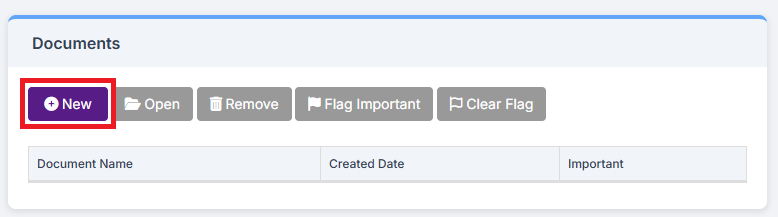
Documents can be added to the Customer page. Click New to upload a Document.
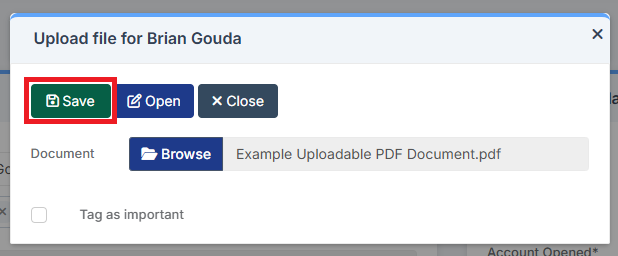
Select the file to upload and click Save. Tick the box to Tag the file as important.
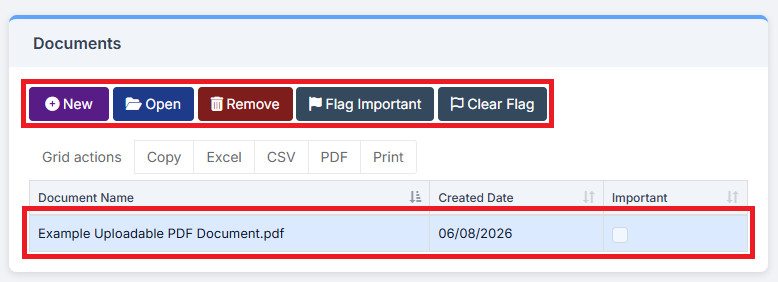
A number of actions can be carried out with an uploaded Document.
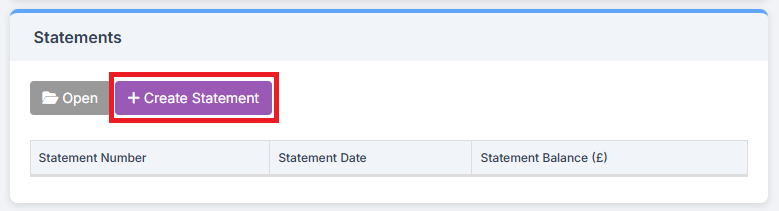
In the Statements section, click Create Statement to Create a Statement. Previous Statements, if there are any, are listed here. Select one and click on Open to Open it.
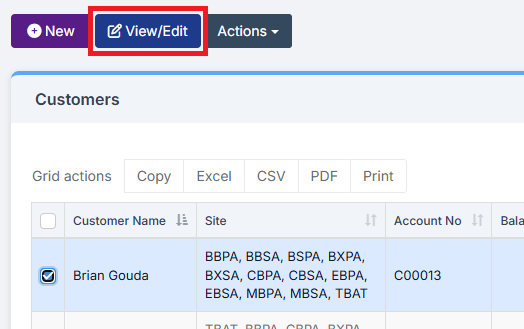
To add further details at a later date, find the Customer from the list and press View/Edit.