
In this guide, we will show you how to use the Financial Groups Lookups option within Config>Administration>Lookup Tables, including;
- Creating a new Financial Group
- Linking the Financial Group to a Base Pay Structure
- Linking Base Pay Mappings to multiple Financial Groups
Financial Groups can be selected from within a Base Pay Structure, with the purpose being to duplicate the Base Pay Mapping using a different Financial Group. Having multiple Financial Groups allows your MIS to differentiate between the two when mapping the costs.
Access: The minimum permissions required to access this feature are found in the Administration Module of Config > Setup > Role & Permissions.

Pre-requisites: You must have an understanding of staff contracts and Base Pay Structures, there should also be a selection of Base Pay Structures in your MIS.
See also: How to create and edit Base Pay Structures and How to edit Lookup Tables
Creating a new Financial Group
To begin, go to Config > Administration > Lookup Tables.

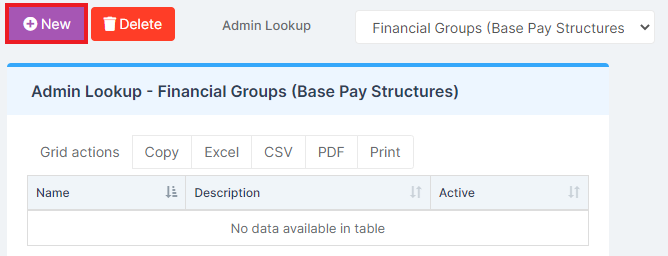
Once the page loads, change the Admin Lookup dropdown to Financial Groups (Base Pay Structures).
Any existing Financial Groups will display in a table below, press New to create a new one.
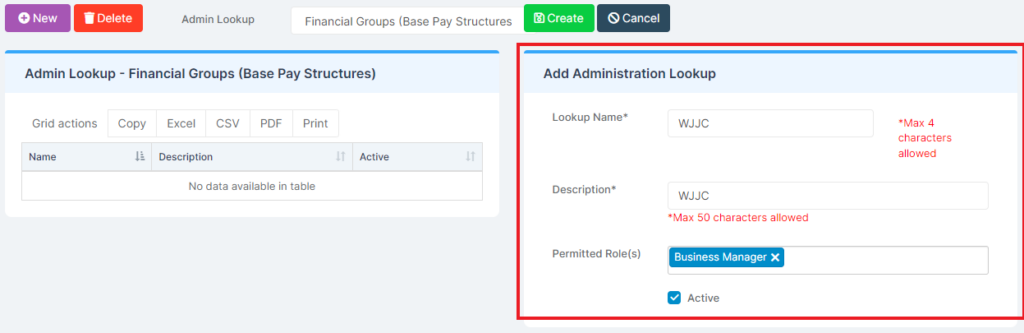
Pressing New will open an additional section on the right of the page where you enter the details of the Financial Group.
Important: Only one Permitted Role should be mapped to a Financial Group to avoid costs being duplicated.
Once you are happy with the Financial Group, press Create.
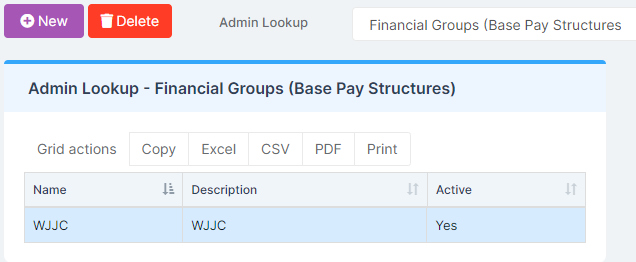
The Financial Group will now show in the table below and will be ready to use (providing it is Active).
Linking the Financial Group to a Base Pay Structure
You can now navigate to Config > Administration > Base Pay Structures.

Once you are here, double click an existing Base Pay Structure or select it and press Edit.
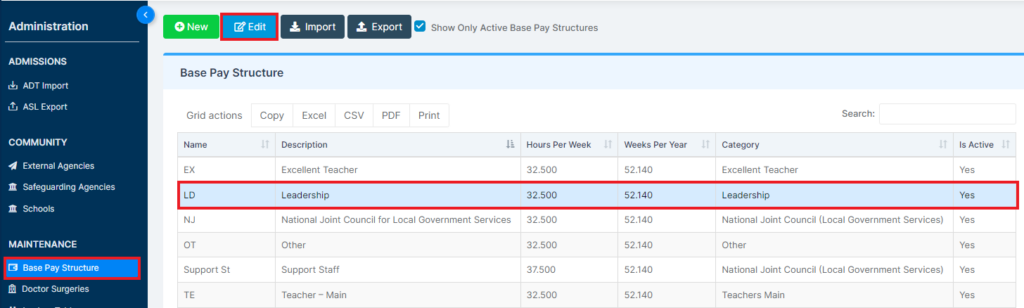
Within the Base Pay Structure, you will see there is an option for Financial Group.
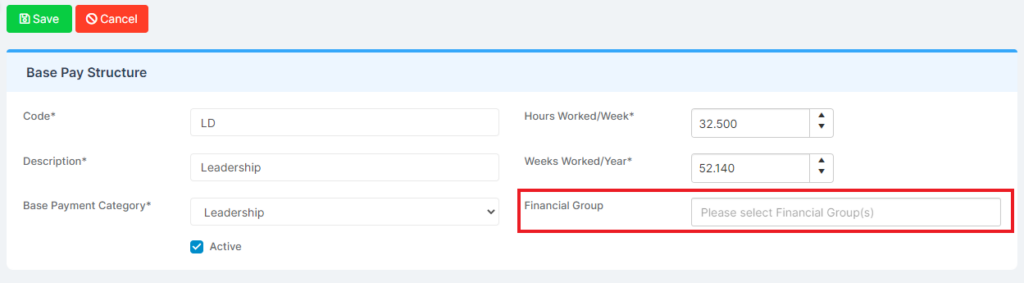
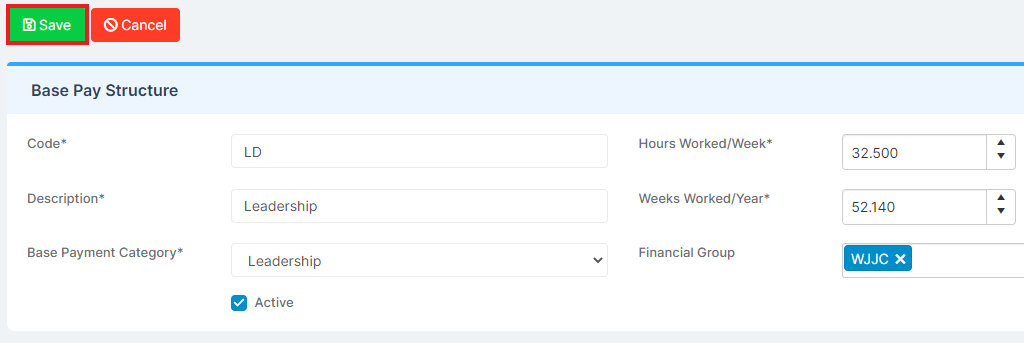
Click on the newly created Financial Group to add it to the Base Pay Structure (if you have multiple Financial Groups available, select the desired one).

To conclude the process, Save the Base Pay Structure.
Linking Base Pay Mappings to multiple Financial Groups
Navigate to Config > Finance > Base Pay Mappings.

Steps 1 and 2 must be in place for step 3 to work.
Rows in the Base Pay Mappings table can be mapped to a Financial Group by clicking on the row, then View/Edit.

Select the Financial Group from a single select dropdown and Save.

Click the button Add Additional to add an additional Financial Group, to the same Base Pay Mapping.

Select the Financial Group from a single select dropdown and Save.
Note: Each Base Pay Structure row will have a unique combination of Base Pay Structure, Scale Spine Point Group, Financial Group, Cost Centre, Ledger for Basic, and Ledger for NI.
