
In this guide, we will explain what Group Exceptions are and how to use them.
An Exception is a way of Excluding a student from a Teaching Class or Tutor Group for a specific period without removing them from the group entirely. Exceptions can also be used to create Inclusions, where a student is added to a Teaching Class or Tutor Group for a specific period.
Access: The ability add Exceptions come from being able to view a Group’s details and those minimum permissions are found in the Framework Module of Config>Setup>Roles & Permissions.

To Exclude Students from Teaching Classes in Bulk see How to Use Bulk Timetable Exclusions. This process is often used for Students on a reduced Timetable
How to add an Exception
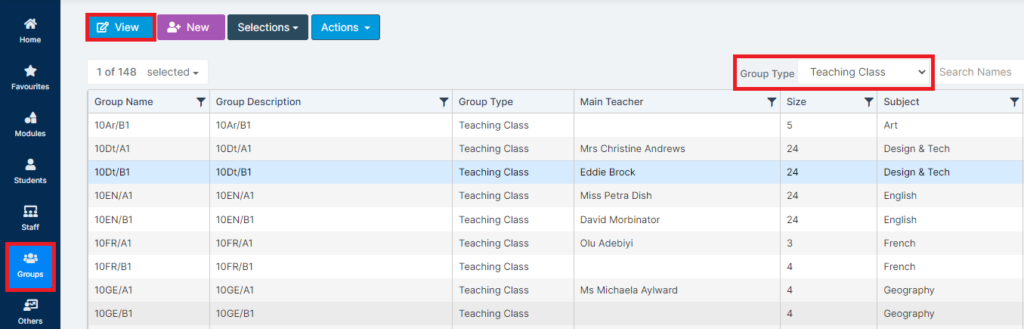
To begin, go to the Groups page from the left menu.
Once there, set the Group Type as Tutor Group or Teaching Class, select the desired group and press View.
Once the group loads, scroll to the bottom where you will see a Group Exceptions panel.
Press Add New Record.

This will provide you with a small drop down underneath with the following columns;
- Type – Exclusion or Inclusion, determines whether you are adding or removing the student to a period in this group.
- Last Name/First Name – Provides a drop down where you can select the specific student.
- Start Date – Determines when the Exception record starts from.
- End Date – Determines when the Exception records ends.
- Week/Day/Period – Determines which specific period you are excluding or including the student.
- Actions – Tick will add the Exception record, Cross removes/doesn’t save the Exception record.

Once you are happy with the details of the Exception record, press the tick in the Actions column.

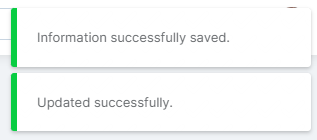
Finally, scroll to the top of page and press Save. In total you should receive two success notifications.

Now when you scroll down to the Group Exceptions panel, you will see the data stored.

You can remove or amend the Exception Record by using the Bin (remove) or Pencil (amend) icons.

How the student’s timetable is affected
As mentioned above, creating an Exception either Excludes a student from a group or Includes them in it for a specific period.
In the example below, an Exception has been created to Exclude a student from 10Dt/B1 on Monday – Period 3 – Week 1.

Once the Exception has been created, it simply removes the student from the period without creating any clashes or problems.
