In this guide, we show How to Create a New User in the MAT Finance Module. This could be a new member of staff, or a supply staff account, for example.
Prerequisites: The User(s) to be added must have a Staff Record created before proceeding with this guide. Staff Records must be in place to create User Accounts.
Access: The minimum permissions required to Create a New User are found in the Setup Module section of Config > Setup > Roles & Permissions.

There are two ways to Create a New User. The New User can either be:
- Linked to an Existing Staff Record
- Created Independently of any Existing Staff Records
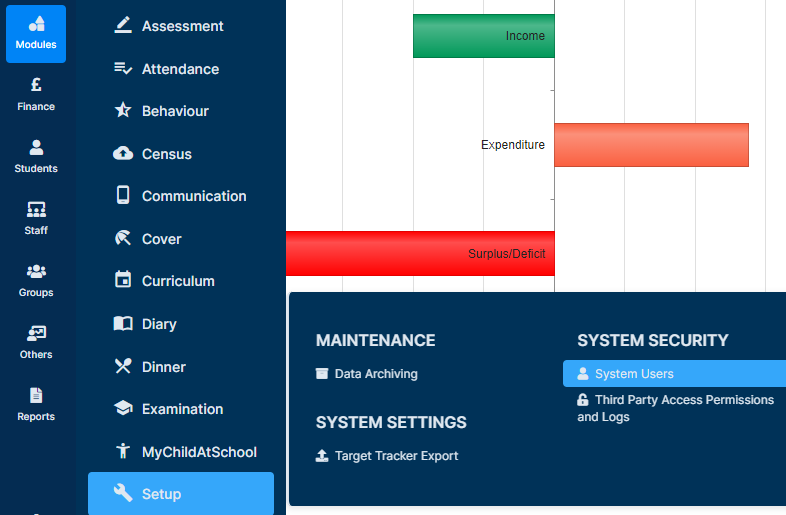
To begin, from the left Menu, go to Modules > Setup > System Users.
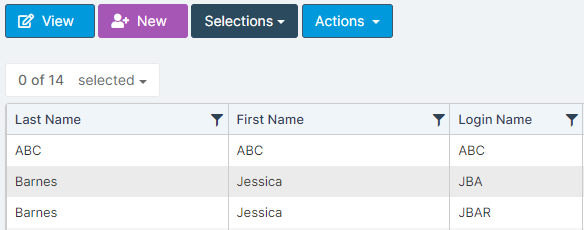
Once the page loads, press New.
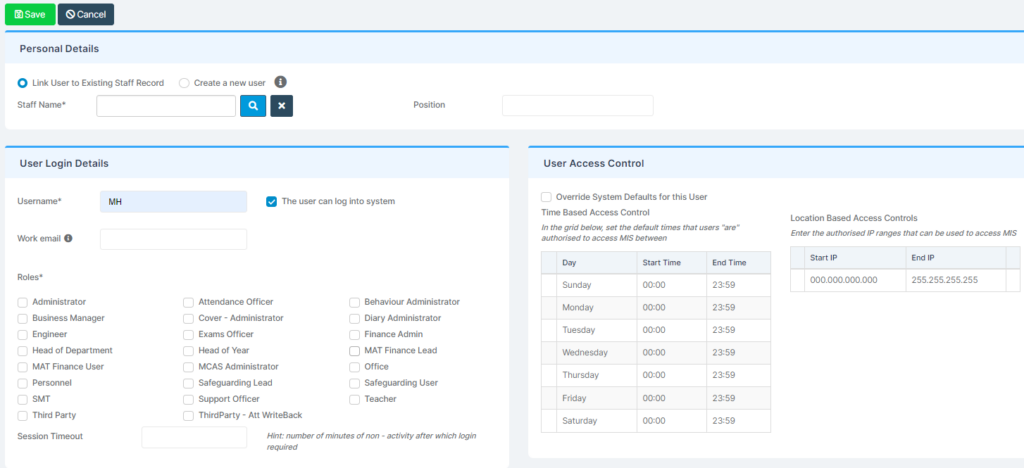
This opens the User Account creation screen.
How to Create a New User Linked to an Existing Staff Record
Choose the option Link User to Existing Staff Record. The system then draws on the Existing Staff Record held in the MIS to complete the User Details. It Links the New User to their Existing Staff Record.
Start typing the User’s Name in the box and then select the User drawn from the MIS.
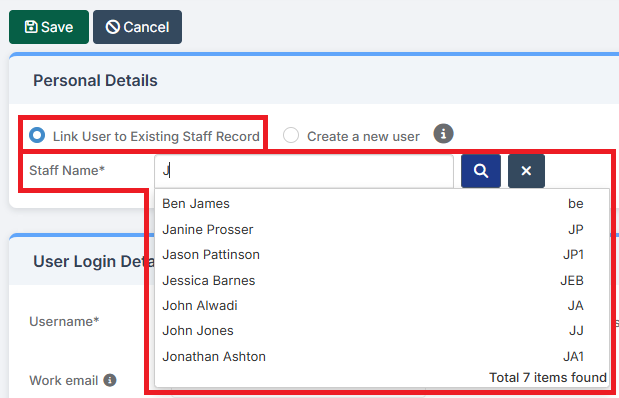
Once the User has been selected, complete all of the relevant details shown below.
Roles: Select all the Roles required for the User. Roles are comprised of/controlled by specific Permissions which allow them to see different parts of the MIS. Please see: How to Get Started with Roles & Permissions.
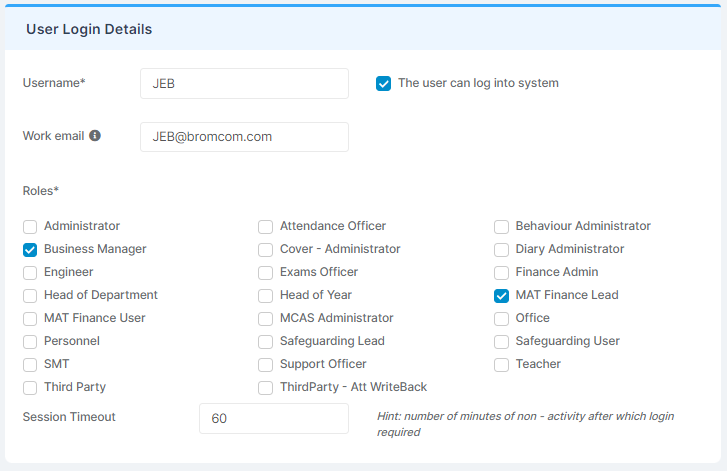
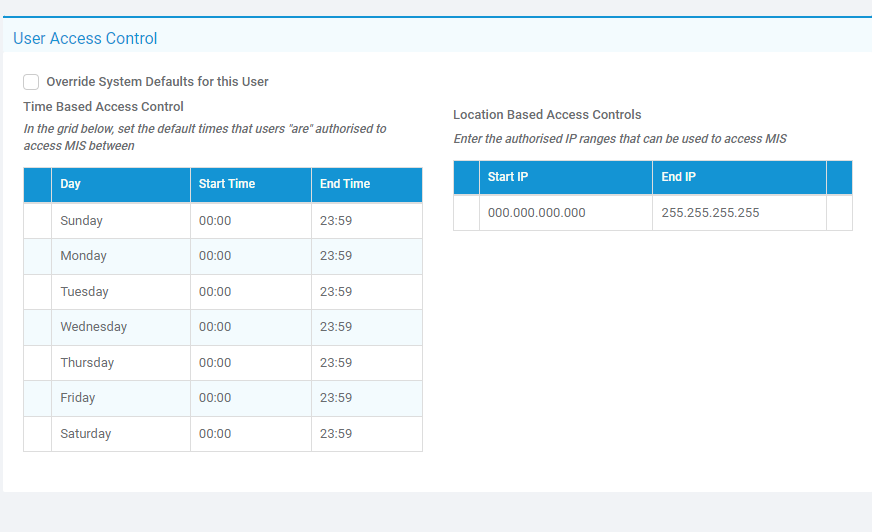
User Access Control: To amend, tick the override button and amend the timings (if required). This is used to prevent the User from logging in outside of School hours, for example. It can be ignored if not required.
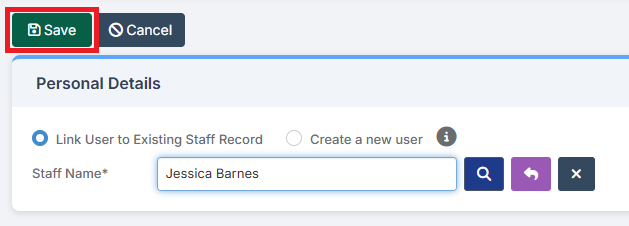
Once all of the details are correct, press Save.
How to Create a New User Independent of any Existing Staff Records
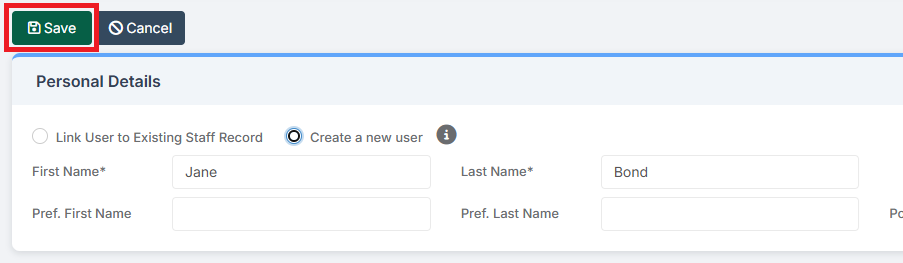
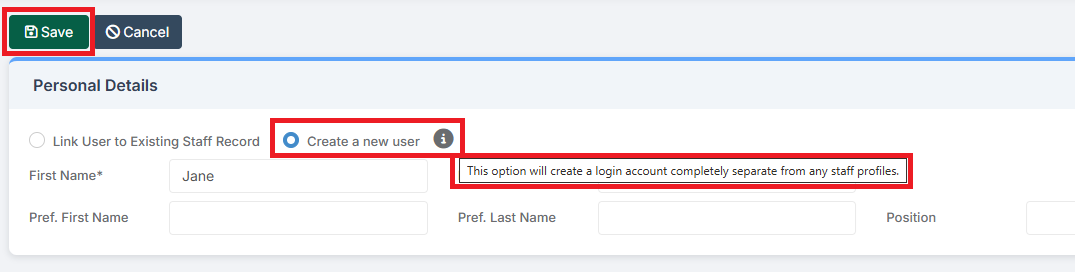
Choose the option Create a new user. Clicking on the Information button informs that this option will create a login account completely separately from any staff profiles. Complete the required information. Asterisked fields are mandatory.
Complete the User Login Details section.
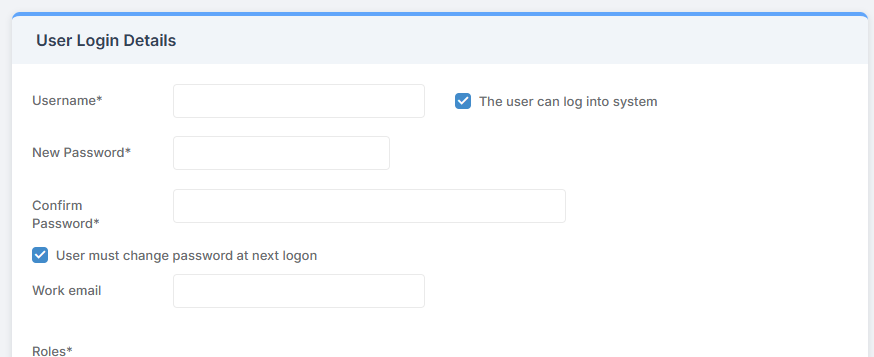
Complete the Roles and User Access Control sections as above.
Click Save when complete.