
This guide has been created to detail the process of taking a Dinner Register from the Students List Page and then details how to Confirm Dinner Numbers in order to populate the Dinner Reports.
This process can also be used on the Staff List page as well.
Access: The minimum permission required to take a Dinner Register from the Students List page is found in the Framework Module of Config>Setup>Roles & Permissions.

See also: How to Set Meal Types, How to Add/Edit Meal Definitions
Select Students from the left hand menu which will open the Students List Page this will default to show every Student on roll as of today.

Once the page loads, you will need to select the desired Students that you wish to take a Dinner Register for.
Tip: Using the Funnel on the Year Group column to Filter down to specific Year Groups and working through the Dinner Registers one Year Group at a time.

Once you have filtered down to specific Year Groups click on Selections and choose the required Students or alternatively click on individual Students one by one.

Once you have highlighted your Students, you select Actions and from the drop down select Dinner Register.

This will then open a new box containing the Dinner Register.
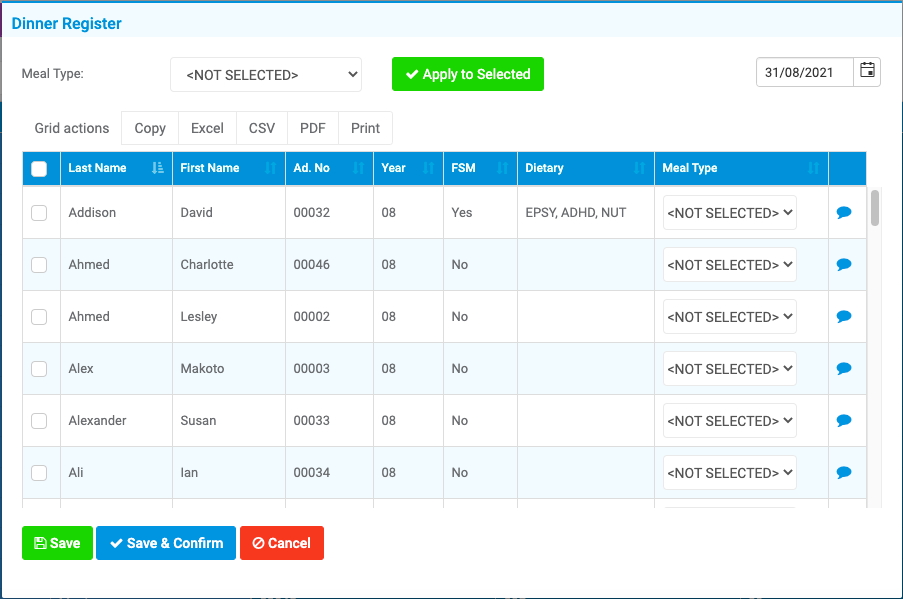
Select the Meal Type from the dropdown.
Note: Meal Types can be created from Config>Dinner>Meal Definitions if you wish to amend any.

Once you have a Meal Type selected, you can then select all Students or select them individually to apply that Meal Type for.
Note: The top left tick box will highlight all Students for you, saving some clicks!

Individually select some of the Students if not all of them will have the same Meal Type.

Once you are happy with your selections, press Apply to Selected. You will see in this example, this changes the Students from NOT SELECTED to Packed Lunch.

Once complete press Save & Confirm.
Pressing Save will lock in the Meal Types for the Students but will not Confirm the Dinner Numbers.
Pressing Save & Confirm also confirms the choices at the same time.
Once Dinners are Confirmed then the Dinner Reports will populate with the information for that day.

See also Dinner Reports. Note the Reports WILL NOT POPULATE unless the Dinners have been confirmed for that day.
If you need to make any changes to the meal types for example if a Student arrives late after the Dinners have been confirmed and needs a School Meal then you would need to re-set the Dinner Numbers. See Resetting Dinner Numbers.