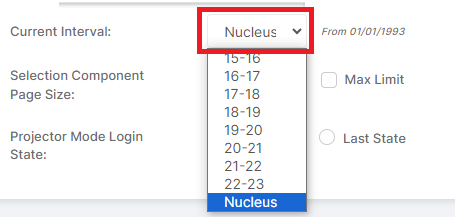
In this guide we’ll look at how to view and update Data Boundaries. Data Boundaries allow the user to see the MIS at a different period of time. This is usually used to view and update data from previous Academic Years and for End of Year processes.
In relation to End Of Year procedures Data Boundaries can be used in the following example scenarios;
- Behaviour Detentions: As there is no date range within Detentions, a Detention Schedule cannot be set for automatic use at a future point in time. When configuration changes are made at the end of the year in preparation for September, any adjustments to detention schedules take effect immediately, which would impact detentions scheduled for July. To avoid this, wait until after the final day of the last term in the current academic year, enter a Data Boundary for the next academic year, make the required changes, and then return to the Nucleus afterwards.
- Timetable: you may wish to work in a Data Boundary for the new academic year to easily work with next years classes rather than having to alter the active on date in various screens, etc.
- Census: You may need to use a data boundary if you need to update a previous years Learner Funding and Monitoring hours.
Access: The minimum permissions required to access Data Boundaries can be found in the Setup module from within Config > Setup > Roles & Permissions.

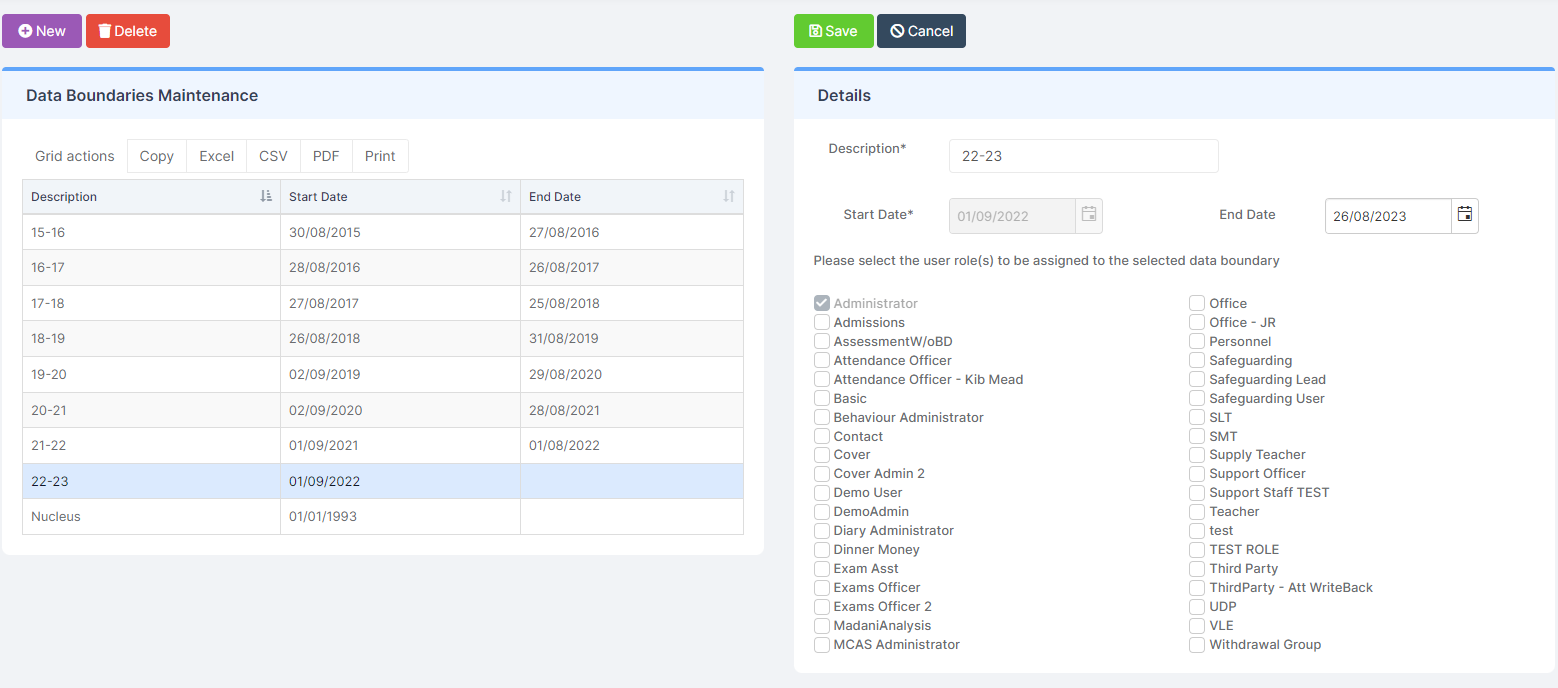
From the left Menu go to Config > Setup > Data Boundaries.
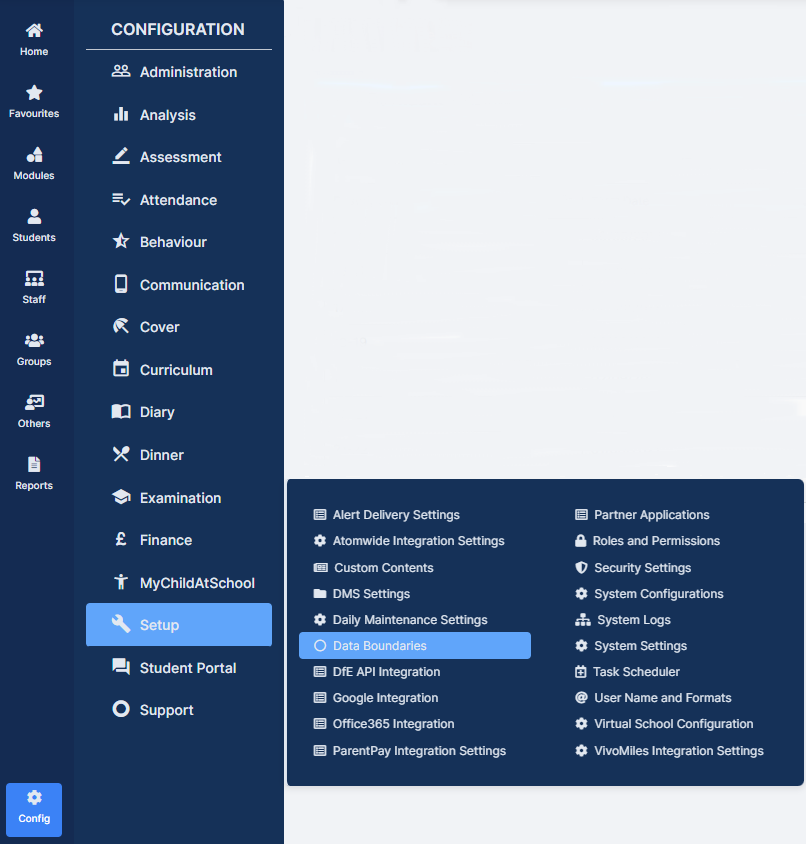
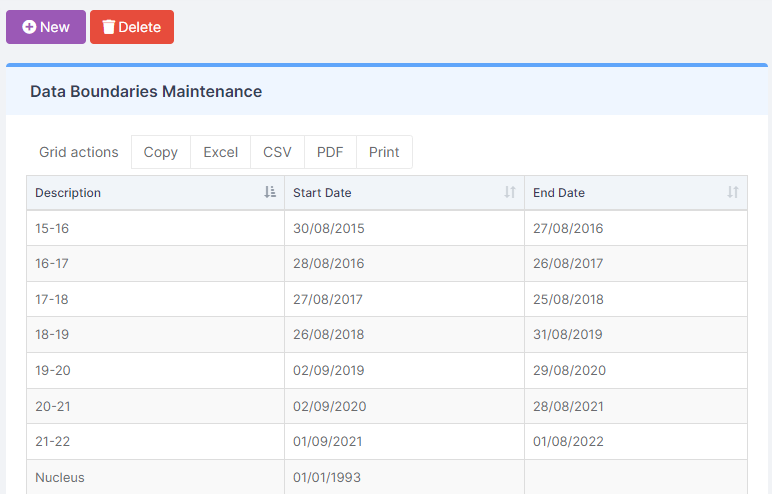
Click the New button to create a New Data Boundary.
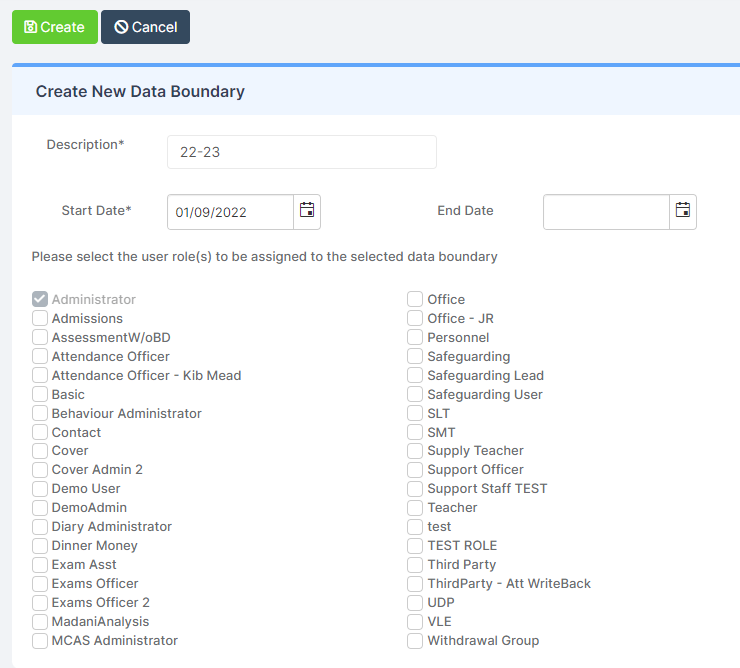
Give the Data Boundary an appropriate name (e.g. calendar date range) and then set the date range required. Select all Roles who should have access to the Data Boundary, then click the Create button.
To Edit an existing Data Boundary, simply select it and make changes as required and Save or select then click Delete to Delete the Data Boundary.
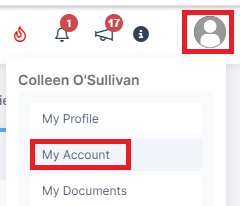
In order to enter a Data Boundary click on you Profile Icon in the top right hand corner and select My Account.
Use the Current Interval drop down to select the Data Boundary you just created and then click Save in the top left hand corner of the page.