
This guide will show you how to update information such as their SEN Status, Special Needs and Gifted and Talented. You can then Add a Review to the Special Need with Review Dates, Notes and Attachments.
Access: The minimum permissions required to follow the steps in this guide is found in the Framework Module of Config>Setup>Roles & Permissions.

Click here for the New Student guide.
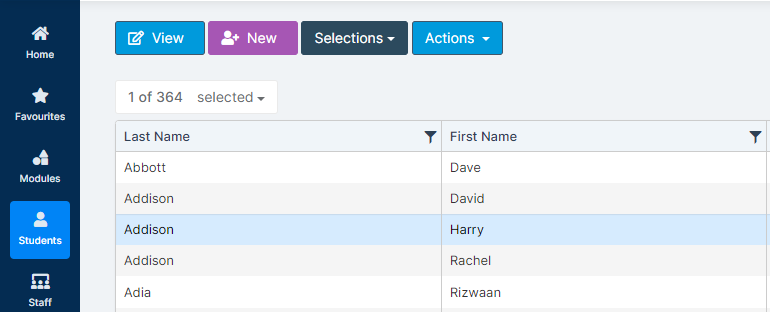
Start from the Student List Page and select the Student who’s SEN information you wish to update.
Once they are highlighted blue, click View.
The Student’s Profile will open.
Select Special Educational Needs from the left hand menu.

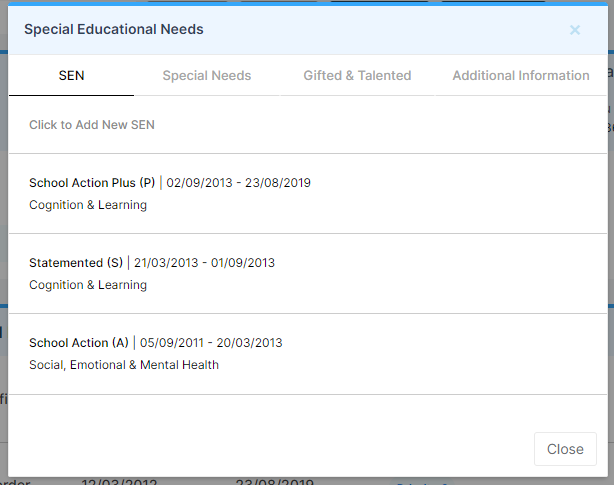
Click the + Icon in the top right hand corner of the SEN Details panel, 4 options will appear, select the area you would like to update.

SEN
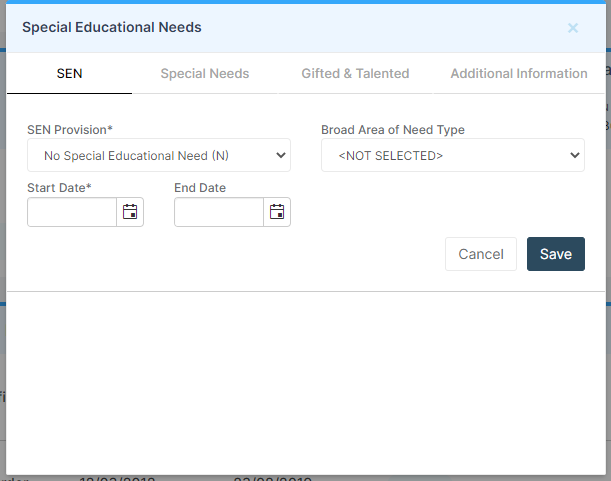
Here you update the SEN Provision – these codes are not editable, and the Broad Area of Need – these can be updated in the Look Ups.
Please click Here for support with updating Look Ups.
When adding a new Special Education Need, Start Date and SEN Provision are required fields. You must Add an End Date to the original record before a new SEN Provision can be added.
Click Save.
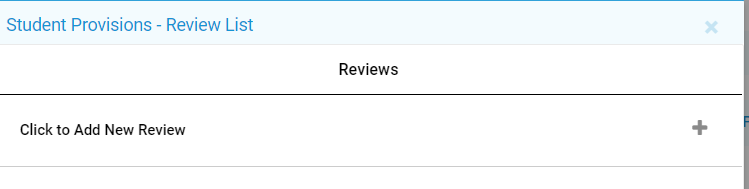
Add a Review
Once you have added the SEN Details you can Add a Review to the Special Need with Notes and the ability to add Attachment(s) for example you can use this for an EHCP outcome.
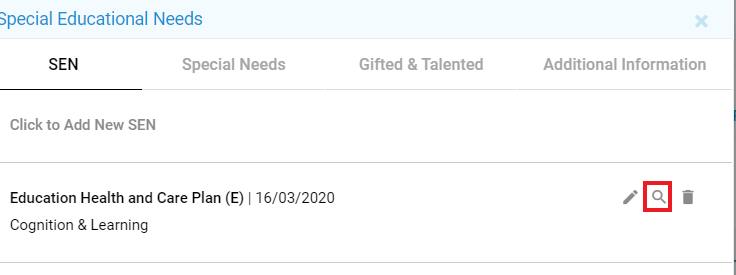
Click on the spy glass in the EHCP SEN and then Click the + to Add a New Review.
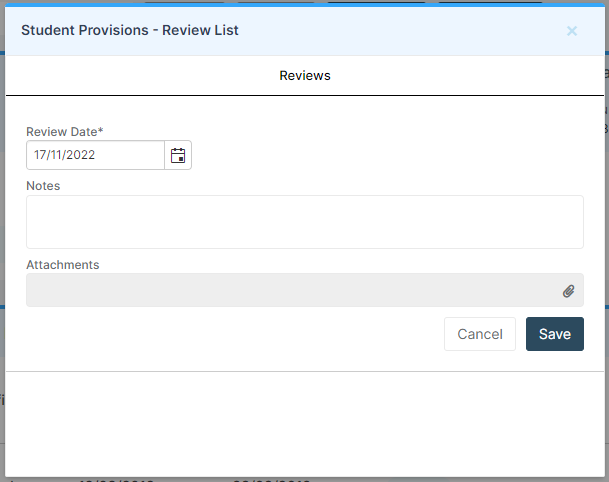
From here you can add a Review Date, Notes and click the Attach Icon to add Attachment(s).
Special Needs
Here you are able to add their Type of Need and the Priority. The Type of Need is a dropdown that cannot be edited.
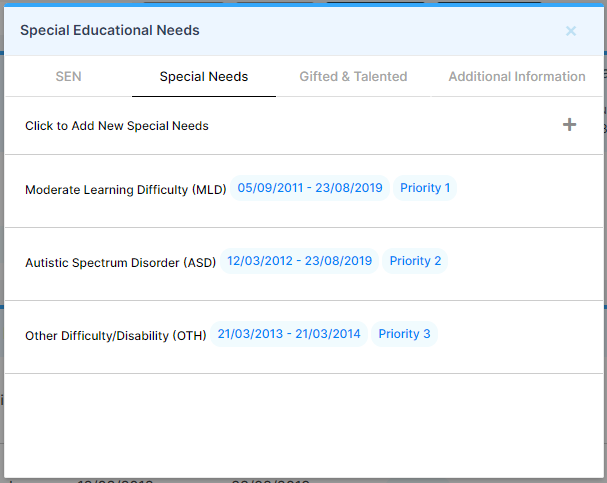
You must also add a Start Date, if a Special Need ends then you can come back in here and add an End Date.
Click Save.

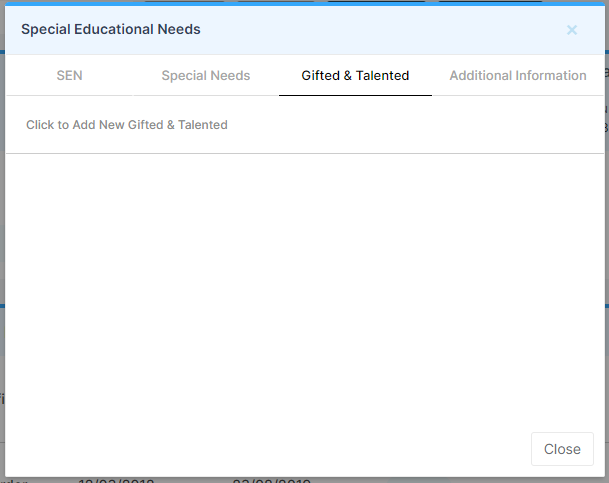
Gifted and Talented
if a Student is identified as being Gifted and Talented you can record it here by adding the Date when they became Gifted and Talented.
Click Save.
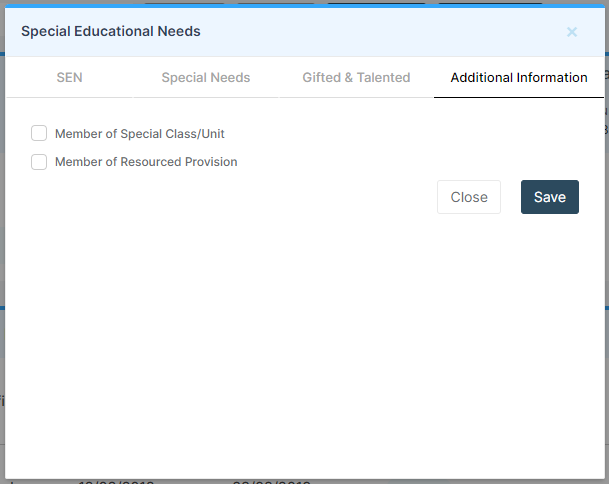
Additional Information
For more information on this area please click here.
SEN Document List
The SEN Document List will display any Documents with the Document Type SEN. You can add a new one by clicking the + button in the top right hand corner of the panel.

Select the Document Status Type from the drop down and then click Select Files, select the file to be uploaded. Once you’re happy click Save.

The document will then display in the SEN Document List.
This guide will show you how to update information such as their SEN Status, Special Needs and Gifted and Talented. You can then Add a Review to the Special Need with Review Dates, Notes and Attachments.
- SEN Stage and Category
- Specialist Provision
- Gifted & Talented
- Add a Review
- SEN Events
- SEN Document List
Access: The minimum permissions required to follow the steps in this guide is found in the Framework Module of Config>Setup>Roles & Permissions.
Click here for the New Student guide.
Start from the Student List Page and select the Student who’s SEN information you wish to update.
Once they are highlighted blue, click View.
The Student’s Profile will open.
Select Special Educational Needs from the left hand menu.
Click the + Icon in the top right hand corner of the SEN Details panel, 3 options will appear, select the area you would like to update.

SEN Stage & Category
The SEN Stage & Category tab will display any previously added SEN details, click Add New Stage to add new information.

Select a SEN Stage from the drop down and select a Start Date. You also have the option to add any required Notes and an End Date if known. Once you’re happy, click the Tick on the far right to save.

Once you’ve saved SEN Stage information the SEN Category panel will open. Click Add New Category.

Select the SEN Category from the drop down and enter a Start Date, you also have the option to add any Notes and an End Date if known. Once you’re happy click the Tick on the far right.

If you have added more than one Category you can change their Priority by clicking and holding the grid icon on the left and then dragging it into the right position.

The Priority number won’t update straight away, once you’re happy click Save and the Priorities will update.

Specialist Provision
Select Click to Add a New Specialist Provision.

Select a Specialist Provision from the drop down and enter a Start Date.

To record people associated with the Specialist Provision select Add New.

Select their Role from the drop down. This will determine which people are available to select in the subsequent drop downs.

Select the person to add to the Provision from the Name drop down.

Select their Relationship.

Next, select a Start Date, and once you’re happy press Save.

They’ll then be displayed in the People Involved section.

Once you’re happy press Save.
Gifted & Talented
In the Gifted & Talented tab, click Click to Add New Gifted & Talented.

Enter a Start Date and an End Date if known. Once you’re happy press Save.

Add a Review
Once you have added the SEN Details you can Add a Review. To Add a Review click the + symbol in the top right hand corner of the panel.

In the Review Details tab, select the Review Type and Review Status from the drop downs. Select the Review Date and the Start and End Times and check that the Venue is correct. Once you’re happy click Next.

In the People Involved section, click Add New to select people to associate with the Review.

Select their Role from the drop down. This will determine which people are available to select in the subsequent drop downs.
Select the person to add to the Provision from the Name drop down.
Select their Relationship.
Next, select a Start Date, and once you’re happy press Save.
They’ll then be displayed in the People Involved section. Once you’re happy click Next.

In the Consultations section, select the dates of the relevant Consultations. Once you’re happy click Next.

In the Outcome section, select the Outcome from the drop down and enter any Comments. Once you’re happy click Next.

In the Next Review section, you have the option to add the details for the next planned Review. Once you’ve entered all necessary information click Save.

You’ll receive the following confirmation message. If you would like to send an invitation letter for the Next Review click Proceed, if not, click Cancel and you’ll be taken back to the Special Educational Needs page.

If you click Proceed, the Quick Letter page will open, check that the information is correct and once you’re happy click Process to send the Quick Letter. For more information about sending a quick letter, please see How to use Quick Letter.

SEN Events
To add a SEN Event click the + button in the top right hand corner of the panel.

Select the Event Type and Event Date and enter any necessary comments.

To record people associated with the SEN Event select Add New.
Select their Role from the drop down. This will determine which people are available to select in the subsequent drop downs.
Select the person to add to the Provision from the Name drop down.
Select their Relationship.
Next, select a Start Date, and once you’re happy press Save.
They’ll then be displayed in the People Involved section.
Once you’re happy press Save and the SEN Event will be displayed in the panel.
SEN Document List
The SEN Document List will display any Documents with the Document Type SEN. You can add a new one by clicking the + button in the top right hand corner of the panel.
Select the Document Status Type from the drop down and then click Select Files, select the file to be uploaded. Once you’re happy click Save.
The document will then display in the SEN Document List.