
Pre-requisites: All pages shown below are subject to having relevant Roles & Permissions. See How to Get Started with Roles and Permissions
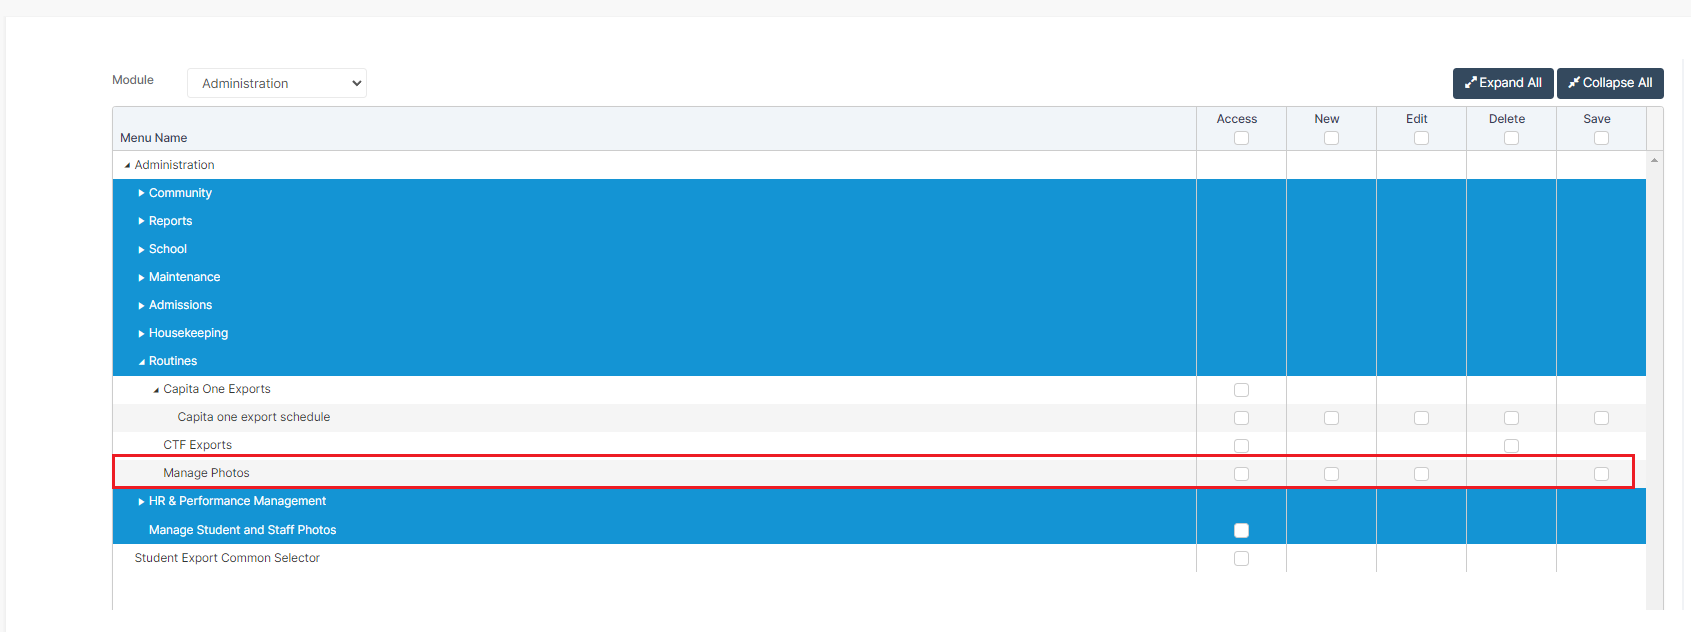
Access: In order to upload Photos you will need access to Manage Photos within the Administration Module of Config>Setup>Roles & Permissions
Use this guide to upload Student and Staff photos into Bromcom, either individually or in bulk.
Note: The maximum file size for each photo is 200kb, while the ideal photo dimensions are around 360 x 535px.
Once you have uploaded the photos, you can then run a report of Student Photos from Reports>Administration>Student Photo Report.
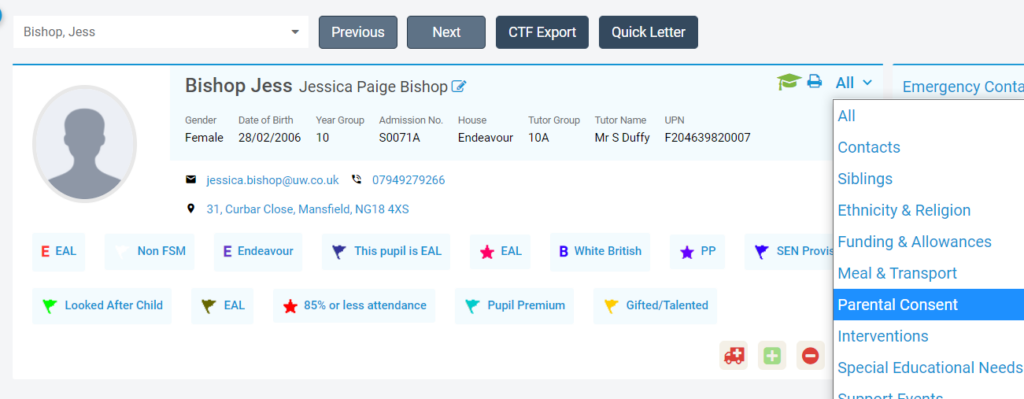
To check if Parental Consent has been given for photographs, please see the following guides – The Student Profile Page and How to Edit Lookup Tables.
There are two ways to upload Staff or Student Photos depending on the number of photos you are uploading.
Upload a single photo to the Staff or Student Record
From the Student or Staff Profile, simply click the image window as shown below:
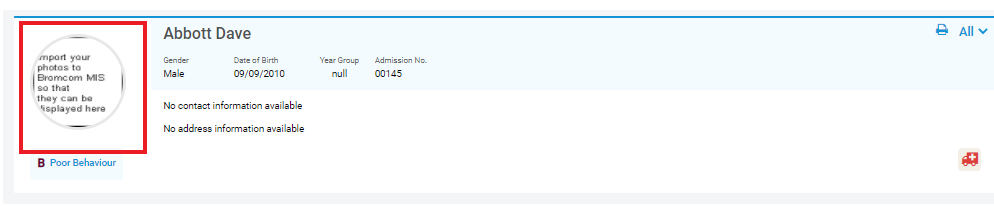
The Add/Edit Photo window will then appear for you to select the image.

Multiple Uploads
You might use this if you are setting up a blank system from scratch for a new school or have recently admitted a large number of Students (at the start of the new Academic Year for example).
Start from the Manage Photos Page under Modules>Administration>Manage Photos

Select either Student or Staff, depending on the image you want to upload, then select how the photo should be Matched.
The matching is done on the image file name, so this must include the Admission Number, UPN, or both.

Now you can either:
- Select all of the images and drag them into the Drop files here to upload box from your desktop/a folder; or
- Click Select Files and you will be prompted with a window to select the photos.
When the photos are selected, press Open to take you back to the MIS.

Now that the Image is ready to be uploaded, press Upload Files and it will match the Admission Number or UPN from File name with the correct Student.

You should see that the File(s) uploaded successfully.

The final step is to press Apply at the top of the screen, which prompts a Confirmation popup.
Press Proceed to overwrite the existing photos for the selected Students.

Lastly, you will receive a Matched Records popup stating how many photos were found on the system and have many have been matched/updated.
Press OK to complete the process.
